
Fairy Wing Craft
Recently Netmums challenged us to get crafty with Cereal Box crafts. I love cereal box crafts ANYWAY, as it is such a free and versatile material and the timing was good, was I was thinking about a fairy wing craft for Pip Squeak anyway. Bring the two together and you have these lovely Cereal Box Fairy Wings to make. Before I go on, I just want to say, that I “made it up” as I went along and that I will be sharing some tips and here and there of how you could make it differently/ a little better. Depending on your preferences and/or time. So this is a fairy wing how to, but also a fairy wing craft with improvement suggestions! I hope that is ok! I think these make a great No Sew Halloween Costume too!
Tinkerbell Costume Idea:
We will be adding a green no sew tutu, some pom pom shoes and a wand to turn this into Tinkerbell Costume!
The Fairy Wing Craft:

Materials – 2 large cereal boxes, acetate (I used old subject dividers for a ring binder), hot glue gun, pins or stapler, PVA glue and glitter, acrylic paint in desired colours, hot glue gun (I have some LOVELY glitter from Zing Zing Tree and her Zing Zing Tree Ebay shop)
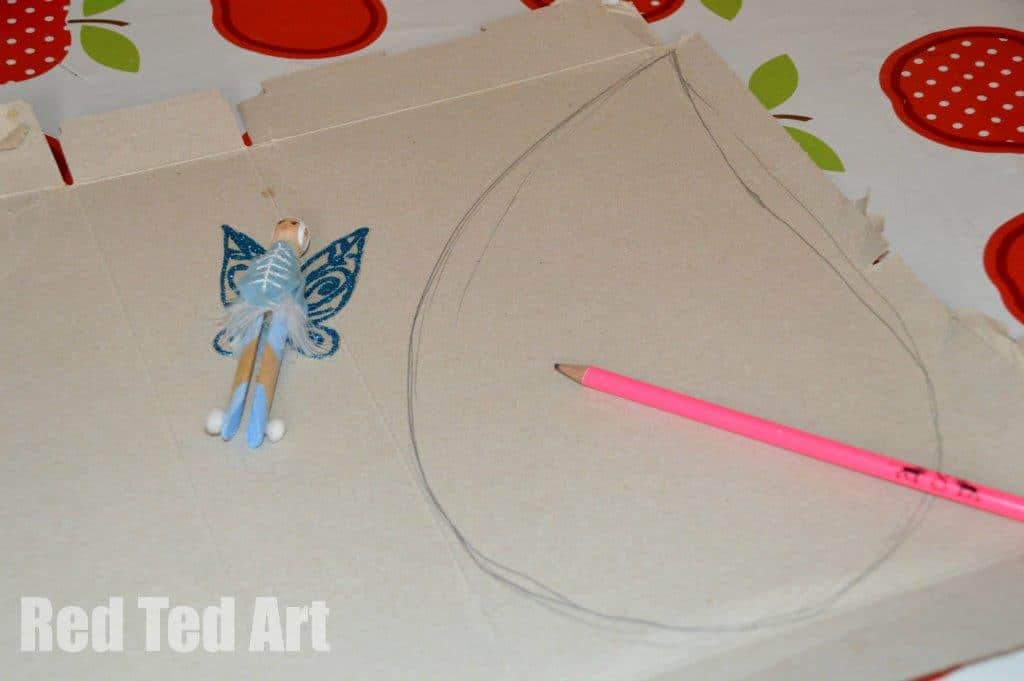
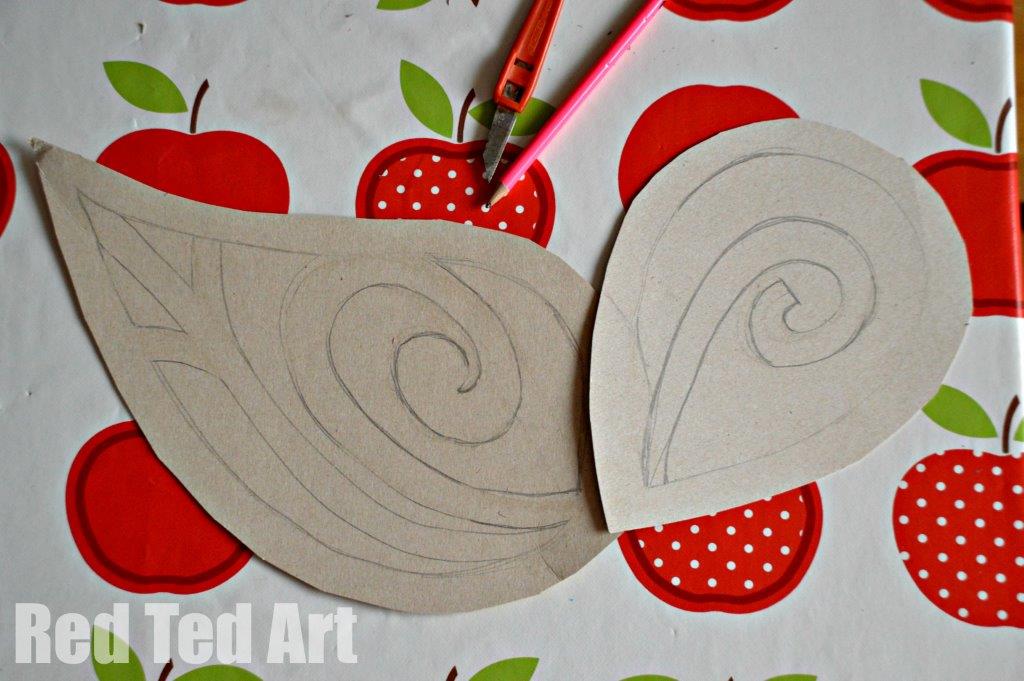
1) I used our Tinkerbell Clothes Peg Fairies as a rough “template”. I sketched out one half of the wings and cut them out. Then traced them”back to front” and cut the mirror set, for the other half. I was going to use a Stanley knife to cut out the pattern, but found it easier to use scissors.
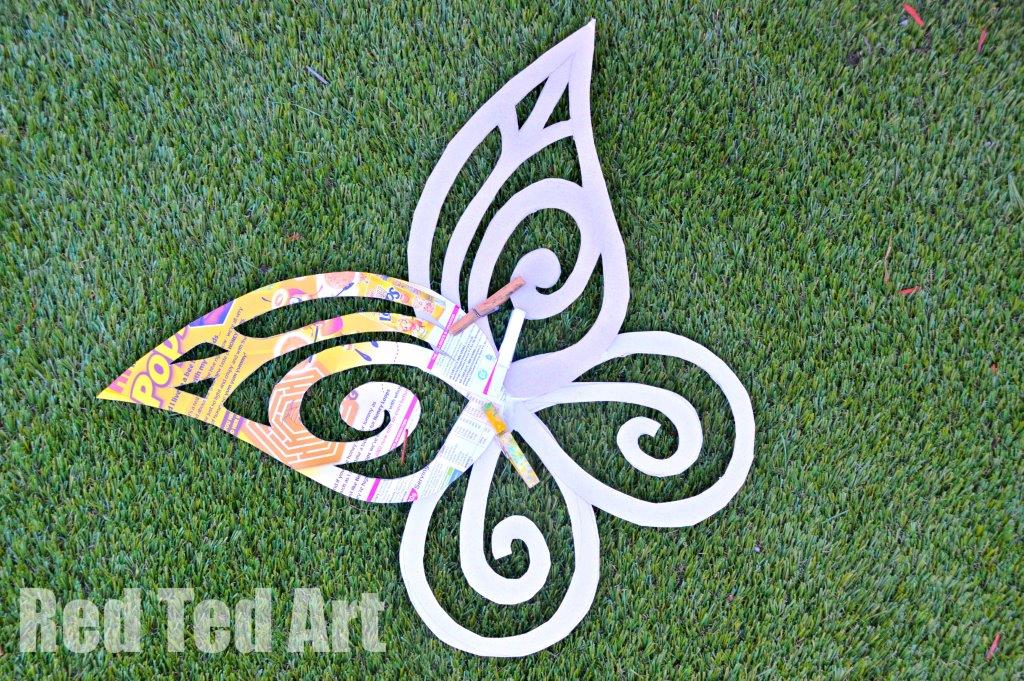
2) I glued the four pieces together. I had one wing facing the wrong way, as there was a tear in the packaging and I couldn’t fit the wing on any other way.

4) Then I painted both sides in acrylic paints. Because of the glossiness of the cereal box, I had to add a layer of white paint below our silver.
3) Once dry, I traced and cut out some “plastic backing”, made of our subject dividers – these were SLIGHTLY smaller than the wings. I used the hot glue gun to attach them. Plastic is notoriously difficult to glue and it has a tendency to come off again. So I also secure it with some additional pins, in strategic place. The plastic really gives the wings a good stiffness.
The side with the plastic on, is our “back” i.e. the side that will touch Pip Squeaks back.
Improvement suggestion:
a) you could either ditch the acetate all together, but strength your fairy wings, by adding 2-3 layers of cereal box cardboard. But that means you will need between 4-6 cereal boxes and will have to do a lot of neat cutting. The benefit of this, is that you can stick your card together in such a way that all glossy sides are facing in. Making it MUCH EASIER to paint afterwards. Or you could even leave them in plain grey card. Taking out the “painting step” below.
b) or… you could cut a second set of cereal box wings and “trap” the acetate between the two layers of cardboard, if that makes sense.
(you can see the little pins securing the plastic on this photo)
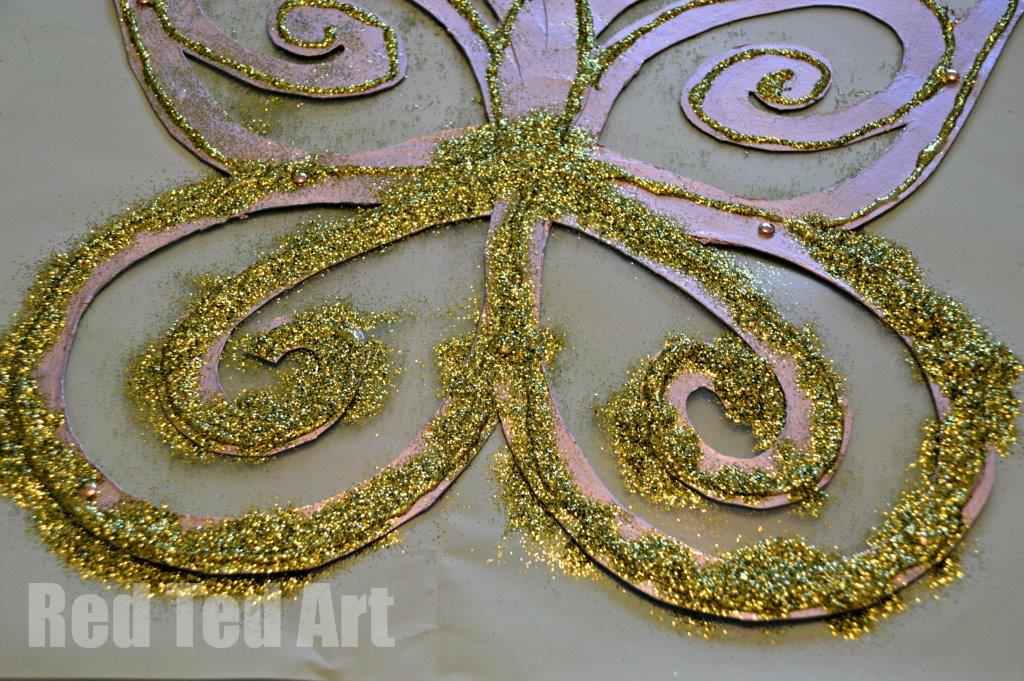
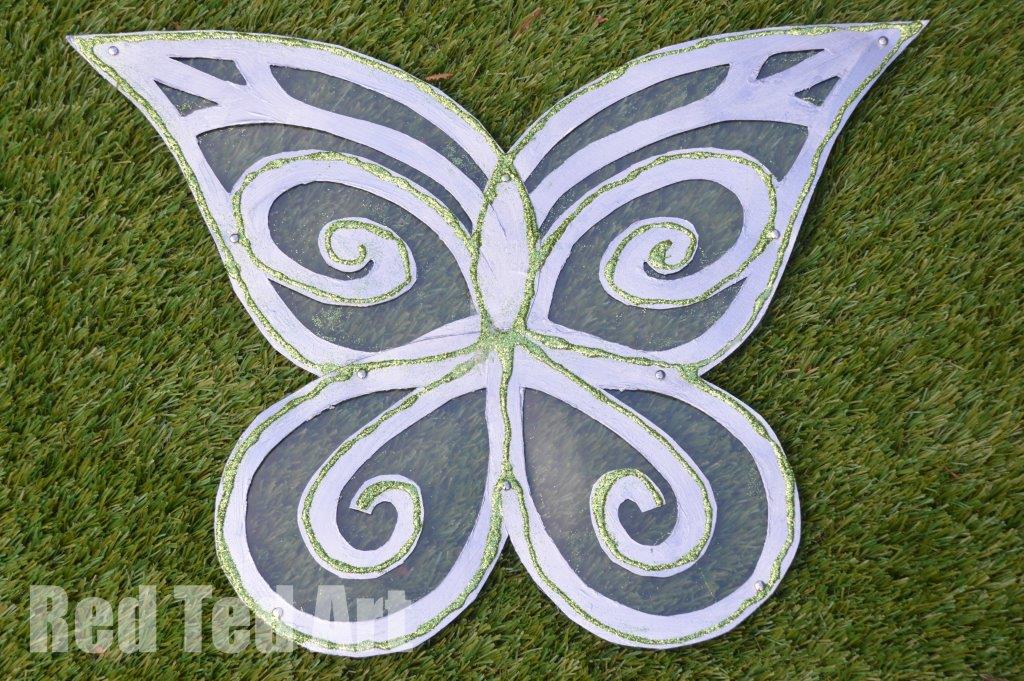
4) Once dry and secured, using your good PVA glue, create a pattern for the glitter, sprinkle glitter on top of the front of the wings and then shake it off and let it dry (dry flat, if you prop it up, the glue will run and make a mess!). The front of the wings is the side with the cardboard and no plastic. This is important, as although you can add some glitter on the plastic side too (see next step), the glitter and glue will not stay in place on the plastic permanently, it is likely to peel of a little. See the improvements in step 3 – if you have card on both sides, it will be MUCH easier to decorate the wings!
5) Once tried, I turned it round and add some glitter to the tips on the “plastic side” of the wings. You will see these tips, peeping over the should of your child. Here it is handy if your plastic is slightly smaller than the card, as it leaves you a rim of card board, perfect for PVA glue and glitter…
6) Finally, once dry, you can add some elastics, by threading 2 loops around the middle! And done. You have some fairy wings!
Need some more No Sew Halloween Costumes? Check out the full set:

Happy Trick or Treating!