Felt Bunny Brooch (Easy Sewing)
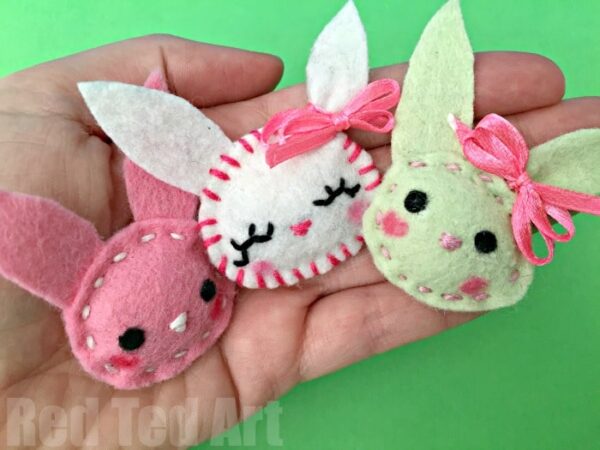
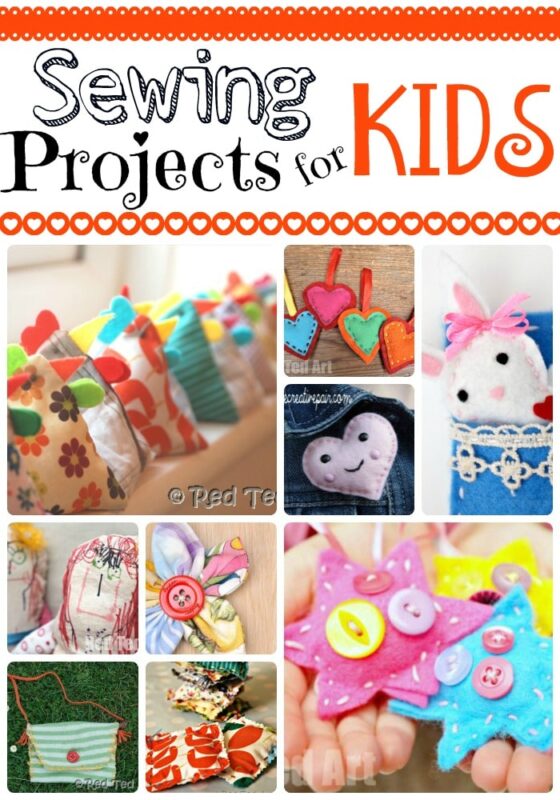
Sooo the kids and I have been enjoying a little sewing frenzy recently. I love that BOTH my kids are showing an interest (one more than the other) and I am always on the look out for simle sewing projects for them to do (in fact, I have a whole set of Sewing Projects for Kids, that you can browse). A couple of weeks ago, we made some little felt softies bunnies, inspired by these Felt Heart Brooch and Felt Heart Mobile and I thought it would work very well as a little Felt Bunny Brooch too!
The felt bunny brooch is a bit quicker and easier to make than the little felt softie bunny, but in essence they are the same. They are great for using up scraps of felt and make for a super duper cute little gift to give to friends. You can adapt the felt softie pattern to make these quickly and easily (pattern linked below).
We used felt for the eyes, but you could also use brads (again, linked below) as per the little felt heart brooch! Both totally adorable and easy to make!
With Mother’s Day coming up, I think these would make for a cute little Mother’s Day Gift idea too.
Aren’t they adorable? And really.. super easy to make!
Felt Bunny Brooch – Materials
- small pieces of felt
- embroidery thread in contrasting colours
- a little stuffing or cotton wool
- a little glue
- ribbon (optional)
- pink felt tip pen (any type)
- safety pin or brooch pin (you can these here US/ UK (affiliate links))
- brads (optional) you can get these here US / UK (affiliate links)
If it helps: Felt Softie Bunny Pattern
How to sew your easy Felt Bunny Brooch
Watch the video on Auto Play or check out the how to on YouTube!
So to summarise the steps:
- Design your basic animal face – these are all based on simple ovals
- Cut out the shapes and glue on any features – in this case the bunny eyes/ nose and ears
- Add the facial features
- Sew the front and back of the cat or sloth face together. Be sure to a) insert the ears for the bunny as you go round and b) leave a little gap so you can..
- …stuff the little felt animal face. Sew shut.
- My daughter used a running stitch all the way round. But you can also use an over stitch.
- Sew on a safety pin to the back! DONE
They key to sewing with kids, is to sew a little, but often. Giving them to have a chance to have ago, feel “successful”, but not get bored or frustrated!!
I have put together some of our favourite Sewing Projects for Kids to date here, I hope you find it useful and inspirational!:
If you are looking for some tips on teaching kids how to sew – including what age and what materials to use, take a look at this helpful article:
The video tutorial is also available on YouTube:


