Felt Owl Ornament
Time for the another wonderful and easy Felt Ornament – the felt ornament OWL! Some of you already be familiar with some of our other “circle” felt ornaments and you will notice that these have similar shapes to the Reindeer Ornament, Felt Penguin Ornament and of course Fox Ornaments. Of course thsi is intentional.. so that you can see how one simple design can be used in different ways to by switching out colors and positioning different features. This project is great for practicing your Basic Handsewing Stitches and techniques!
How to sew a felt Owl Ornament
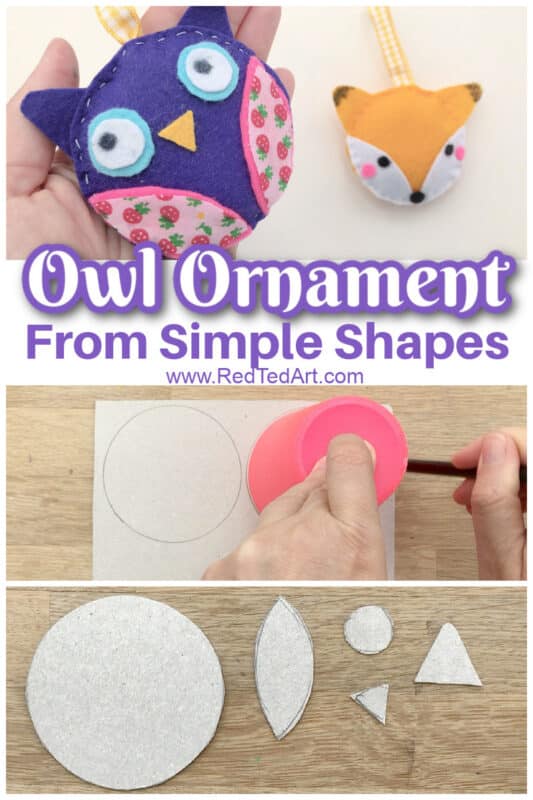
Supplies needed for your felt owl ornaments
- Felt in owl colors
- Fabric scraps to contrast the owl wings a little (optional)
- Recycled card to make your template
- A cup to trace
- Pencil
- Scissors
- Thread
- Ribbon for hanging
- A little stuffing (toy stuffing, recycled pillow, bubble wrap, yarn scraps)
- Hot glue (optional)
Felt Owl Ornaments Video Tutorial
As with many of my crafts, I do have a little sewing tutorial for you, but you can also follow the step by step instructions below! I find, watching the video first and then going through the step photos a really good way to get a feel for this craft! Enjoy!
Felt Owl Keychain – Step by Step Instructions
So the shapes for the Felt Owl are the same as for the Reindeer Ornament (for which I have created templates), but kind of in reverse! As for the owl you will cut out the wings whilst for the reindeer you cut out the face part. But they are the same shapes. And of course they are also the same shape as for the Felt Fox keychain! I will guide you through how to make your own shapes.
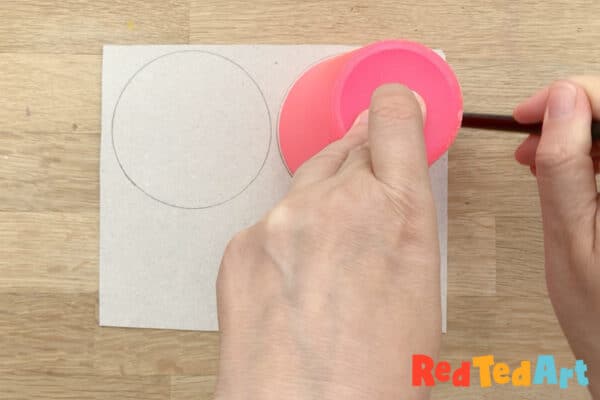
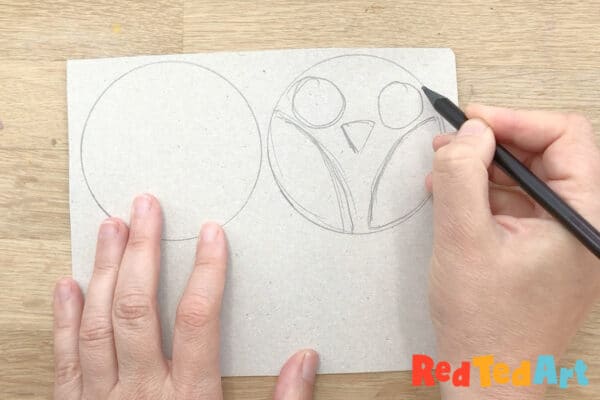
Make your owl template (very easy!)
Use something round to trace – we used a plastic cup. But you can make these owls bigger or smaller. This is a nice size for most beginner sewers!
Once you have drawn two circles, start sketching in an owl – you will need two large circles, a triangle and a leaf shape. You can rubb these out and have another go if you are not quite happy with them. You will also need another larger triangle for the owl “ears”.
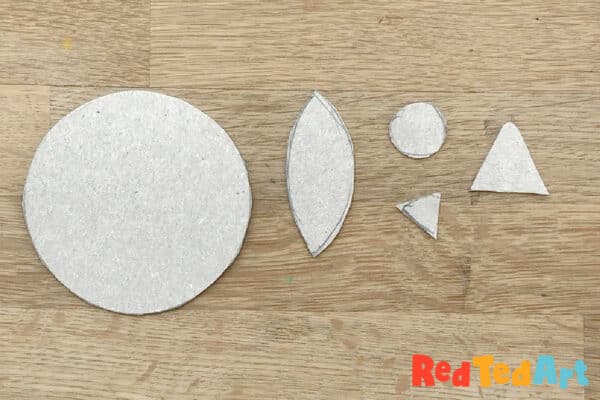
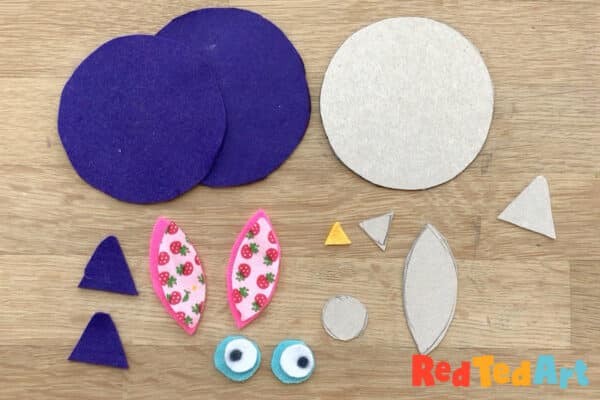
Cut out your shapes
Once happy cut out your shapes. You actually only need to cut one eye, wing and ear (eventhough you drew 2 of those), as you want your eyes, wings and ears to all be the same size later when you cut them out from felt.
Cut out your shapes, you will need:
- Two full circles in owl color (purple here)
- Two ears in owl color (purple)
- Two wings (pink, I decided to cut some extra fabric scraps too, and made them ever so slightly smaller
- Two eyes (light blue and then I cut a second set of 2 circles in white and drew on some eye balls)
- One beak
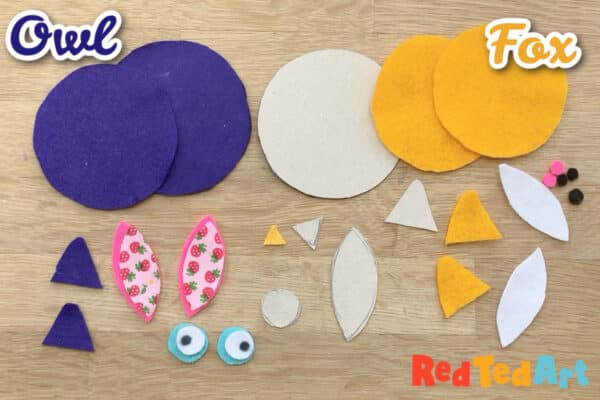
Mix and match your shapes to create an owl of fox ornament
As you can see here, the same shapes work for the fox and the owl!! The fox needs slightly less parts!

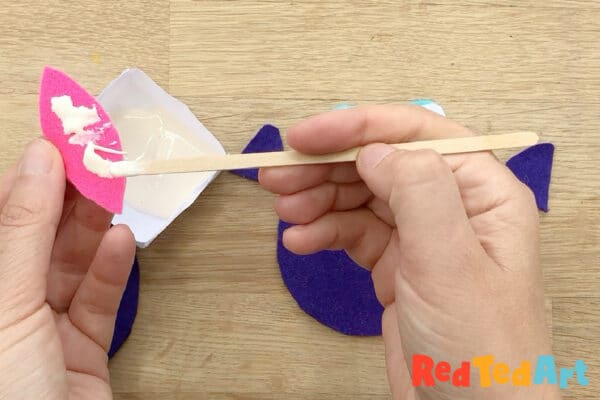
Layout your pieces
Before your do any sewing or gluing, do lay out your pieces and check that you are happy with the shapes.
For the ears especially, make sure they are big enough to fit inside your sewing.
I decided to glue on the wings, eyes and nose for the owl (and the face parts for the fox) to save a little time on sewing, but these can also be sewed on with a running stitch. I would probably use regular thread for this, so as to not make it too bulky!
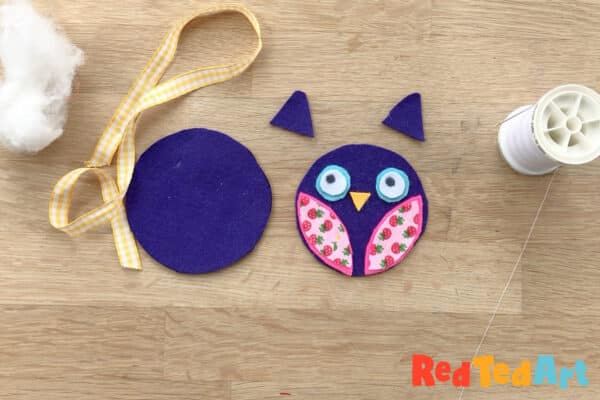
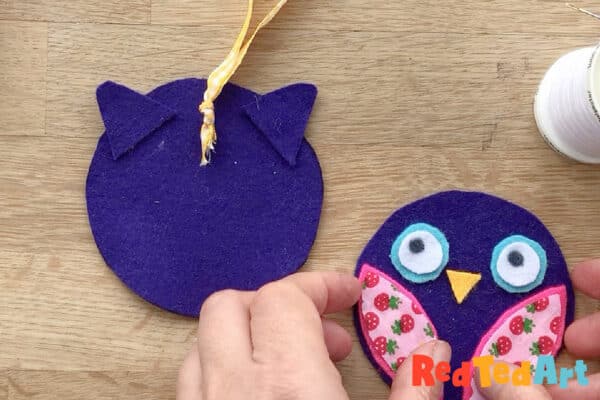
Now it is time to get ready to sew your owl
You will need to knot some hanging ribbon and align your ears and ribbon.
Carefully place the owl “front” on top. Pin in place if need be! Especially for younger or beginner sewers.
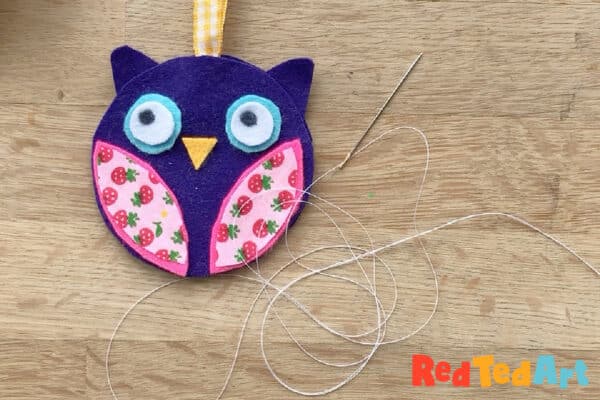
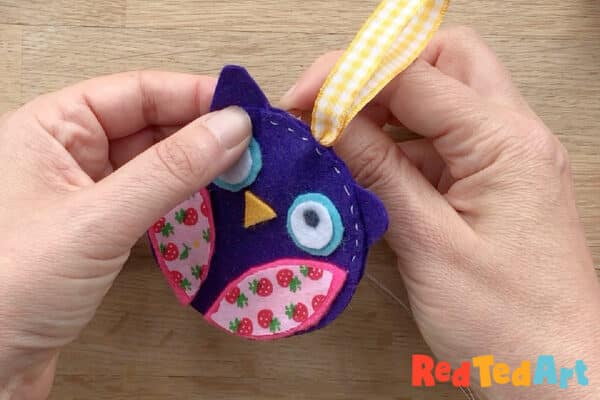
Start sewing using a running stitch. I feel this looks really effective and is easy to do. Though you could also use an over stitch or blanket stitch (all Beginner Stitchers are here) – though they won’t quite fit past the ears.
I like to start sewing by one ear and work my way over the ear/ ribbon/ second ear first, to make sure that they are nice and secure!
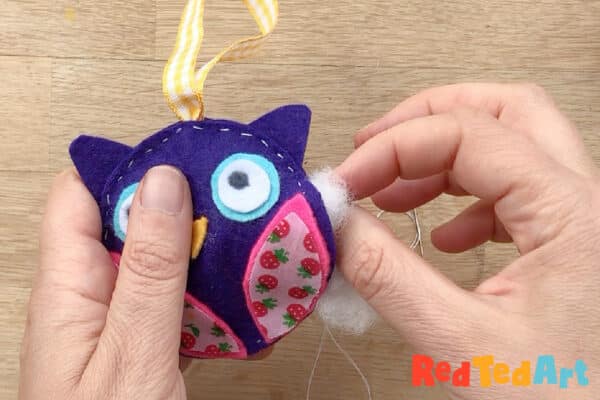
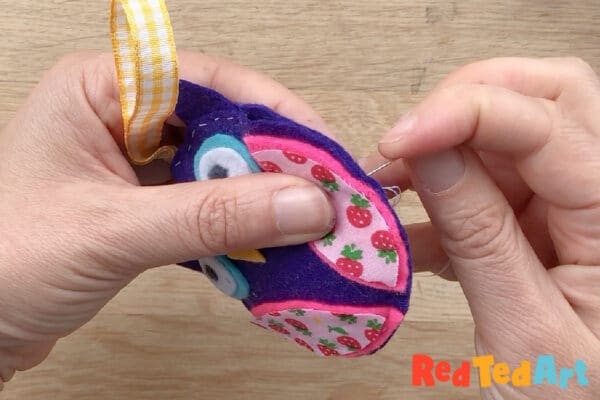
Stuff your Owl
Sew to about 4/5ths of the way round.
Stuff a little (do not over stuff).
Sew shut!
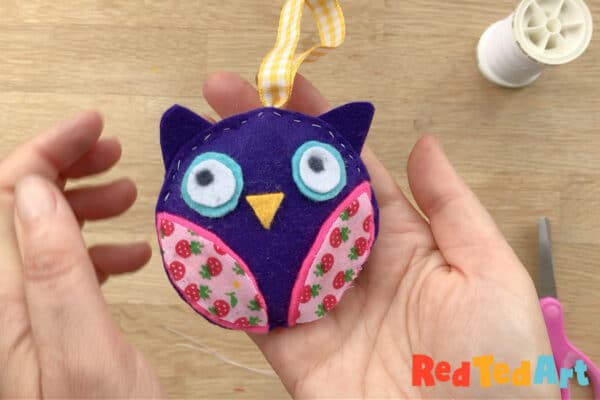
Ta-daaa.. your little felt owl is finished!
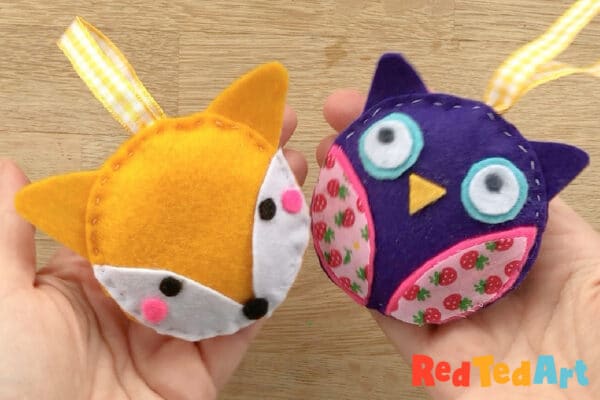
Get hooked and make more! Here you see our little fox ornmaent too!
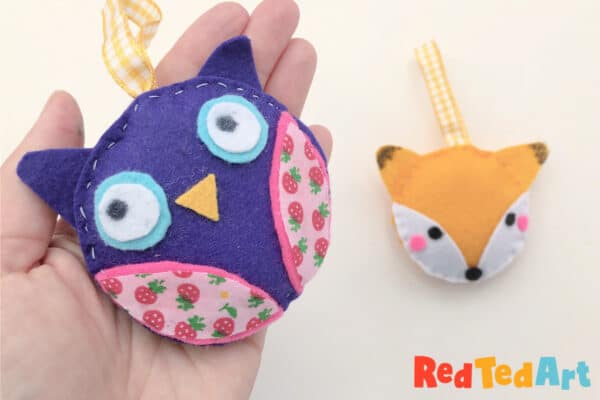
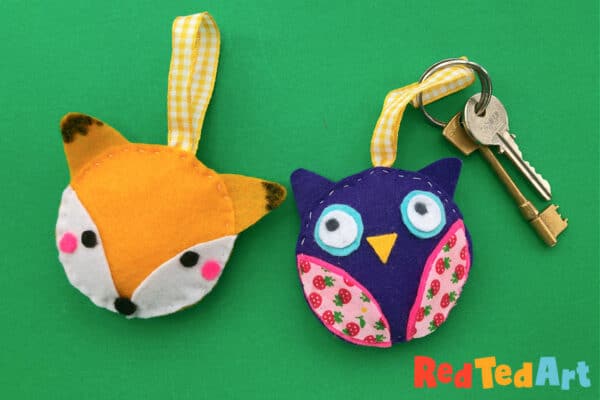
I can’t help but show of some more photos! Teehee. As you can see here they work great as tree ornaments, but also make lovely key chain gifts or backpack charms!
Happy Sewing!!
Reindeer Ornament and Penguin Ornament – they both come with printable templates and instructions!


More DIY Felt Ornaments to make here or more Sewing Projects for Kids: