HOW TO CROCHET POT HOLDERS FOR SUMMER
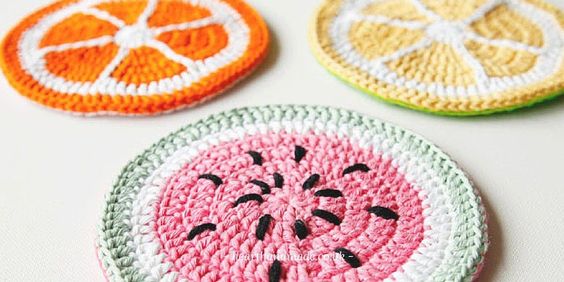
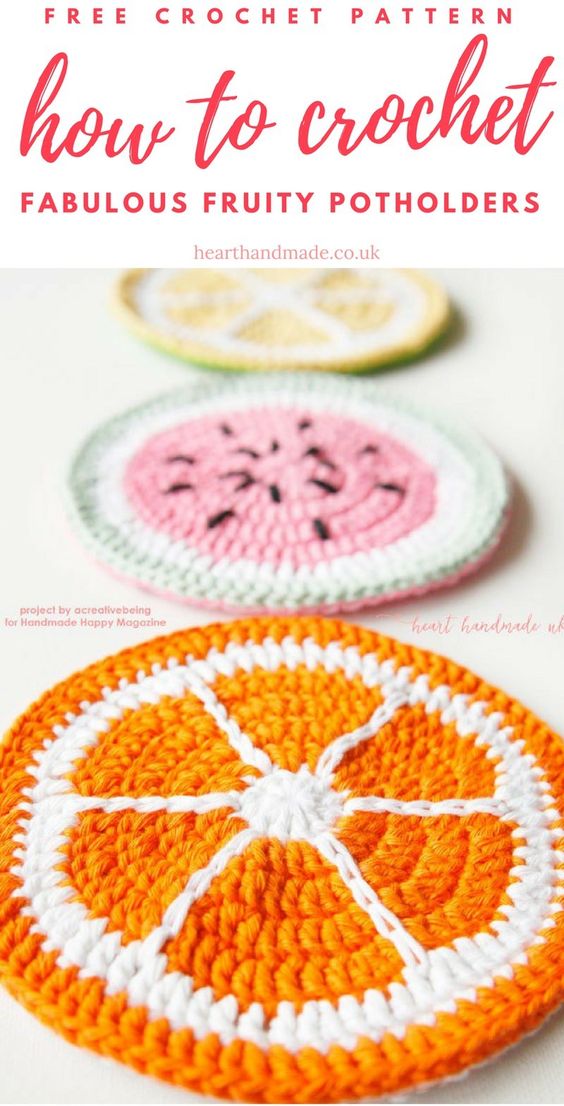
Oh yes, SUMMER is definitely heading our way! And with SUMMER there is Summer dining – BBQs, eating outdoors, etc. Why not jazz up your summer cooking with some adorable Fruity Pot Holders for Summer. We have some great free crochet patterns to make pot holders for Summer. There is a Lemon Pot Holder, Orange Pot Holder and Melon Pot Holder. Learn how to crochet pot holders for Summer today!!! This is a great guest post from Heart Handmade!
Can’t crochet?
Fear not, we have a great “learn how to crochet” guide for you to browse at your leisure!
Heart Handmade has a fantastic online FREE CRAFT MAGAZINE that you can access. Hop over today and check it out! And now, over to the lovely Claire and her fabulous free pot holder crochet pattern for summer.
Fruity Crochet Pot Holders for Summer
It can be a real head scratcher trying to think of how to crochet through the summer months but scratch no more! We have 10 Fabulous Crochet Projects To Make This Summer! for you to browse at your leisure!
Let’s get on with the show! Boring potholders begone! With these bang-on-trend tutti-frutti beauties, you’ll never look at a plain old potholder in the same way again.
Crochet Terms Used Today
This pattern uses US terms and stitches include
- double crochet (dc),
- slip stitch (sl st), and
- chain (ch)
Crochet Fruit Potholders – Supplies List
Affililate links to products habe been added for your convenience!! Should you choose to buy through this link, I will earn a small commission that goes towards the upkeep of this website!
SUPPLIES – SHOPPING LIST MINUS YARN
- Yarn; I used drops Paris cotton in shades: (best price on ebay)
- Watermelon Pot Holder – 33 – Medium Pink , 21 – Light Mint Green, 15 black & 16 white
- Lemon – 35 – Vanilla or 14 – Strong yellow and 16 White
- Orange Slice – 13 Orange and 16 white.
- Crochet hook (4mm)
- Darning needle for sewing in the ends
- Felt
- Sewing needle
- Sewing thread(not shown)
- Scissors
HOW TO CROCHET THE POT HOLDER
STEP 1
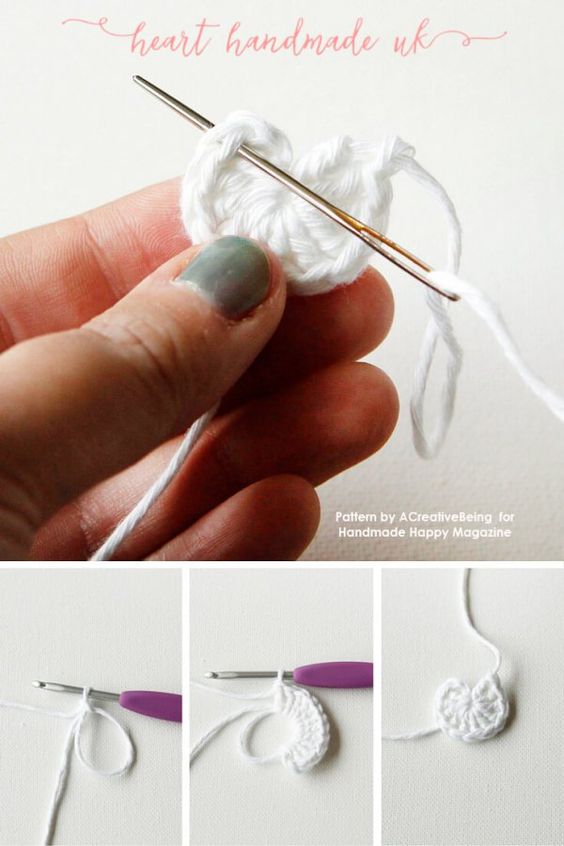
Start with your white yarn. Begin by making a magic circle, and secure with a stitch.
STEP 2
Chain 2, then work 11dc into the ring, for a total of 12 stitches.
Cut the yarn, pull through the loop on your hook, and close the magic circle by pulling on the bottom yarn tail.
Close the circle by threading your yarn tail, and inserting the needle from front to back through the first dc you made, skipping the chain 2.
Insert your needle through the back loop of the last dc you made.
Sew in both ends.
STEP 3
Grab your orange yarn, and start with a slip knot on your hook.
Start by making a dc into your white circle. This way of starting a round is called a standing stitch. We’re going to start all of our new colours like this from now on.
Work 2dc into every stitch around. Your stitch total is now 24. Join with a slip stitch in the first dc.
STEP 4
Chain 3, then work 2dc into the next stitch. Work *1dc, inc* around (inc means increase; work 2 stitches into one stitch). Join with a slip stitch to the top chain of your beginning chain 3. Your stitch total is now 36.
STEP 5
Chain 3, then work 1dc into the next stitch, and 2dc into the stitch after that. Work *2dc, inc* around. Join with a slip stitch. Your stitch total is now 48.
STEP 6
Chain 3, then work 2dc into the next two stitches, and 2dc into the stitch after that. Work *3dc, inc* around. Your stitch total is now 60. Cut the yarn, and join the round like you did with the white circle. Sew in the ends.
STEP 7
Join your white yarn like you did with the orange yarn. Work *4dc, inc* around. Join with a slip stitch. Your stitch total is now 72. Cut the yarn, and join the round like you did with the white circle. Sew in the ends.
STEP 8
Join your orange yarn like you did before. Work *5dc, inc* around. Join with a slip stitch. Your stitch total is now 84. Cut the yarn, and join the round like you did with the white circle. Sew in the ends.
STEP 9
We’re now going to crochet the wedges by using surface slip stitches. Grab your white yarn, and pull it to the front from the centre of your piece. Slip stitch your way up to the second white round. Cut the yarn and sew in the ends. Repeat this 5 more times.
SEWING ON THE BACK OF YOUR POTHOLDER AND FINISHING OFF
STEP 1
We’re going to sew on a piece of felt, to give our pot holder a finished look, and to make it more rugged. Cut out a piece of felt that is the same size as your crochet piece.
STEP 2
Put your crochet piece on top of your felt. Grab some sewing thread and your sewing needle, and attach the felt to the crochet piece using a blanket stitch.
STEP 3
Sew in the ends.
Enjoy Your Crochet Pot holders for Summer!!!
In this tutorial, you’ve learned how to crochet a fruit-inspired pot holder with a felt back.
MELON Pot Holder Crochet:
Change the colours and use some black accent yarn to create the look of seeds for a watermelon pot holder, or make another one in yellow, for a lemon pot holder!
DON’T FORGET TO SIGN UP TO THE DIGITAL FREEBIES LIBRARY TO DOWNLOAD YOUR FREE COPY OF HEART HANDMADE , THE FREE CRAFTY MAGAZINE!
If you loved this adorable Free Pot Holder Crochet Pattern for Summer, you may also enjoy these patterns and designs:


