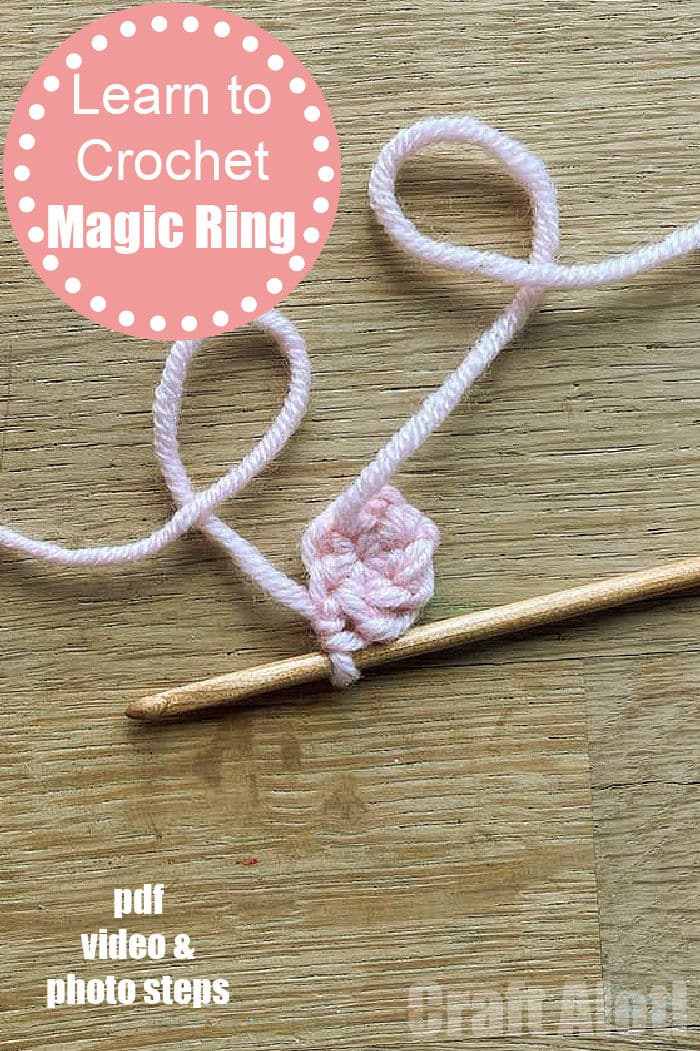
How to Crochet a Magic Ring (Magic Circle Tutorial) +PDF, Photos & Video
Learn how to crochet a magic ring with us today. A magic ring is also sometimes called a Magic Loop or a Magic Circle too and it is a great stitch to master when teaching yourself to crochet! But they are all the same thing and a popular way to start a crochet project, especially 3d crochet projects such as a small cute plushie toy, an amigurumi crochet pattern, crochet hat or crochet coasters and much more… Learn how to make a magic ring is essential to all beginner crocheters!
Also note: affiliate links have been added to this post – should you choose to purchase via these, I will earn a small commission that goes towards the upkeep of this site!
There is no hard or easy magic circle crochet – it is all the same thing.. you create a basic loop, do one chain stitch followed by single crochet. In this tutorial, we have included a magic circle crochet video, and a magic circle crochet pdf is coming soon!
Before you get started on having a go at the magic circle/ ring
Make sure you are comfortable with creating tension when holding your crochet, as well as knowing how to do a chain, as well as a single crochet stitch. We have more videos and instructions for these in our “Beginners Guide to Crochet“. A great place to learn all the basics of how to teach yourself to crochet! We have lots of beginner crochet videos for you to learn from there.
So in summary you must be able to using U.S. terminology:
- Hold tension on your crochet (video tutorial here)
- Be able to do a chain crochet stitch (abbreviated as CH) (video tutorial here)
- Be able to do a single crochet stitch (abbreviated as a SC) (video tutorial here)
What you will need
A ball of yarn and a corresponding crochet hook. We find cotton is the easiest to work with when first giving the magic ring a go. You want to avoid fluffy wool or chenille wool whilst you get the hang of this. Fluffy wool can get tangled, chenille wool can rip when pulling the yarn end in the final step. Smooth cotton yarn is the best for learning!
For a limited time only, there is a free printable version of this tutorial is in teachers pay teachers store (free). Please do take a moment to follow the store if you choose to download it!

How to make a magic ring
As per usual, we have BOTH a magic ring video tutorial (brand new updated video!), as well as detailed step by step photo guide here today. The video instructions are here on auto play, or you can also check out our Crochet Tutorials for Beginners on YouTube. These have all been created by my daughter, Craft Alotl. Do check her out on Instagram and Ravelry for a follow! Or better still, her amazing Crochet Book !
Magic Ring Alternative
Now although, it is GREAT to learn how to do a Magic Ring/ Magic circle (please do check out all the step by step photos below), we also have a great Magic Circle Alternative which is perfect for beginners. You can always add a small stitch at the end of your crochet to “close” any gaps, should you end up with some!
Create the basic magic loop to work with

Hold your hand out flat. So that your four fingers are flat and the thumb off to the side. Place the yarn across the four fingers, the end of the yarn at the bottom and the ball over the top of the four fingers.

Us the thumb to hold the string in place. This is the yarn tail. The rest is called the working yarn and is attached to the ball of yarn.

Flip the hand over.

Wrap the yarn across the the index and middle finger.

Flip your hand again.

Create an X

Flip the hand again. And place the yarn again over the index and middle finger. Between middle finger and ring finger.

This is how it should look!

Take the long end of yarn and pop between ring finger and little finger for extra security. And turn hand.

Pull the middle finger and index finger away from each other to create a gap and create some tension. Grab your hook – with the the hook bit pointing down – lift it under the first piece of yarn – hook over the back piece of yarn and gently pull.

Once under, you need to twist the hook towards you and in and upward motion.
Chain one stitch into the loop
Your first stitch is a chain stitch.

Now chain one, through the loop you have created. So move the hook across to the yarn on the top…

hook it and…

…pull through the loop on the hook.

Pinch the chain you made with your right hand thumb and index finger. Lift the circle/ loop off your left hand.

Now you need to pick up the long piece of yarn attached to the ball and wrap that around your left hand to create tension again. As mentioned, we have a separate video on how to create tension in our Beginner’s Guide To Crochet – which you do need to be comfortable with first!

Now into that ring, you need to do a single crochet. Again. It is best if you are already familiar with how to do a single crochet. And watch our Single Crochet video in the Beginner’s Guide. Begin by holding the magic loop with your left thumb and index finger.
Single Crochet Instructions

Go into the ring. Hook over the yarn and pull through.

Yarn over. Pull through two.

This is your single crochet stitch.

Repeat 5 times. So you have 6 single crochet stitches. Once you have finished your last stitch, do count them, to make sure you have 6 single stitches (6 Sc). 6 Single Crochets into a magic ring are the most common number of single crochet stitches. This is the top and side view of the 6 single crochet stitches into the magic ring.
Closing the magic ring

Take the yarn tail. And gently, but firmly pull it.

Your basic magic circle is FINISHED and your first round of your crochet project is finished. You can now start on the second round of your pattern, by crocheting around it. You may find stitch markers helpful so you know when you have completed a round.
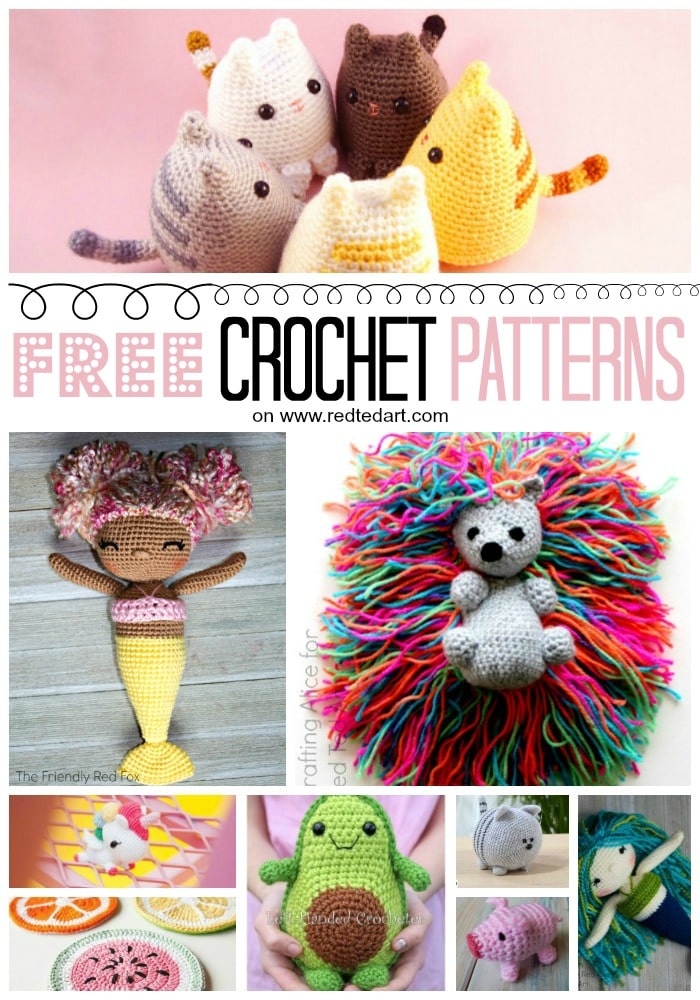
Now you have mastered our magic circle, we have a host of fantastic crochet resources for you. Both a Beginners Guide to Crochet, as well as a set of fantastic Free Crochet Patterns OR Get our brand new Crochet Book: