
How to… make Candle Wicks (& Experiment & Results)
Welcome to this week’s How To – “How to make candle wicks”. As you know, I love to recycle and each year at Christmas we are left with a lot of old, but perfectly good candles. As a child I once received a candle making kit and loved it. I wanted to have another go at making candles – but with things from around the house. To start off I needed some candle wicks. So I looked up how to make candle wicks and found that the recommendations varied. So. I made 3 different types and tested them! We also used Broken Crayons to colour our wax and to avoid landfill!

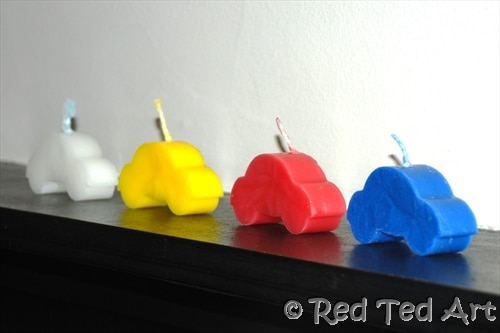
(And whilst you are, come look at our cookie cutter candles – no special shop bought moulds required!)
Materials to make your own candle wicks
Wick 1 (Borax overnight):
- 4 tbsp Borax
- 2 tbsp Salt
- 1.5 cups Water
- * left overnight
- baker’s twine or similar thick cotton
- Once fully dried dipped in candle wax 2-3 times
Wick 2 (Borax 20min):
- Borax
- Salt
- Water
- * left for 20 min
- baker’s twine or similar thick cotton/ cotton cord
- Once fully dried dipped in candle wax 2-3 times
Plain
- bakeer’s twine or similar thick cotton/ cotton cord (I have seen people use embroidery cotton and it seems to work fine..)
- Dipped in candle wax
+ PLUS a purchased wick for the test comparison
How to make a candle wick at home

1) Disolve the borax and salt in warm water
2) Place your cotton/ twine in the solution and leave for the recommended time
3) Place somewhere to dry (e.g. an airing cupboard). The cotton must be FULLY dry before you proceed, so you may want to wait 2-3 days!

4) Heat some wax in a container over hot water (I used an old pot and a can)
")
5) Dip the string, hang it. It will dry very quickly.

6) Dip again. As my can wasn’t very full and my string was very long, I fudged this a bit and just poured more wax over my wicks, then dried those on some foil.
Done!
Now I made some test candles
For your homemade test candles, you will need –
- home made wick,
- old pan of water,
- old tin,
- old candle wax,
- ice cube tray or candle moulds,
- tape
In order to test the candles, I thought I make some little ones – The only ice cube try I could find was our heart shaped one – which actually turned out quite pretty. I got a carried away and made lots – the kids were fascinated!
1) Melt your wax in the tin, which is sitting in a bath of water. I probably filled the tin half way with white wax. I used an old pan of ours, you won’t ruin it, but wax can be a little tricky to clean off, so you may as well use an old one!

2) Tape down your wicks (I could only find my gold tape, but needless to say normal tape is fine, if not better). Once you add the hot wax, it will melt the wax on the wick, making it all floppy and wanting to float. I found the tape then stayed on the candle. So I later tried it with blue tack. Which work just fine, but got really “weird sticky” and was hard to remove from the ice cube tray. Your call. If you want a really professional finishing, then tie your wick to a toothpick and suspend it properly or hold it place with a cloth peg (but then you can’t fill your ice cube tray to the top. Personally I was too lazy, afterall these are test candles. So see step 3.

3) Poor in the hot wax. As it starts to set, prop up the candle wick. Don’t do it too early, it will just fall over or too late, as it will make a mess of your candle surface. This is fiddly and trial and error. And yes, this is where tying to a toothpick is beneficial.
4) Once cooled, pop out of your trays and done. You will find that your wax contracts and that you will get a dip in your candle. You can always top up your wax, but you may create visible layers in the finished candle. It is really just a matter of preference. I don’t mind the dip (too much).
These test candles actually turned out very prettily. And I am going to wrap them in some cellophane and curling ribbon and give these as small presents!
The DIY Candle Wick Test

- Top left: Wick 1 – Borax over night
- Top right – a “real wick” from one of the left over candles
- Bottom left: Plain wick (twine dipped in wax)
- Bottom right: Wick 2 – Borax for 20min
How well did my homemade candle wicks do? Results.
Out of ALL the candles the borax left overnight sample had the best flame – it shone taller than the “real wick”.
All candles burnt the same amount of time. Though the “plain” and the “short borax solution where at risk of drowning in the wax, as their flames were low. If poured away, they lasted longer.

So… my advice?
Make your candle wicks with borax and leave them overnight.
It doesn’t take that long and the flame is much more impressive. However, if you really want to make “candles today” and didn’t have time to make or buy a wick, then you can get away with some cotton or embroidery floss dipped 3-4 times in wax first!
Hope you have fun making your own candle wicks and do have a go at candle making it is great. More candle DIY ideas to here:
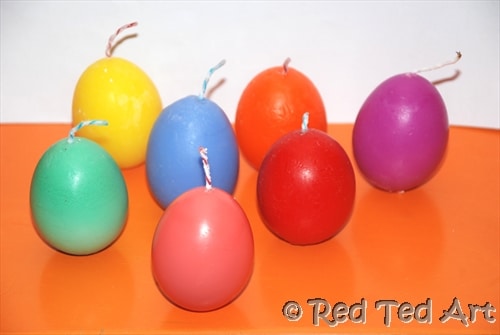
Make Egg Shell Candles:
More great and unexpected uses for broken crayons:
