
How to make a Newspaper Hat for Kids (super easy!)
Newspapers are amazing!!! You can turn newspapers into so many different Newspaper DIY Ideas – thrifty, fun and environmentally friendly. Today, I want to show you how to make a newspaper hat for kids.
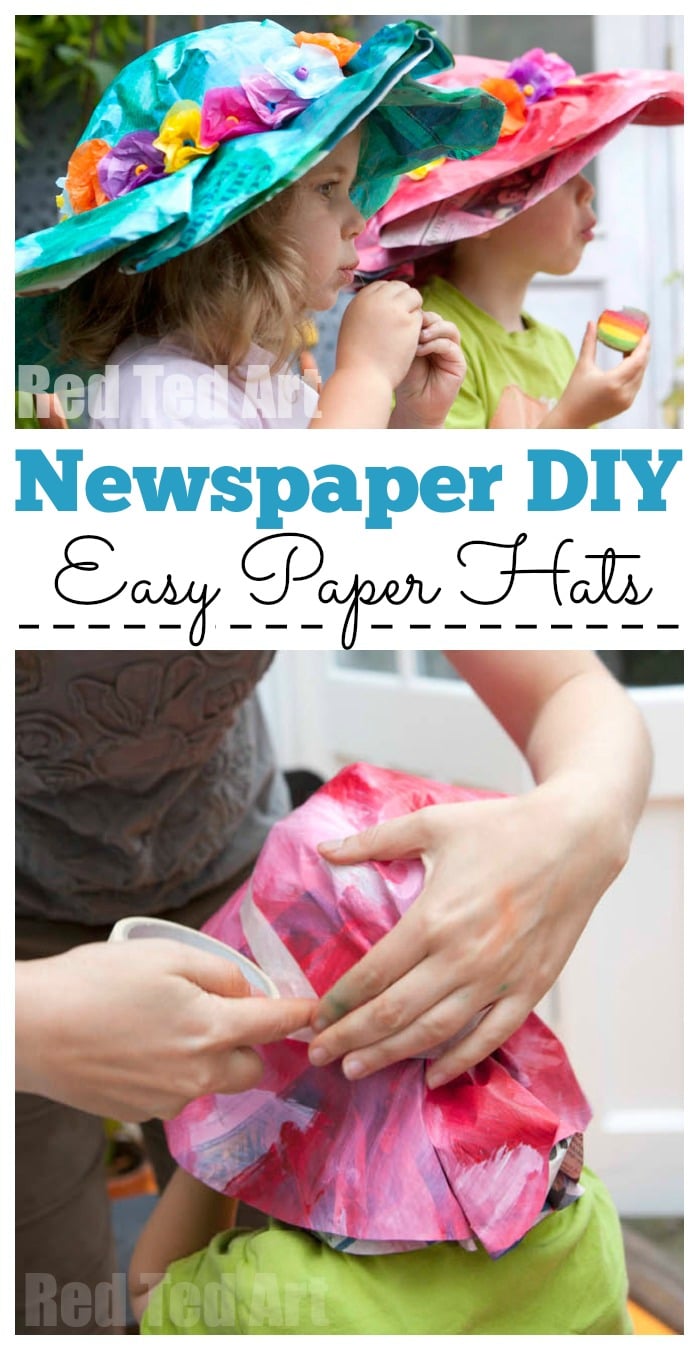
Most people think of origami hats, when you say “newspaper hat”. And indeed the origami newspaper hat is probably the most common and favourite DIY paper hat to make. Those “classic” paper pirate hats, made of triangles and with a skull and cross bones drawn on it. Ours is a little different, it doesn’t require neat folds at certain angles.. and is freer and more creative. And probably is better decribed as a Newspaper Bonnet – like a little old granny may wear. Though we have made this as safari hat before too!
This newspaper hat DIY is super quick and easy to do and is perfect as part of a more elaborate costume idea (wouldn’t it be a great granny hat) or as an Easter Bonnet DIY (in fact, we first made these with Easter Hats for an Easter parade in mind).
We have also made this quick paper hat our of brown packing paper before – to turn it into a more safari hat! One hat.. so many ways to use and decorate to suit any costume or outfit idea! It does however make a great Easter Craft with Newspapers! I have also “seen” people make these hats from large sheets of tissue paper – which is also lovely and a great way to make this hat diy “no mess”… I reckon you could also make some fun last minute party hats like this using odds and ends of wrapping paper! BUT, i love the thriftiness and eco friendliness of using newspapers instead!
So.. onwards, let’s learn how to make your own newspaper hat from a sheet of newspaper (or two)!
To make your Newspaper Hats you will need:
")
For the paper hat itself:
- Newspapers,
- paint,
- masking tape
For the paper hat decorations:
Once you have made a basic paper hat or paper bonnet, you can decorate them in whatever way you wish. As mentioned ours ended up as Easter bonnets for the school Easter parade in the run up to Easter Sunday. But you can use any sorts of embellishments.. in fact you can turn it into dinosaur hats, birthday hats, add ribbons and bows… anything really. We chose to make our own faux flowers and make some hollow egg chicks too.
For our hat we used –
We made some simple tissue paper flowers and leaves:
- Tissue paper,
- glue,
- beads or buttons or scrunched up tissue paper if extra bio-degradable
To turn it into an Easter Bonnet, you will also need:
- Newspaper scraps,
- tissue paper,
- glue,
How to make a Newspaper Hat for Kids – step by step instructions!
This really is a super duper easy hat to make. I hope you enjoy this tutorial for our simple Easter hat today.
Painting the newspaper in desired hat colours

1) Paint two sheets of news paper in your desired colour.
We did two sheets to give the hat more body and also, so that you get colour on both sides… however, should your hat get wet, you may end up with a red rim around you head.. I am not sure!
So really.. you can paint just the one sheet if you wish! Our sheet paint was “team work”, as we don’t have enough space to do all at once. But it was lovely to paint together.
Shaping the newspaper into a simple bonnet hat

2) Once dry, cut out a circle. The easiest way, was to fold the paper twice and cut out a quarter.
")
3) Place the paper on top the child’s head, fold down and tape round with masking tape. Then fold up the sides. You may want to practice with some “non painted” newspaper first and save the coloured paper for last.

HAT DONE! And you can use this hat for any situation! Doesn’t need to be for Easter Bonnets, could be for a fancy dress party or “just because”.
Decorating your newspaper hats with flowers, chicks and eggs:
As mentioned we turned ours into Easter bonnets using spring themed flowers and our tissue paper chicks. But there are lots of ways you can decorate – e.g. you could add large bunny ears and make and Easter bunny hat, you can cut out cardboard shapes (eg. bunny shapes, chick shapes and egg shapes), paint them and add them to the rim… there lots of things, your creativity is the limit!

1) We made some flowers – I thought that an Easter Bonnet should have Spring flowers. We ended up using them all on Pip Squeak’s hat, as Red Ted only wanted leaves and eggs! But that is fine by me. To make the Spring flowers, we used 4 sheets of oval tissue paper and a bead. And just stuck them all together with PVA. You don’t need much glue to get the tissue paper to stick. We used oval paper, so that they over lap a little like petals. Once stuck, we scrunched them up a bit. Cut some leaves and add to your hat!

2) Mini Easter Eggs – as mentioned Red Ted wanted lots of eggs on his. He started sticking on lots of leaves too. I rather liked his idea – as it made his head look a bit like a nest! Cute! To make the mini Easter eggs, we scrunched up newspaper in a mini egg shape. Added glue to your tissue paper and wrapped it around. Then we let them dry.


3) Here is Red Ted’s “nest” including our Rooster & Hen Easter Eggs.
Done. You have your newspaper hats finished. Much fun was had whilst making these dressy bonnet DIYs.
I love the Chick & Egg versions, as well as the flower versions. They make great Easter Bonnets, don’t you think? They are perfect for joining the Easter bonnet parade, either at school or on Easter Sunday! Enjoy!
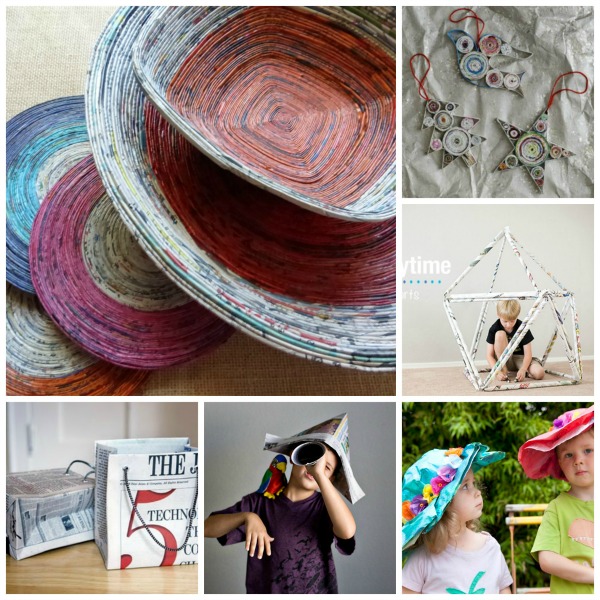
Now we have more fabulous ideas for you here on Red Ted Art, do take a peak:
More fabulous Newspaper DIYs or more specifically Easter Newspaper Crafts!
Find the rest of our Easter Bonnet ideas and tutorials for kids here! Homemade Easter bonnets really are the best!

This includes a gorgeous Spring Hat by Sun Hats and Wellie boots – combining a construction paper headband with pipe cleaners to make lovely flowers.