Easy Kids Monster Purse DIY
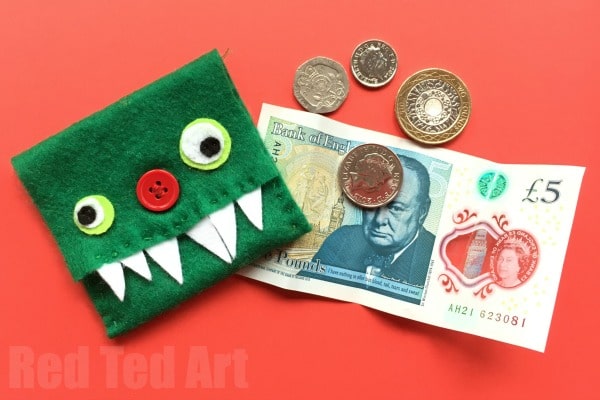
My kids LOVE to sew at the moment, especially my daughter. If she could have her way she would be doing a new Sewing Project every day. My son on the other hand *quite* likes to sew. However, he needs to be encourage a little, and also needs nice and easy and QUICK Sewing Projects for Kids! So when I decided to teach the kids how to sew a purse, I thought a MONSTER Purse DIY may be just the thing for him. I also love the idea that the purse’s button doubles up as the monster’s nose. So a monster was an easy choice. The great thing about ANYTHING “Monster-ish”, is that there is no “right or wrong” – ie the kids can let the imaginations run wild without having to worry about whether their craft looks realistic or not! So this monster purse DIY can be adapted into any purse design of course and is a great way to learn how to sew a purse for beginners! It is a wonderful project for teaching kids to sew and hopefully you will be inspired to give it a go too.
If your child needs to take dinner money to school, then I think this makes a great addition to an DIY School Supplies activities!!
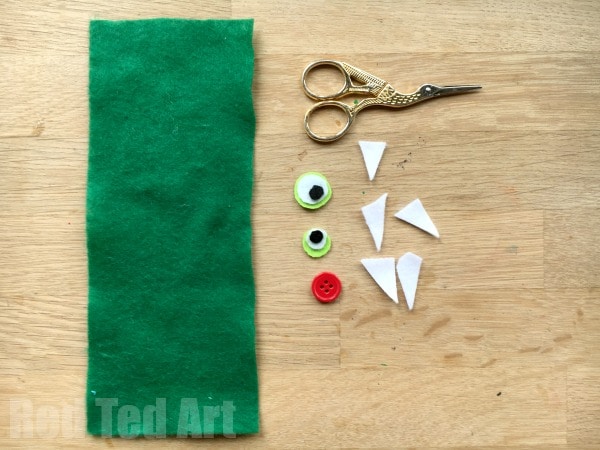
Monster Purse DIY – Materials
- Large rectangular sheet of felt in the desired colour
- Large button
- Felt pieces for eyes and teeth
- Embroidery threads and needles
How to Sew a Purse for Beginners – Monsters Style!
Now to be honest you can use almost ANY basic sewing stitch to make this Monster purse diy. We decided to go with a running stitch, but I do think an over stitch or even a blanket stitch would look gorgeous too! As per usual, we have a how to sew a purse video for you next, with written step by step instructions below.
- The size of your rectangle doesn’t really matter… you need to be able to fold it in thirds to make the overlap and “purse bit”. My felt was around 21cm long and 8.5 cm wide.
- Overlap your pieces of felt so you know you rough position for your button.
- Sew on your button first. If you are a beginner sewer it is MUCH easier to sew the button on at this stage.
- Once the button is in place, fold up the piece with the button on to just over 1/3 of the way and sew along both edges
- Fold down the flap, carefully cut a slit for the button (not too big!) and then sew on your teeth (lots of triangles) and eyes (lots of circles). You CAN glue the eyes on with fabric glue, but I think sewing is a bit strong.
And your Monster Purse DIY is done! You have now learnt to sew a purse!! And you can decorate it whatever way you wish!
We have MANY more Sewing Projects for Kids for you to browse:
Don’t know where to start teaching kids to sew? Check out this Teaching kids to sew article, to help you get started!


