
Mune Facepaint Tutorial #MuneLaunchParty
This is a sponsored post
Oh we do love this time of year. Lots of wonderful new movies out in both the cinema, as well as on DVD and digital download for home viewing. Nothing quite like snuggling up on the sofa, with a hot cup of cocoa and watching a movie. Today, is all about the DVD release of Mune: Guardian of The Moon. And with the Halloween dress up season just around the corner, we though a magical Mune Facepainting tutorial may be just the thing for you!
A little about the movie
In a land far away, the sun and moon?shine only thanks to heroic Guardians.? But when the most unlikely little creature, Mune, is chosen to be the new Guardian? of the Moon, a series of unfortunate events occur, leading the sun to fall into the hands of a disgraced Guardian seeking revenge. Teaming up with Sohone, the swaggering new Guardian of the Sun, and Glim, a fragile yet witty girl, Mune and his friends must embark on a magnificent adventure to rescue the sun and save their world.? If he succeeds, Mune will be a legend forever more.
Mune is available on available on digital download and DVD now!
Find out more and watch the Mune Trailer

To Paint A Mune (Guardian Of The Moon) Face You Will need
- Snazaroo paintbrushes (oryou can use any good quality paint brush)
- Snazaroo Facepaint Sponges
- Metallic Electric Blue
- White
- Sparkle Turquoise (you can use classic turquoise)
- Sparkle Blue (you can use classic blue)
- Black
- Silver glitter gel
- Kitchen towel (to dry wet brushes and wipe off excess paint)
- Two glasses of water

Creating your MUNE Facepainting

Before starting brush over all the colours you’re using with a light layer of water. This will make them slightly damp and easier to use.
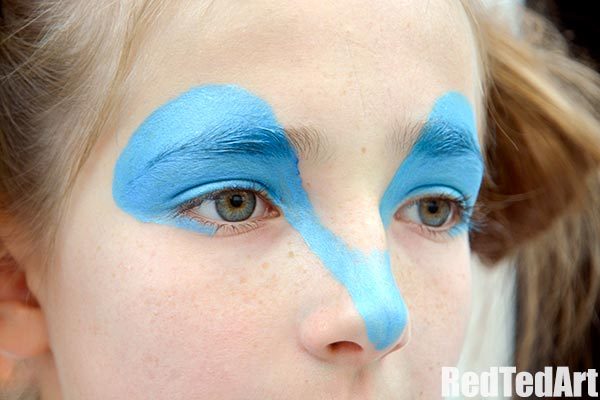
- Start by outlining the eye and nose area with a mix of sky blue and bright blue. To mix .. load a paint brush with the bright blue and mix into the corner of the sky blue. (I use a paintbrush to apply)
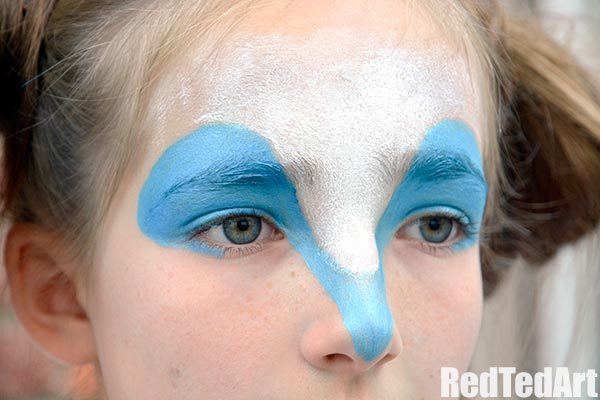
- Using a sponge carefully colour in the rest of the face with a light layer of white, followed by the light blue The white base will lighten and add a brightness to the sky blue. Don’t go past the mouth area and don’t worry if you blur the edges of the eye colour as you can go over this after wards. The bottom lip becomes the bottom of Mune’s face.
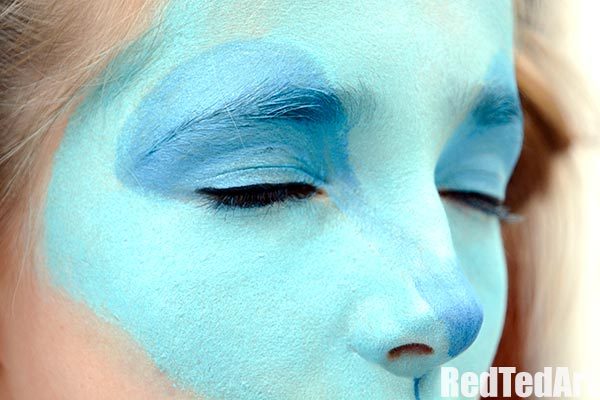
- Using a fine paintbrush paint a thin black line across the top of the eyelid and half way along the bottom of the eye area (a bit like you’d apply eyeliner). Next, again using the fine paint brush outline the darker blue eye area from just above the eyebrow and around so that it curves in under the eye.
- If you need to touch up any area of the darker nose and eye area

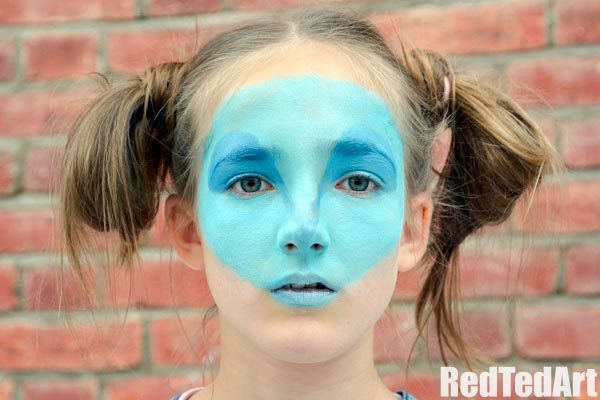
- Using a larger coarser brush (You could use a toothbrush) carefully flick small white dots over the face. To do this take your brush with white faceprint on, hold it in front of the face and pul back the bristles with you finger and let go. This will create little spots of facepaint. It’s worth practicing on a hand first so you can feel how far away to hold the brush from the face.
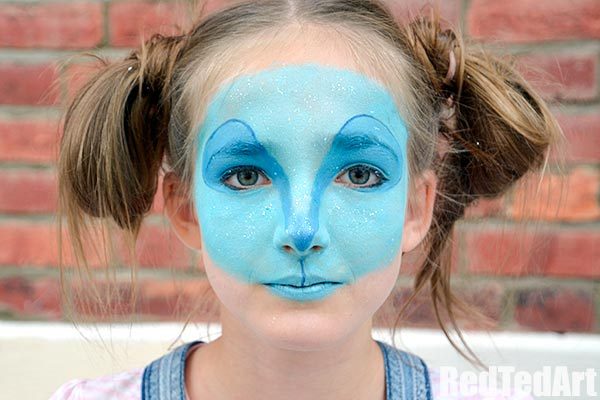 6. When the faceprint has all dried add small amounts of silver glitter gel to the face.
A big thank you to Anthea and her fabulous daughter for creating this fantastic tutorial for us. More great Facepainting ideas here! I hope you get a chance to check out the movie and have your own #MuneLaunchParty complete with gorgeous facepaints!