
How to make a Newspaper Origami Envelope
We love being thrifty! And we love getting crafty… combine the two and it is time for some Newspaper Crafts (well and Toilet Paper Roll Crafts – both are amazing materails to craft with.. but I digress!).
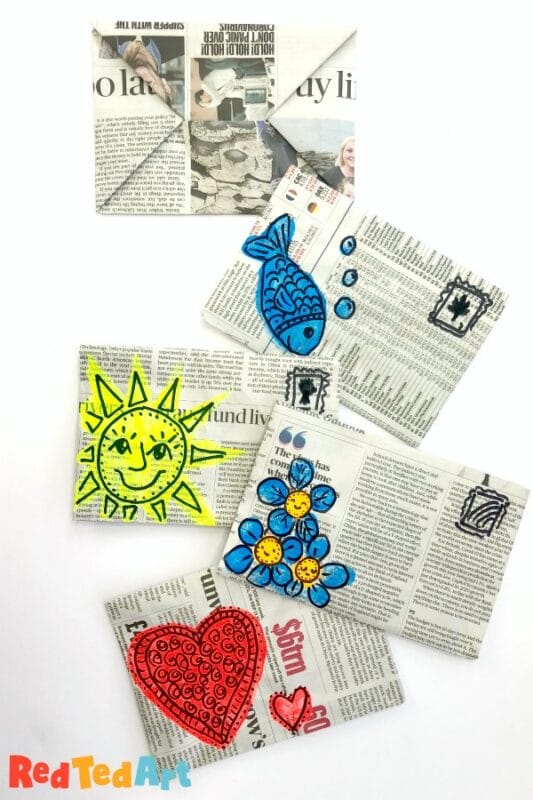
As we have been making a lot of Pop Up Cards lately, we thought a Newspaper Origami Envelope to go with them would be useful. They are easy to make and can be decorated with bright contrasting colours and patterns.
Why not check out our Rainbow Pop Up Cards (featured in the newspaper origami video!!). So cute and easy to make.
Materials needed for Newspaper Envelopes
- all you need is newspaper.. BUT.. if you wish..
- you can use scissors for a neater edge
- paints and pens to decorate (you could also use washi tape or stickers if you wish!)
- optional – scraps of white paper to use as address lables and glue on
How to make a newspaper origami envelope
Yes these newspaper envelopes are indeed a simple origami envelope made from square paper. So you will have to shape your newspaper into a square first (we show you how!). Origami is much easier than you think, you just need the right Origami Pattern for Beginners. And this origami envelope pattern is very “forgiving”, i.e. you don’t need the neatest edges or creases for it to work!
You can choose to follow our easy video tutorial or our step by step How To instructions below.
How to make origami envelopes – step by step instructions
Time needed: 5 minutes
Making these simple newspaper envelopes is SUPER DUPER QUICK! Really each one takes less than 5minutes. The only “but”, is how you choose to decorate it. If you use paints like I did, then you will need to allow for drying times too. But if you use stickers or washi tape or just pens, the 5minutes still stands. Really.. you can expand this activity as much or as little as you like. I love that you can personalise these newspaper envelopes to suit your need!
- Turn your newspaper into a square
The first thing you have to do, is turn your newspaper sheet into a square. We found that a UK Boardsheet, cut in half and turned into a square is the perfect fit for an A6 card to be sent!
So. Cut the sheet in half. Fold up the corner to make a triangle and cut the excess. Unfold to reveal the square!
- Make a central line fold as a marker
Fold the bottom up by about 1cm
-
Then fold again to meet the middle line.
-
Turn in the corners.
-
Fold the sides in – the fold is as wide as the triangle you made
- Make the flap of your envelope
Fold in the top corner half way. To make a triangle.
-
Repeat on the other side.
-
Fold down and tuck. Neaten all the creases. Finally decorate as you wish!


I used brightly coloured finger paints and a black pen to decorate our cards. But as mentioned you can personalise these envelopes in whatever way you fancy!
Aren’t they cute? Thrifty, quick to make.. and you can customise these enveloopes in whatever way you wish! Great for when you need an envelope in a hurry too!

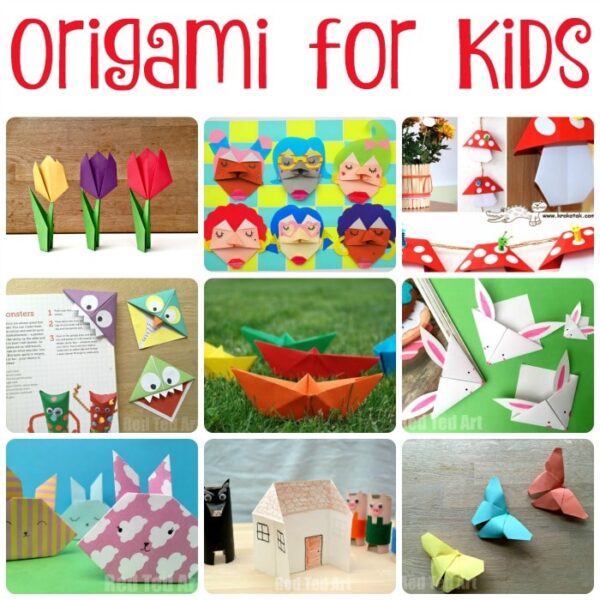
More Easy Origami Projects for Kids (including more “types” of origami envelopes):
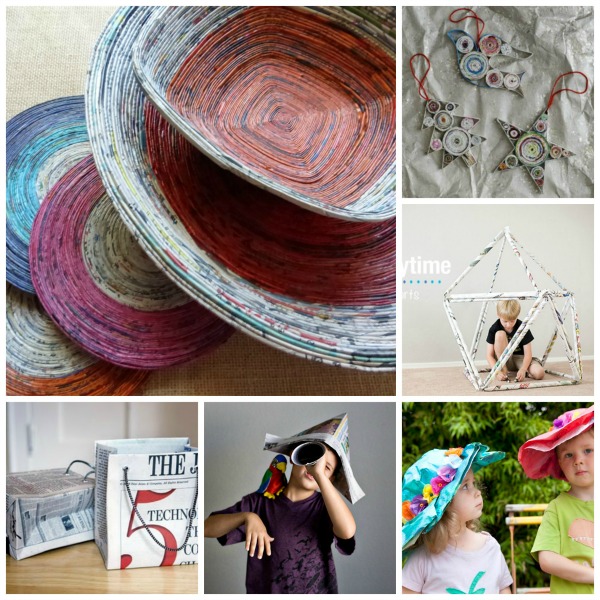
More DIY Newspaper Ideas (we particularly love the simple newspaper flowers and photo frames!):
Need more ideas? Here is a cute Comic Book Envelope by Steemit too!