
Northern Lights Suncatcher Craft For Preschoolers this Winter
A gorgeous Suncatcher Craft for you today. This would make great story time and Winter Art Project for Preschoolers. As we explore a delightful book about the Northern Lights, as well as a fantastic and easy craft project for little ones: The Nothern Lights Suncatcher Craft!
NOTE: Affiliate links have been added for your convenience, should you choose to purchase via these links, I will earn a small comission (at no cost to you) that goes towards the upkeep of this website!
Today’s post is a lovely guest post by children’s author Ashley Key. It explores her gorgeous book Dash and the Lights in the Sky with this wonderfully easy but oh so pretty Suncatcher art activity for preschoolers.
Story + Art Activity – Northern Lights Suncatchers
by Ashley Key
Dash and the Lights in the Sky is a poetic children’s book that blends storytelling, science, and Arctic wonder into one dazzling winter adventure.
One wintry night, Dash the husky looks up to see a strange glow dancing across the sky. With the help of Echo the wise owl and Nimbus the playful Arctic fox, he uncovers the science behind the aurora borealis-the Northern Lights.
Through lyrical rhyme and vivid imagery, young readers explore big ideas like atmosphere, particles, magnetism, and energy transfer in an accessible, enchanting way. Designed for ages 0-8, this book introduces early STEM learning while preserving the rhythm and warmth of a bedtime story.
Learn about the Northern Lights
Some quick facts to discuss with your child!
Aurora fact:
Red, green, purple, and blue tissue paper mimic the real gases that glow in Earth’s sky.
Science note:
Auroras glow when charged particles from the sun collide with oxygen and nitrogen in the atmosphere.
Supplies You’ll Need
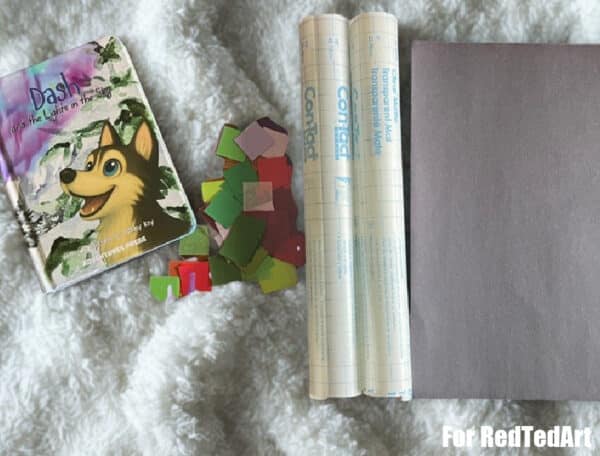
- Tissue paper squares in red, green, blue, purple, and pink (we love to save and recycle tissue paper from packaging and gifts! It is amazing, how many colours you can collect)
- Clear contact paper
- Black construction paper
- Scissors
- Tape (for securing your work as you go)
- A bright window
Aurora fact:
Red, green, purple, and blue tissue paper mimic the real gases that glow in Earth’s sky.
How to make your Northern Lights Suncatchers
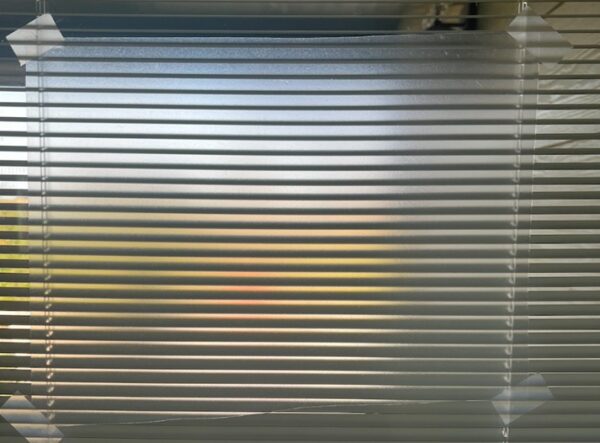
Step 1: Prepare Your “Sky” Surface
Tape a sheet of clear contact paper to a window, sticky side facing out towards you.
Smooth out any wrinkles or bubbles.
This becomes your “atmosphere layer,” just like where real auroras glow.
Note: As with other suncatcher crafts, you CAN do this flat on a table first if you wish, BUT hanging it on the window allows you to explore a little color theory science as you go! And the northern lights is all about color and coloring mixing, we love the window version of this process!
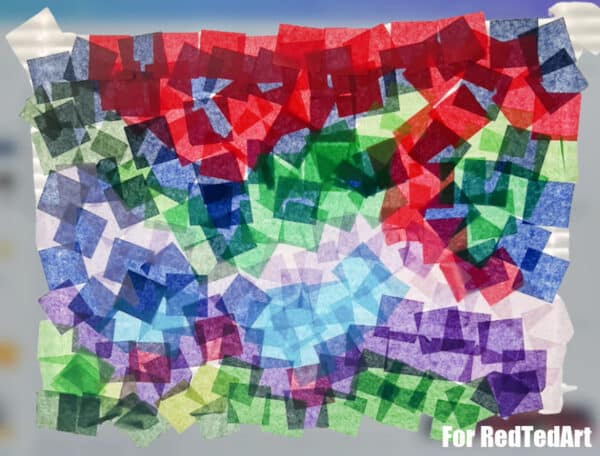
Step 2: Add Your First Colors
Press tissue paper squares onto the sticky surface. Encourage kids to make gentle curves or waves with one color at a time.
Extra prompts for creativity:
- “Can you swirl the green like a ribbon?”
- “Overlap purple and blue to make a new color!”
- “Make the red rise like a glowing curtain!”
Science note:
Auroras glow when charged particles from the sun collide with oxygen and nitrogen in the atmosphere.
Step 3: Build Up the Aurora Layers
Layer colors generously. Overlapping squares creates depth and movement—just like real auroras, which appear in layered bands, arcs, and ripples.
Scientifically accurate color magic:
- Green = lower-altitude oxygen
- Red = high-altitude oxygen
- Purple/blue = nitrogen
Creating tissue-paper layers is a perfect art analogy for these atmospheric layers.
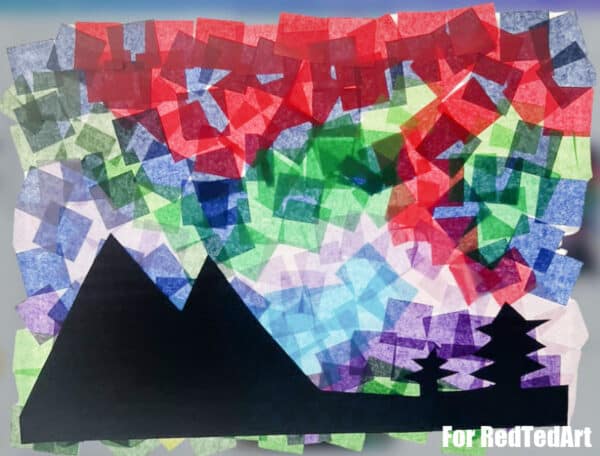
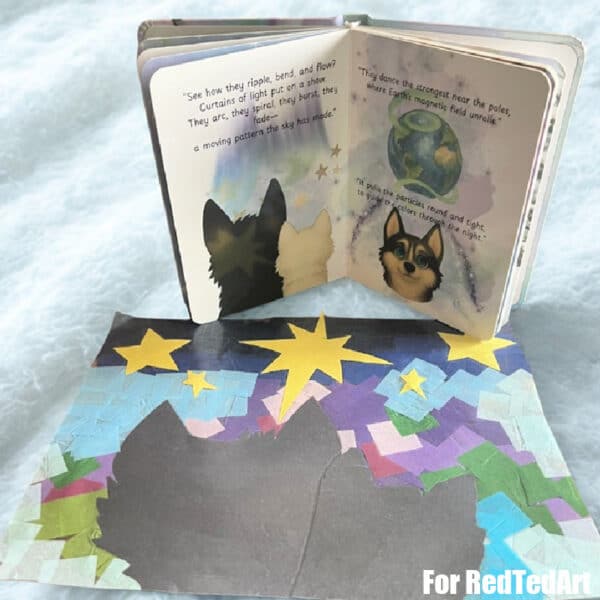
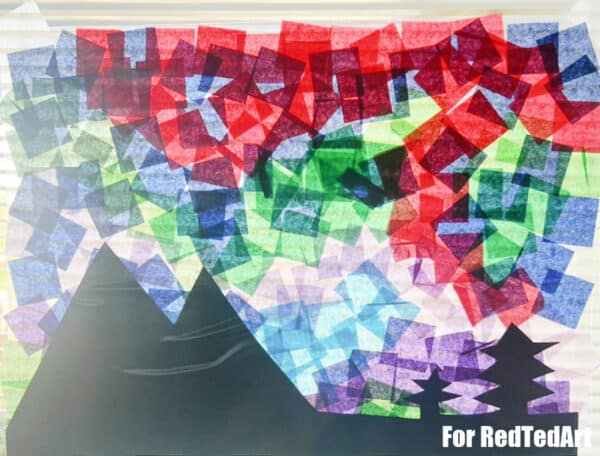
Step 4: Add Landscape Silhouettes
Cut mountains, trees, or even Arctic animals from black construction paper.
Place them along the bottom to create a dramatic horizon.
Tip: Just use tap on the back instead of glue and the second sheet of contact paper will keep it all in place.
Silhouettes make the colors pop and create that classic aurora-above-the-mountains feeling.
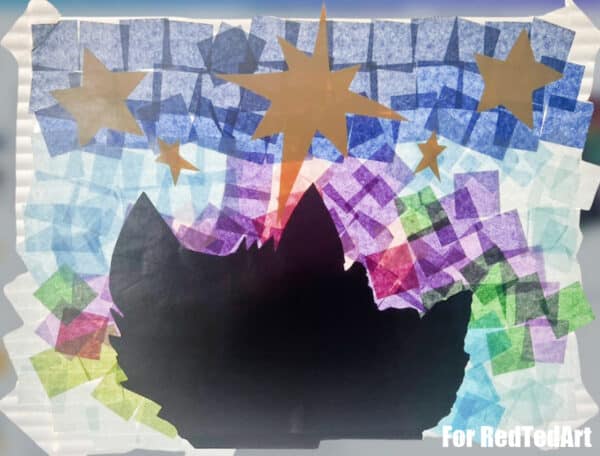
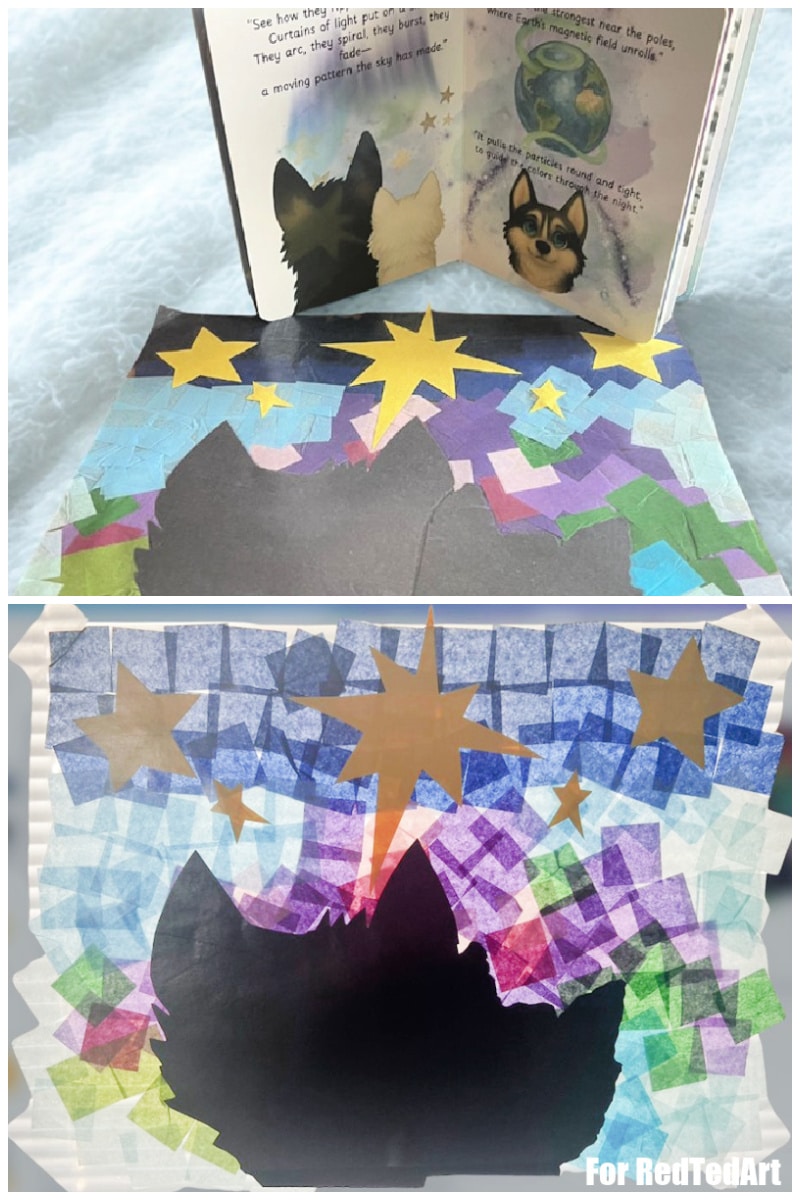
Optional: Create a Starry Night Version
Kids can also experiment with stars and sky shapes for a different look.
Here we have our Wolf Heads to go with the story!
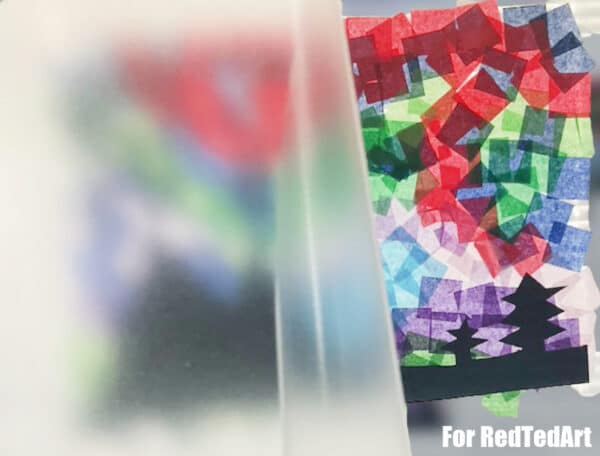
Step 5: Seal Your Artwork (Optional)
Not strictly necessary, but if you wish you can seal your artwork for a little more longevity. Though we rarely do this with our other suncatcher crafts!
Lay a second sheet of contact paper sticky-side down on top.
Start at one edge and smooth it carefully to avoid wrinkles.
Pull it gently off the window—your suncatcher is ready!
Step 6: Hang & Enjoy the Glow
Hang your finished suncatcher in a sunny window and watch how the colors shift, brighten, and drift throughout the day — just like the real aurora Dash sees in the story. Morning light makes the colors soft and dreamy, midday sun makes them bold and bright, and evening light turns them into a warm watercolor glow.
Invite kids to observe like little scientists:
- “Which color looks brightest at noon?”
- “Does the purple glow more when the sun is low?”
- “Does it look different on a cloudy day?”
This simple moment turns your artwork into a mini aurora experiment, connecting art, science, and storytelling all at once.
STEAM Extension: Learn More with Dash and the Lights in the Sky
For a deeper dive into science + art, pair this craft with Dash and the Lights in the Sky, a STEAM story about a husky, owl, and arctic fox discovering the aurora.
**Softcover and hardcover editions include extra science pages and more art activities in the back, perfect for extending this craft.
**Board book version is ideal for younger crafters.
Find the book here:
A bit thank you to Ashley Key and this super cute craft activity to go with her lovely book! Do grab yourself a copy!
More wonderful Winter Art Projects for Preschoolers here:
