Paper Plate Bunny Purse for Easter
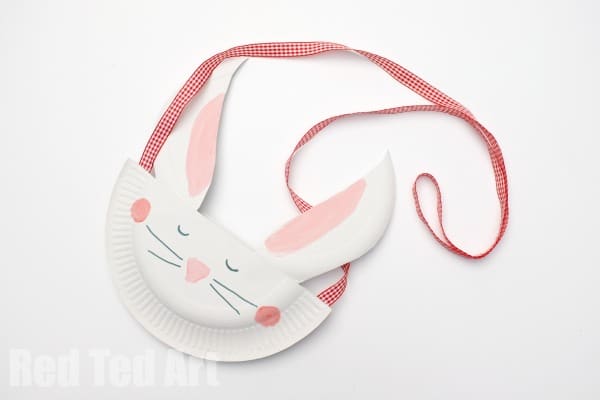
Time for a cute Easter Craft for Preschoolers. Have a go at making some adorable Paper Plate Bunny Purse or our Paper Plate Chick Purse. A super cute craft that toddler or preschooler will LOVE to “wear” and use aftewards. The perfect accessory for the Easter Egg hunt or Easter parade outfit!
We do love simple crafts that you can enjoy with the kids. Here is a great little craft for Easter (or any time of year really.. but particularly for Easter!!) use some left over party paper plates and turn them into these ADORABLE little Bunny and Chick purses. They are super quick and easy to make and will leave you wanting to make more and more and more!
This posts shows you how to make the paper plate bunny purse – with step by step photos. If you are after JUST the paper plate chick.. hop on over here:

Supplies needed to make this adorable Paper Plate Easter Bunny Purse!
- 2 Paper plates for the bunny, 1 Paper plate for the chick
- Wool or ribbon for the strap
- Scissors
- Paint & accessories such as feathers or felt
- Glue
- Stapler (optional)
How to make a paper plate bunny purse for Easter
The video on auto play shows you how to make the paper plate chick purse.. and here we have step by step photos for your Easter Rabbit version!
1. Prepaper your paper plate
The great thing is, that you don’t need to use paints for the bunny version – you can get away with just using pens if you wish. If you are making a chick, you will to paint it yellow first (or in any colour your wish!! Chick don’t HAVE to be yellow!). Once dry.. or if keeping plain white, cut your paper plate in half.
2. Make your Easter rabbit ears
For the Bunny you will need to cut out some ears – you can see above how to make the most out of your plate to get some lovely big bunny ears. You can also use plain white card if your prefer.
3. Attach the rabbit ears to your paper plate purse
Glue/ staple or sello tape your ears in place. Glue will take a while to dry.. so you may want to tape or staple
4. Assemble your basic paper plate purse
Place your ribbon or wool, between your paper plates and now add lots of glue to keep the two sides together, as well as securing the ribbon in place.
For the chick we stapled this.
So you can see that both look nice! Stapling IS quicker… but glue may be easier for younger kids.
Another way you can do this, is to “hole punch” holes all the way around the base and then turn this into a lacing activity.
5. Decorate your paper plate purse to look like a bunny
Paint on your details – we used paint for the ears, nose and cheeks and the pen for the black details.
You can use markers only if you prefer… for the chick we glued on some feathers (you can draw them on or use card) as well as a little felt for the beak (again use card if your prefer) and drew on an eye!
Ta-daaaaaaa.
Aren’t they lovely?! The kids couldn’t decide who wanted which one.. so the great thing is…. We can make ANOTHER SET IN NO TIME as they are so quick and easy to make…. Lovely!
Enjoy our thrifty little Easter craft and hope to see you again soon!
We have another fun Paper Plate Bunny for you – these little guys rock!
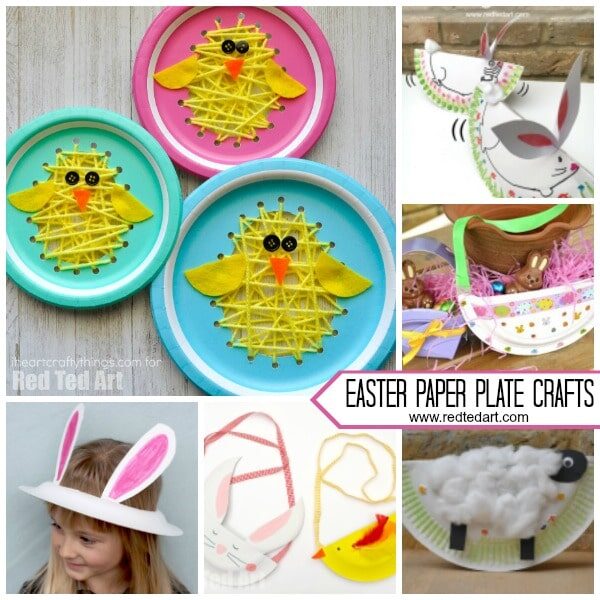
Check out the rest of our Paper Plate Easter Crafts for Preschoolers:
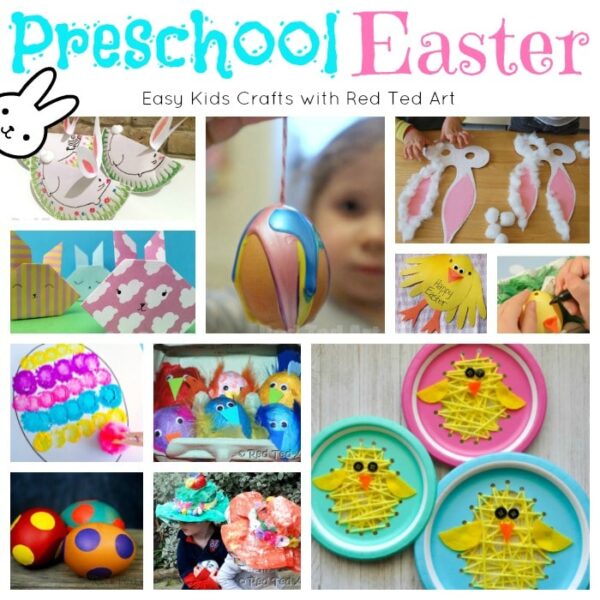
We also have a more extensive collection of Easter Crafts for Preschoolers and Toddlers!
If you enjoyed this paper plate bunny purse why not pin it to Pinterest for safe keeping?


