Paper Weaving Ladybug Project
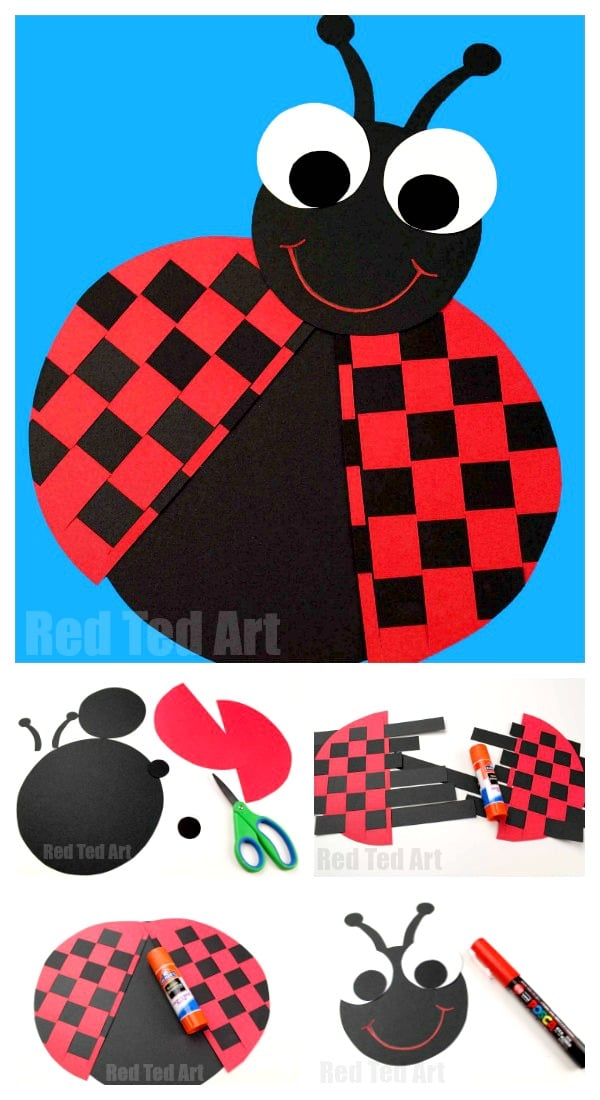
Hooray! Time for another wonderful Paper Weaving Craft (with template, should you prefer to use it! We do love the assistance of a free printable here and there!). Today’s paper weaving craft idea is a Paper Weaving Ladybug Project. Wonderful Paper Crafts for Preschool and a perfect Summer Crafts for Preschoolers!
So, if you are after a ladybug Paper Weaving Template, read on.. you can click on the big red button below to get your copy. We follow are really easy paper weaving procedure that I hope you and the kids will love. And we have many more Paper Weaving Craft Ideas for you to explore. These ladybugs can be made with “ordinary paper” or as a Construction Paper Weaving craft!
If you loved this paper weaving ladybug.. you may also ADORE our Paper Ladybug Bookmark Corner – a great beginners project too!
Ladybug Paper Weaving Project – Materials
We have a short slide show video or you just follow the step by step instructions below!! Happy Crafting!
Step by Steo Paper Weaving Instructions
- Print your free Ladybug Templates (click on the big red button below)
- Red construction paper
- Black construction paper
- Scissors
- Glue
- Marker Pen
- Red “Paint pen” for mouth (or cut a mouth and stick)
*Though you can your paper strips by hand, a paper cutter really makes life MUCH easier.. do invest in one.. you can choose from all sorts here – US/ UK (affiliate links)
How to make a ladybug from paper (paper weaving projects for kids)
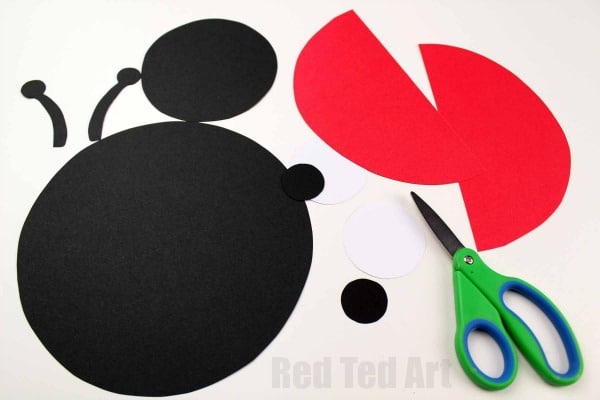
Cut out the basic ladybug shapes
Download the ladybug template and print out. Cut the template out.
Trace the template onto cardstock and cut out. (refer to the photos)
Cut the wing, antanee and eye x2.
Weaving the ladbug’s wings
Fold each wing in half and cut slits into the cardstock. Be careful not to cut too close to the edge to avoid tearing.
Cut strips of black cardstock. It is fine to cut these by hand, but as mentioned above, a paper cutter really does help!
Weave the strips in and out of the slits in the wings.
Glue the edges of the paper strips to keep them from moving out of place.
Cut off excess paper around the wings.
Glue the wings onto the ladybug’s abdomen.
Assembling the paper ladybug’s face
Glue the eyes together and then glue the eyes onto the ladybug’s head.
Glue the antanee onto the back of the ladybug’s head. The children will love this process and it is when the ladybugs really develop their own characters!!
Use a red paint pen to draw a smile onto the ladybug’s head. If you don’t have a pen like this, why not cut out a mouth from card and stick it on!
Glue the head onto the ladybug’s abdomen.
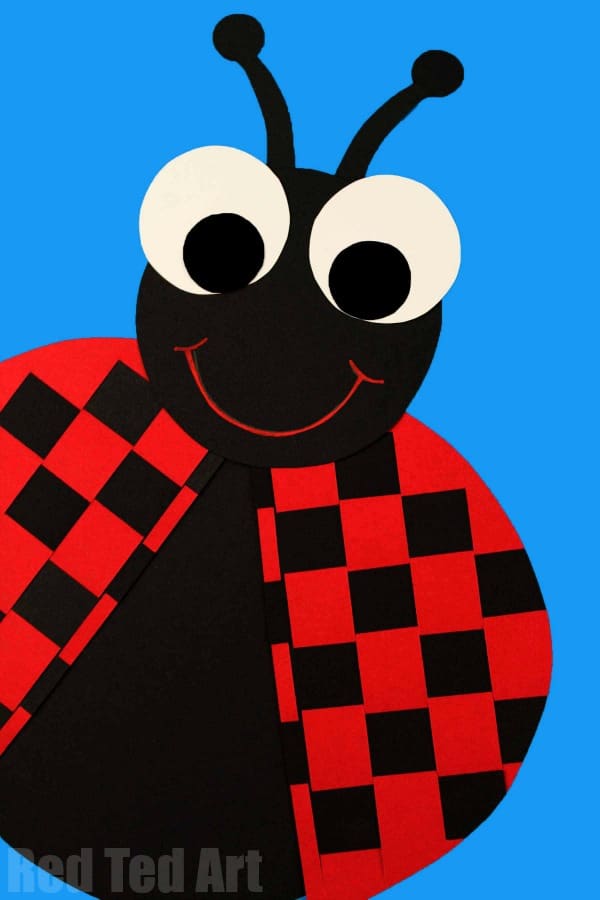
Your ladybug is finished!
Glue your ladybird’s head on! Your Paper Ladybug Craft is now finished!! Enjoy. Don’t you think this would be a great paper ladybug for school project? Hopefully an easy way to teach preschoolers or KS1 how to make a ladybug out of paper!
Lots more Summer Crafts for Preschoolers here:


