
Pine Cone Crafts: Fire Starters
We are always on the look out for clever crafts and this pine cone craft is just one of these – turn your pinecones into fire starters. I spotted this in A Green Guide to Country Crafts a few weeks ago. A lovely book, which takes you back to traditional crafting -from soap making to, natural dyes and patchwork, to fun ideas like these pine cone fire starters.
I made ours from recycled candles, some wicks I bought (but you can make your own or use some string) and I used cookie cutters as a “Mould”. I love that these cost me pretty much nothing to make and are great way to use up all those pine cones, we always bring home.
UPDATE: Facebook reader Natalie, suggests adding a drop of Cinnamon Oil for that extra Christmassy feeling. Love.

Pine Cone Fire Starters Materials:
- Pine cones
- Old candles ends
- Some wicks or string
Utensils:
- old tin can (for melting wax in)
- saucepan (for heating the tin can)
- Aluminium foil
- large cookie cutters – you could use moulds instead if you have them.
In essence we are making these pinecone candles in exactly the same way that I made Cookie Cutter candles AGES ago. It is a fun technique, that uses things from around the home. There is usually a little “leakage”, but it is managable and you can reuse the leaked wax.
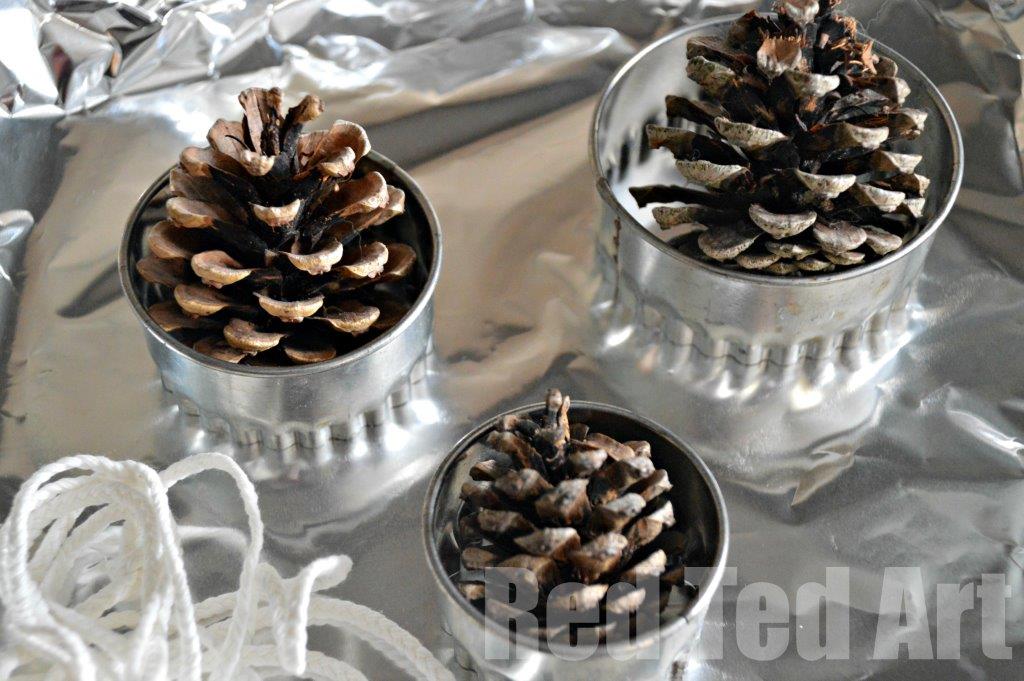
1) Check your cookie cutters for size and fit. The foil is there to help make an even surface, to reduce “wax leakage” and if does leak, means you can remove it easily too.
2) Heat your wax in the tin can (see our Easter Egg Candle Making post for more info).
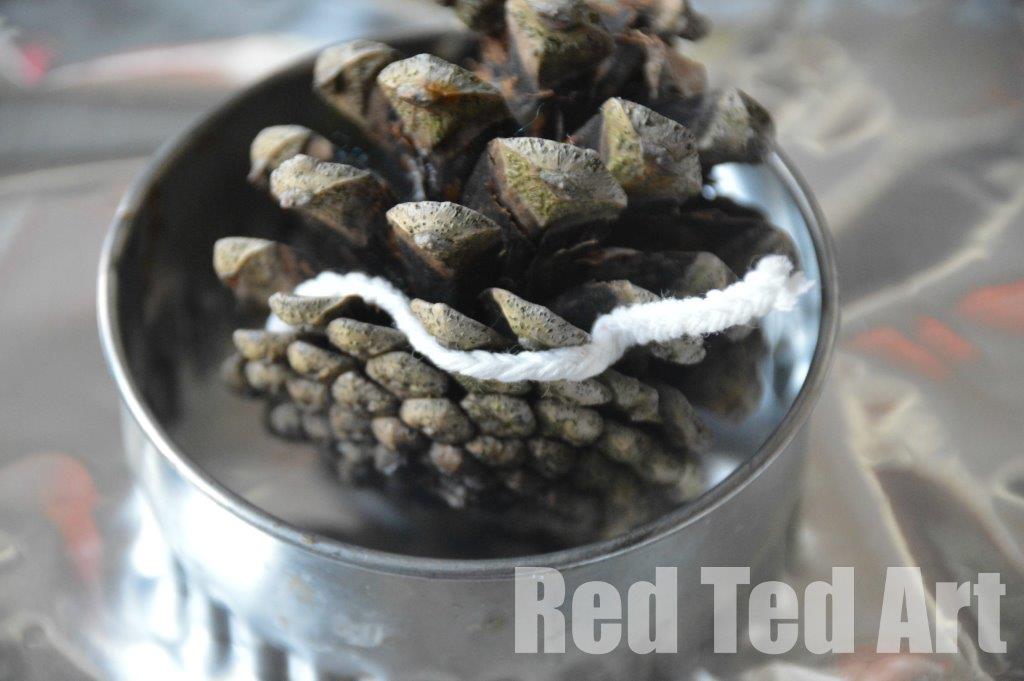
3) Wind your wick around the pine cone and pop it into your mould – make sure the wick sticks out!
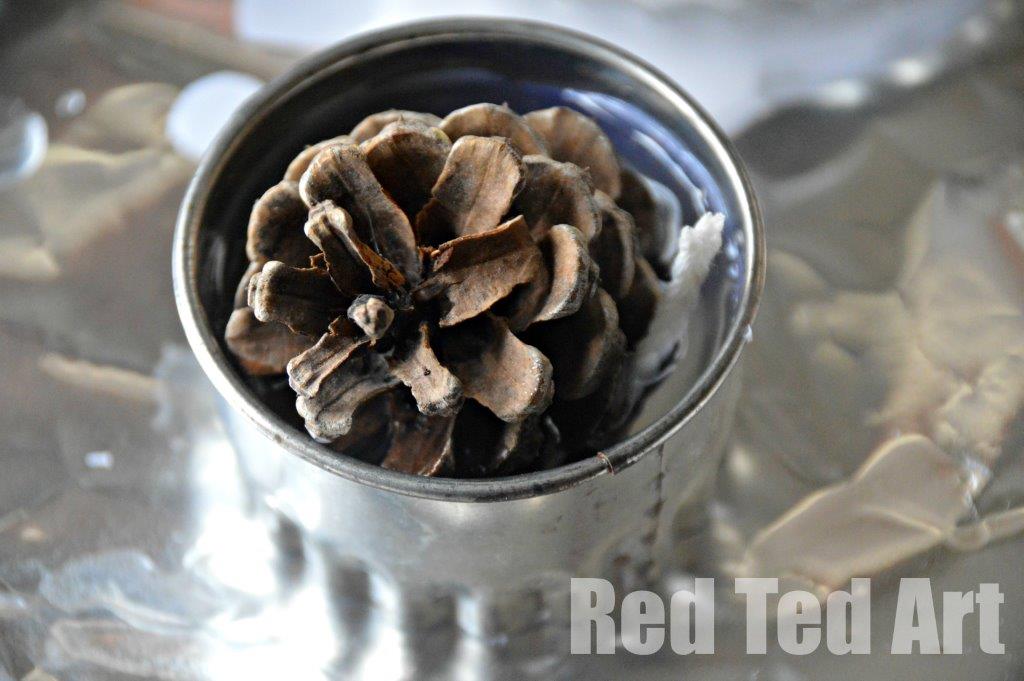
4) Carefully pour in your wax and pop your pinecone on top. Remember you don’t want TOO much wax, just enough to keep the wick alight and start the pine cone burning. PRESS THE COOKIE CUTTER DOWN to help prevent leakage. If it does leak. Don’t panic. Keep pressing down. The leaked wax will cool a little and seal the cookie cutter… then pour some more wax.
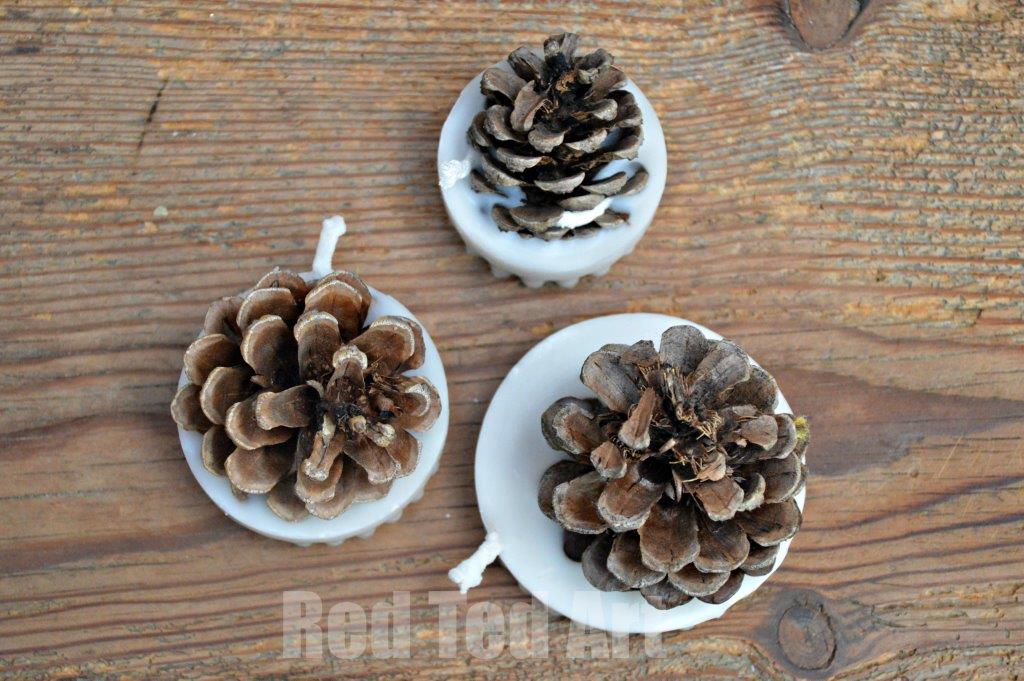
5) Let fully cool… then break off any leakage and gently push out your candle. Done.
Looking for more pine cone crafts? Check out:
