
How to Make an Easy Pop Up Rainbow Card
Time for more fun and super duper easy Pop Up Cards for kids!! Today, we are using the accordion paper folding technique to make a fabulous Pop Up Rainbow Card. So easy and yet so cute! 3d Card Making Techniques don’t have to be hard for kids to have a go and enjoy.
Once you have made your pop up cards.. why not come back and check out our easy to make Newspaper Envelopes! Thrifty, eco friendly fun! And a great way to add additional cuteness and handmade special-ness to your cards this summer!
Onwards to this great card to make all year round!
To make a 3d Paper Rainbow Card, you will need:
The best thing about this craft, is that you really don’t need a card template to make these, but I will be adding some printable worksheets and templates soon!!
- Card stock (we used A5 folded in half to make an A6 card)
- Paper (we used the length of an A4 sheet of paper – so approximately 30cm), as well as scraps for the clouds
- Pens or watercolours or paints
- Scissors
- Glue Stick
- Blank envelope for gifting
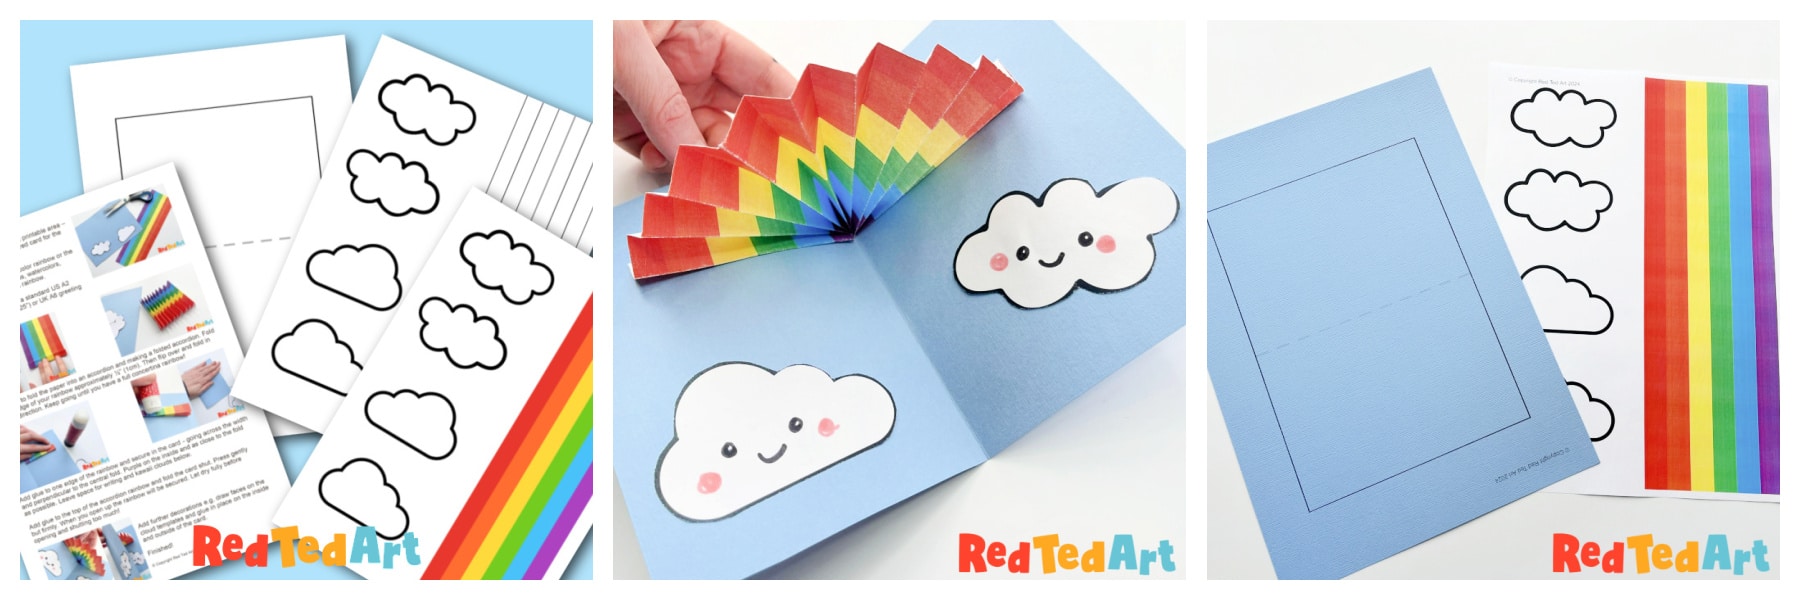
You do not need a rainbow template to make this card. I talk you through the process in both my video and step instructions. That said, sometimes it IS handy to have some templates and printables, especially for the classroom setting. So I have created a handy printable set for you in both mu Gumroad Store and Teacher’s Pay Teachers!

Learn how to make a pop up rainbow card!
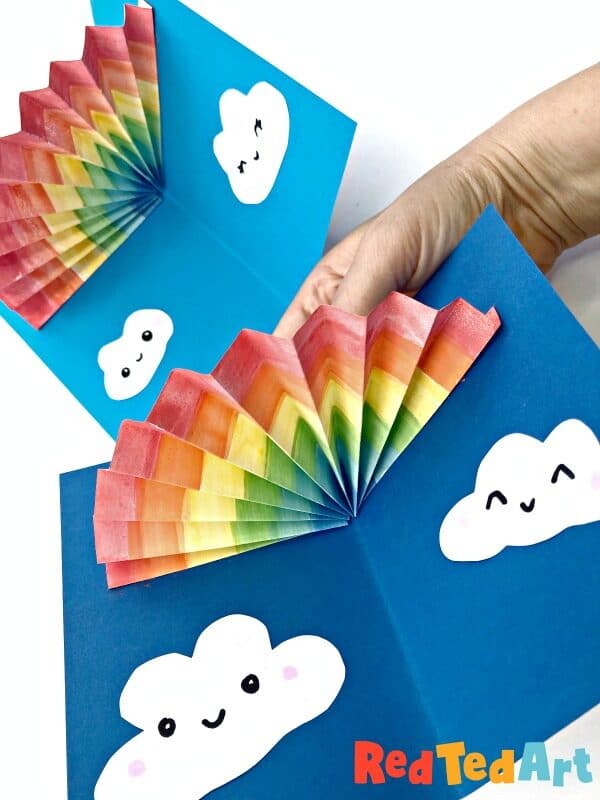
Yes, we have done it again.. we LOVE LOVE LOVE easy pop up cards for kids.. and this 3d Paper Rainbow Card is super duper easy to make. I love that it is made from white paper – though if you wish you can layer strips of coloured paper and build a rainbow that way! Lots of options. The pop up mechanism is really simple but the result is really fun!
Making accordion rainbows is easy, as our video tutorial will show. Or follow the step by step How To Instructions below!
Time needed: 15 minutes
Depending on how you make your basic paper rainbow, this timing of this card making craft will be shorter or longer. E.g. if you use watercolours, making your rainbow is quick and easy, but you have to allow for drying times. If you use pens, there is no need for drying, but it will take longer to draw.. or you can use strips of coloured paper stuck together. But making this card doesn’t take very long at all if you are in a hurry. But do take your time over it!
- Measure your rainbow width
It is important to mark your paper to have the right fit for the card. The width of the rainbow you paint must not be wider than width of the card. Using your full page of white paper, make a little mark to see how wide you can paint your rainbow.
- Create your paper rainbow
Now you know how wide your rainbow can go, it is time to make make your rainbow. As mentioned, you can use pens, watercolours or strips of paper stuck together to create your rainbow. We used watercolours and let them dry.
- Cut your out your rainbow
Once fully dry, cut off any whit excesses, so you are only left with the drawn or painter paper rainbow for your card.

- Fold your accordion rainbow
Now is time to fold the paper into an accordion and making a folded accordion. Fold the short edge of your rainbow approximately 1cm. Then flip over and fold in the other direction. Keep going until you have a full concertina rainbow!

- Add glue to one edge of the rainbow
Add glue to one edge of the rainbow and secure in the card – going across the width and perpendicular to the central fold. Leave space for writing and kawaii clouds.
- Now add glue to the top of the remaining rainbow
Add glue to the top of the accordion rainbow and fold the card shut. Press gently but firmly. When you open up the rainbow will be secured. Let dry fully before opening and shutting too much!
- Add further decorations
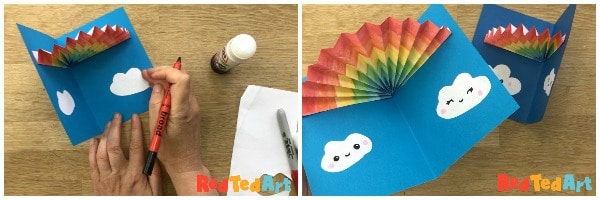
Start cutting further decorations – e.g. paper clouds. Add your own personal touch to the card at this point!
- Add any finishing touches
Now add any finishing touches (such as cute kawaii faces to your clouds) and write any messages! Done!


Aren’t they the cutest?! And so so soooo easy to make. I think they really will put a smile on someone’s face if you post these to them!
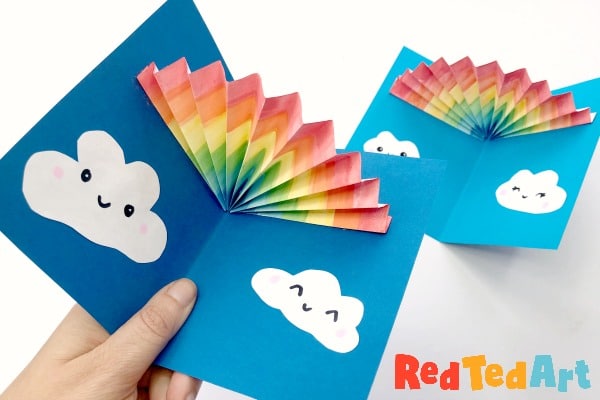
They are perfect for all occassions – they make great birthday pop up cards, are wonderful for someone who is poorly as a get well soon card, or simply to send to someone that you are thinking of and want to cheer up. Such a cuet and easy cheerful pop up card to make and send.
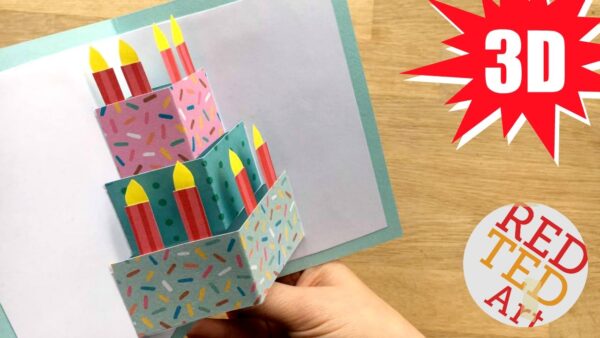
You may also love our ever popular Pop Up Birthday Card (this would also be amazing as a Wedding Cake card):
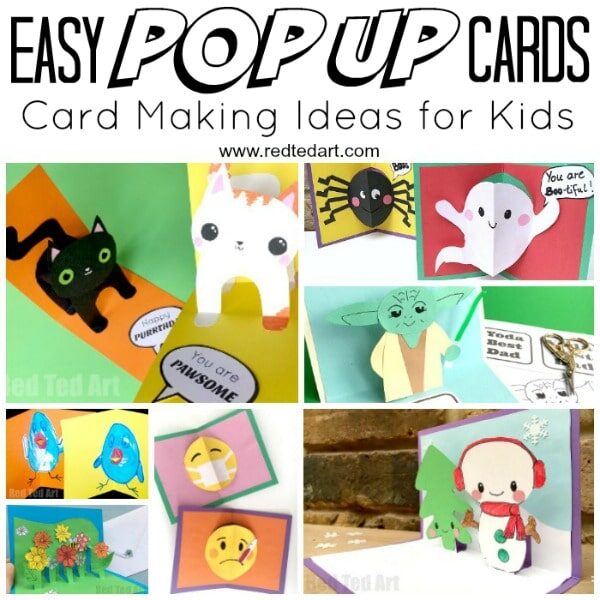
Or have a browse of our other easy Pop Up Cards for kids. There are so many different techniques and designs.. find your favourite and have a go!
More Rainbow Craft Ideas:

I also like these super simple painted Rainbow Thank You Cards from My Kid Craft! So cute.