Cute Pumpkin Wreath for Preschoolers
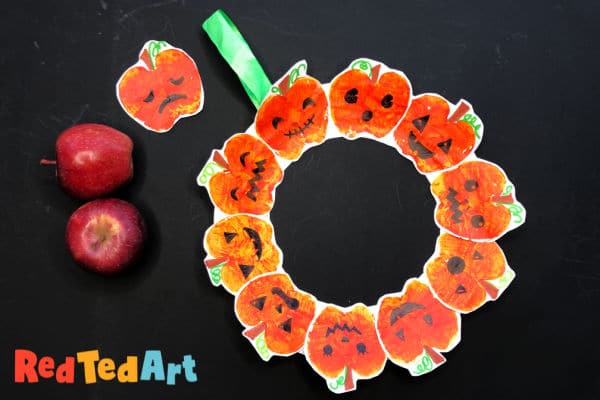
Make this super cute Pumpkin Wreath for Halloween for Preschoolers. We love funny Jack O’Lantern faces and apple printing process! This is fun art and craft activity that the kids will love!
Apple printing is a wonderful “classic” activity for Autumn and something that all kids will love to have a go at. It is simple and fun, and I love how an apple print can be turned into all sorts of Halloween themed creations!
This cute pumpkin wreath for preschoolers was inspired by the Craftberry Bush’s Apple Wreath!
Apple Printing Halloween Wreath – Materials:
- an apple
- orange paint (we mixed yellow and red for some colour theory too!)
- paint brush (optional)
- paper
- scissors
- paper plate
- pens for decorating your jack o’lantern faces
- ribbon
- glue stick
How to make an apple print Pumpkin Wreath for Halloween
Begin by getting your work area toddler and preschooler ready. It is best to clear the desk and have a nice work surface. So if there is an accidental mess, it doesn’t feel too stressful or hard to clear up (nothing worse than a bit of orange paint seeping towards an older child’s homework…).
Cut your apple in half. Make sure it is sliced as straight as possible.
Mix your orange – start with the yellow and add a little red. People often start with the darker colour, but always start with the lighter one and gradually add the darker one. This way, you will avoid mixing more paint than you need.
You can either squish your apple into the paint or use a paint brush to “load it with paint”.
Print.
TOP TIP: sometimes, you will find that you don’t get a complete print. You can either:
- carefully print over it again
- leave it as it is
- use your paint brush to fill in the gaps (this is not cheating!!)

Make as many prints as you need. For our paper plate wreath, we ended up need 10 Apple Print Jack O’Lanterns. But we made many more.. also you may like to make a bigger wreath and use cardboard as a wreath base.
Let your orange apple print pumpkins dry fully!
Once dry you can have lots of fun adding cute Jack O’Lantern faces.. or maybe you want to go spooky? Just have fun. A black pen should do the trick – but be careful not to smudge the faces.
We also added a little pumpkin stem and green bit.
Once ready, cut out all your printed Jack O’Lantern pumpkins. Don’t worry about cutting too accurately. I like a white rim.. and it also gives the kids some great cutting practice.
Cut a hole out of the centre of your paper plate.
Staple on a ribbon (or tape it or glue it or even just knot it!).
Using a good quality glue stick, glue your pumpkins in place!

Aaaah we had one left over… look at that little sad face.. teehee. Maybe I will make another pumpkin wreath.. afterall we did enough apple printing to make two.
This little DIY Paper Plate Halloween Wreaths are perfect for a child’s bedroom door. For a front door, I would maybe make two Jack O’Lantern layers going outwards – so it is a little bigger!
You may also love our Monster Newspaper Wreath that we made last year:

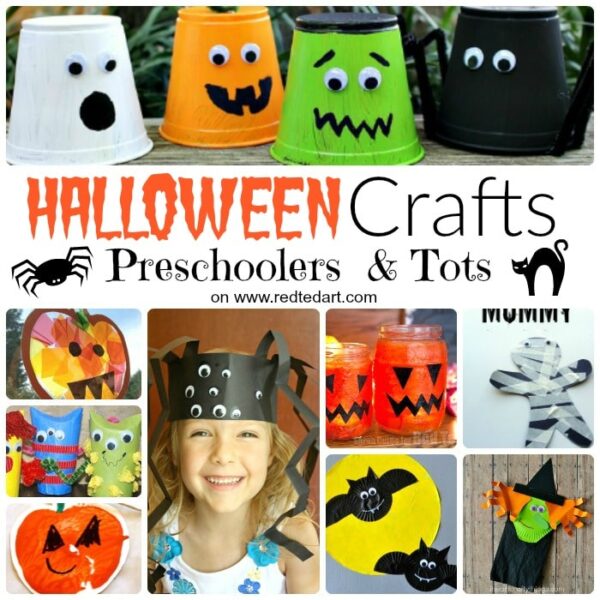
More lovely Halloween Crafts for Preschoolers:
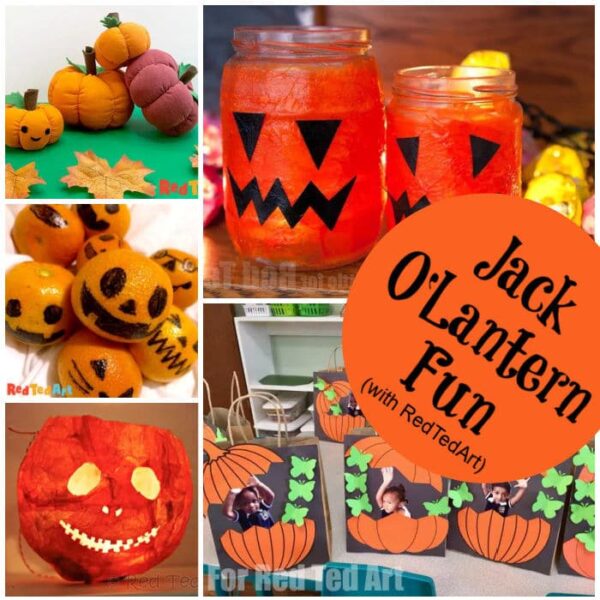
And of course lots more fantastic Jack O’Lantern Crafts to choose from here:


