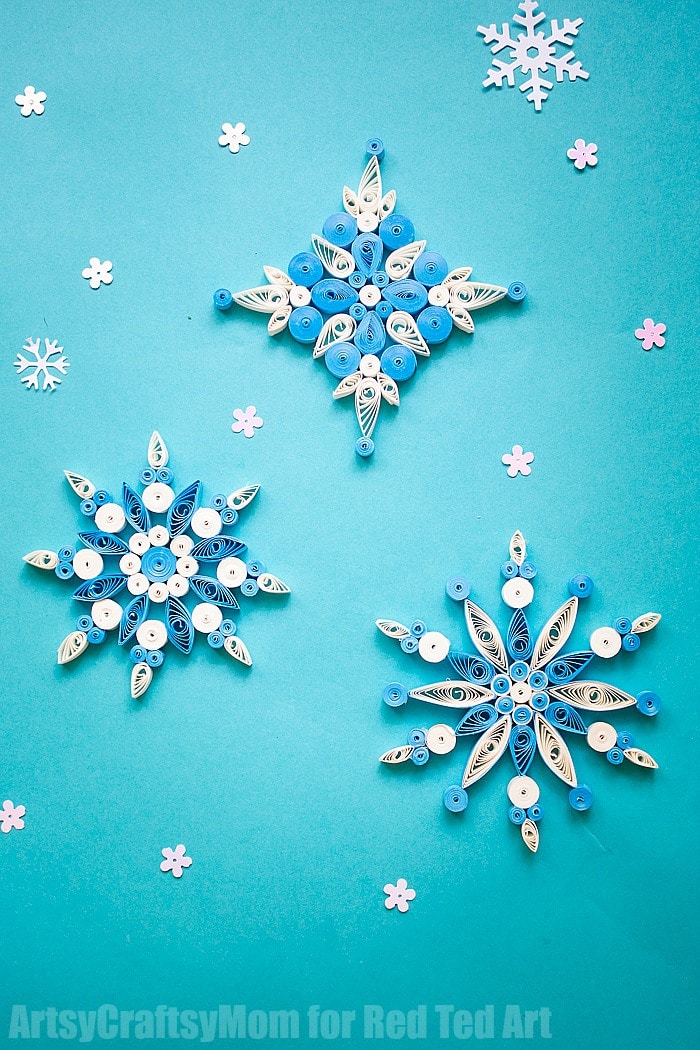
Quilled Snowflake Patterns
Today, I share another **lovely** guest post here on Red Ted Art. Exploring the wonderful world of quilling and bring you more Easy Quilling Patterns! A big welcome to Ritu who has a passion for quilling and all things crafty! Today’s quilled snowflakes, make great DIY Christmas Ornaments!
Bring the fun of snow indoors with these easy paper quilled snowflake ornaments. I love celebrating all of the seasons with DIY projects, but winter and Christmas is my absolute favourite. My absolute favorites this year are these paper quilled wreath for the Christmas tree and little paper cup snowmen for my mantle. I’d love to share another winter craft – Paper Quilled Snowflake Ornaments. If it’s too cold outside to play or the little ones are bored, this craft will be a hit because it’s just so versatile and open ended.
Paper Quilled Snowflake Ornaments
Materials
- Paper quilling strips 5mm wide and 54cm long – White , Blue
- Quilling slotted tool or a toothpick with a slot cut at the back.
- Glue
- Scissors
- Plastic sheet/ grease proof paper
- Pencil
- Geometric compass
- White sheet of paper
- Small ruler
How to make your Paper Quilled Snowflake Ornaments
- The first step is to identify the length of the strips for your quilled snowflakes. We have used the full length, the half & the quarter length.
- Using a compass, draw a 5 cm circle on the white sheet. This will be the base of our design.
- Next, divide the circle into 6 equal parts and draw your design. We used 3 basic quilling folds to make the snowflake – Tight Coil, Teardrop & Marquis
4. For the first fold – Tight Coil, roll a strip around a slotted tool tightly. Glue the end firmly in place
5. For the second fold – Teardrop, roll a strip around a slotted tool tightly. Gently take it out of the tool, let it expand between two fingers. Now with the other hand, slightly pinch one end to form a leaf or a teardrop like structure. Glue the end firmly in place
6. For the third fold – The marquis or the eye, roll a strip around a slotted tool tightly. Gently take it out of the tool, let it expand between two fingers. Now with both hands, slightly pinch both ends to form an eye like structure. Glue the end firmly in place
7. For the snowflake we need
- 6 full length marquis in white,
- 6 full length teardrops in blue,
- 6 full length tight coils in white,
- 1 half-length tight coil in white,
- 6 half-length tight coils in blue,
- 18 quarter-length tight coils in blue and
- 6 quarter-length marquis in white.
We wrapped a quarter-length strip around some of the pieces to make our design prettier.
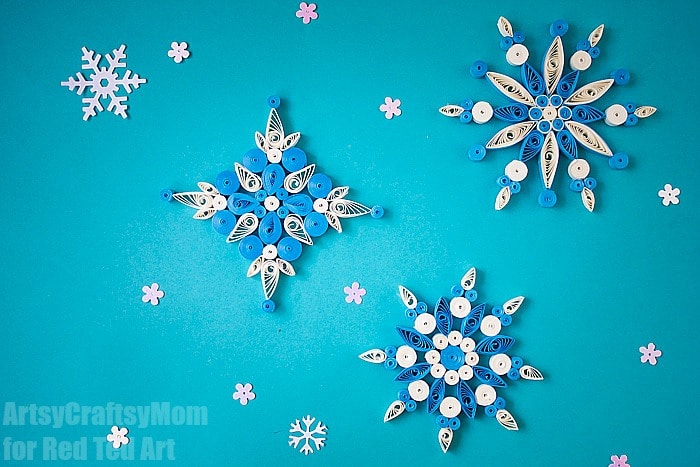
8. We are ready to assemble. Place the drawing under an OHP sheet and start assembling each piece from the center out. First the white half tight coil. Stick the blue quarter coils around it. Then stick the teardrops using the drawing below as reference. The white marquis in between and finally the teardrops & mini marquis at the ends. You could make your own design really, there is no script here. We made three snowflakes all using the same folds.
9. Let it dry completely so that each fold is stuck firmly to the one next to it. You could coat it modge podge or spray a clear varnish over it, but that’s not necessary.
10. String some bakers twine and you have a little snowflake adorning your Christmas tree.
About Ritu –
Ritu is a passionate Paper Crafter and Artist from Bangalore, India. While she loves paper crafts of any type, paper cutting and quilling are her favourites. She sells her products under the brand ‘Dream Beavers’ on Facebook & Instagram. You can also catch her sharing kids craft tutorials at ArtsyCraftsyMom.com .
I hope you enjoyed Ritu’s AMAZING guest post and that you will be tempted to have a go at these gorgeous Quilled Snowflake Patterns! Aren’t they lovely?!
If you fancy more easy quilling projects – for different levels – from kids through to intermediates, check out this great set:
If you love ornaments, haev a look at our 50+ DIY Christmas Ornaments
And finally.. we don’t just loved quilled snowflakes, but ALL snowflakes – more Snowflake DIYs here:


