Quilled Thanksgiving Cards for Kids
It has been a while since we last shared a quilling project for kids with you! We have some great “Kids Beginners Quilling Projects (check out the Quilled Hearts and Quilled Emojis), today we have the “next step” in kids (or grown up) quilling – making this wonderful Quilled Thanksgiving Cards for Kids! It mainly uses the quilled “eye” shape – a basic quilling shape. And it is a great way to really perfect and get used to making a “quilled eye”!
This quilled turkey makes a gorgeous homemade card for Thanksgiving that the lucky recipient will really treasure! It uses simple quilling techniques, so give it a try!
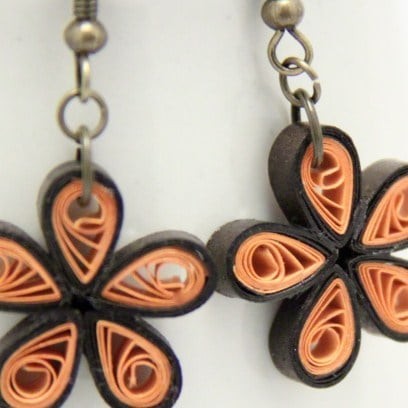
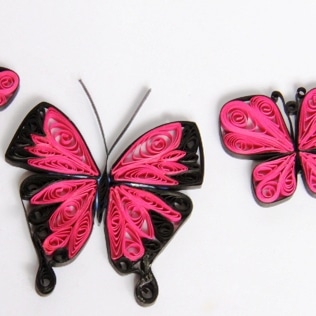
We also have some BEAUTIFUL Quilled Butterfly Earrings and Quilled Daisy Earrings for you to check out!
Quilled Thanksgiving Cards for Kids – Materials
For this project you will need:
- White card, half A4 size folded works well
- Brown card
- Quilling paper strips in dark brown, white, black, orange, yellow and red in 12″ lengths
- Quilling slotted tool
- Glue
- Scissors (not shown)
- 1″ and 2″ circle paper punch
- Tweezers (optional)
Paper Quilling Supplies
- Quilling paper (US/ UK)
- Slotted Quilling Tool (US/ UK)
- Quilling Stencil & Pins (optional) (US/ UK)
- (here is a handy glue dispenser for quilling US/ UK)
If you are feeling inspired you may also LOVE this Quilling Set:
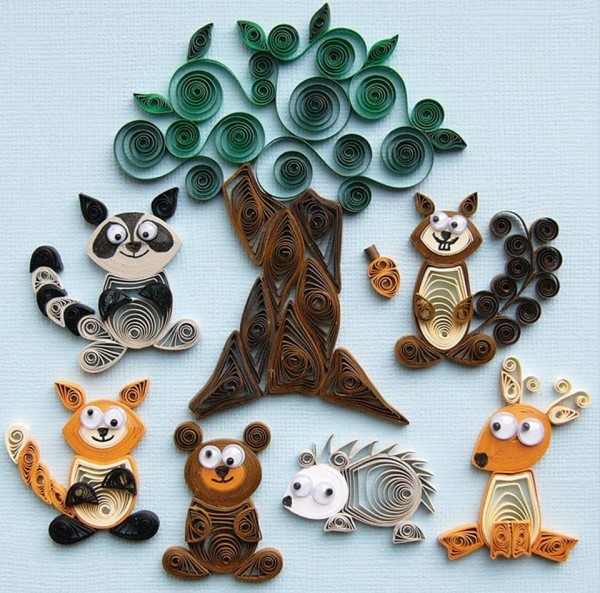
Aren’t they adorable? Get your kit here – US/ UK!! They would make a lovely gift too!
Quilled Thanksgiving Cards for Kids – How To
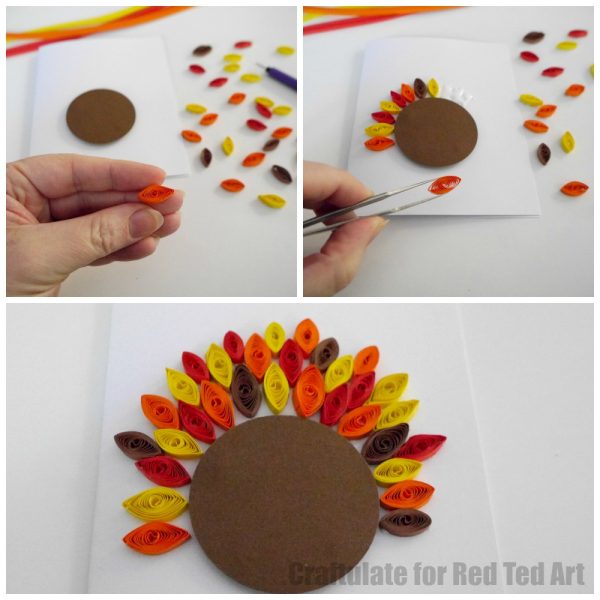
Step 1: Body
- Punch a 2″ circle from the brown card.
- Make four tight coils from the brown paper strips with the slotted tool and glue closed.
- Glue them to the back of the brown card – these will act as “supports”.
- Glue the supports and body to the lower half of the folded white card.
Step 2: Feathers
- Make approximately 30-35 loose coils from the red, orange, yellow and brown paper strips, pinching each end to form an “eye” shape.
- Glue them into place around the body.
Step 3: Head and Face
- Head: Punch a 1″ circle from the brown card.
- Eyes: Glue a half length of black paper and one length of white paper together. When the glue has dried, roll them up tight (starting with the black end) and glue closed.
- Beak: Use a half length of yellow paper and roll it up, glue it, then pinch it into a triangle shape.
- Wattle: Use a half length of red paper and roll it up, glue it, and pinch it at one end to form a teardrop shape.
- Glue all features onto the head, then glue the head to the top of the body.
Step 4: Feet and Wings
- Feet: Roll a length of brown paper into a loose coil, glue, then pinch into a semi circle. Make two and glue them into position.
- Wings: Join two lengths of brown paper together. Roll them into a large loose coil, glue, and pinch at each end to make an “eye” shape. Glue to the sides of the body.
And the turkey is complete! Feel free to add text or personalise it in whatever way you chose.
Isn’t this little dude adorable?!
This lovely post was brought to you by Georgina from Craftulate. Over on her blog she mainly focuses on art and crafts for young kids!
Paper Quilling Projects on Red Ted Art
Paper Quilling Flowers – so sweet! And a perfect introduction to “grown up” Paper Quilling!
Check out these fabulous Paper Quilled Butterflies
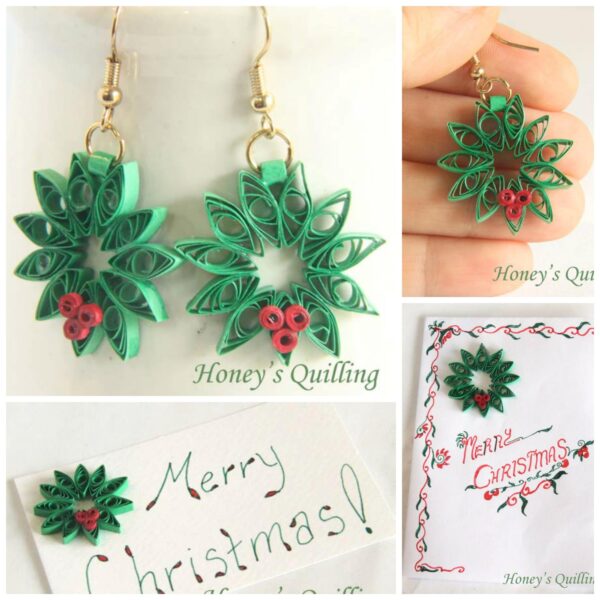
Cute Paper Quilled Christmas Wreaths!
Or check out this adorable Quilled Heart Card – a great intro to quilling for kids:


