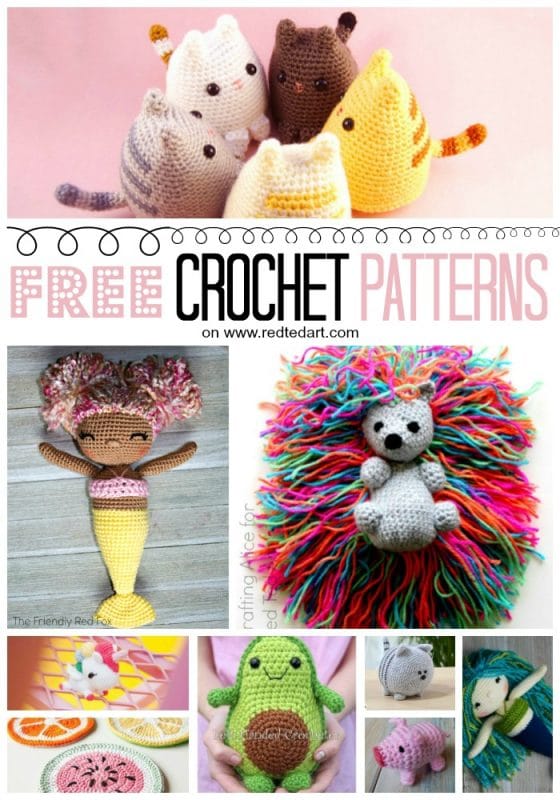
Free Fox Snuggler Crochet Pattern
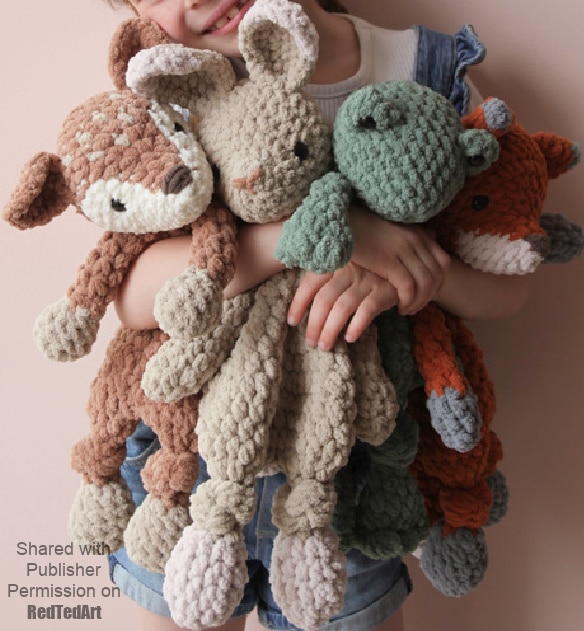
Oh we have a special treat for you today. We love love love to make cute crochet projects (so much so, that you simply have to check out our new book here..), but today’s crochet pattern is extra lovely… in fact, it is a super cute “Knotted Lovey” – a fabulous Fox Snuggler Crochet Pattern from the Mama Made Mini’s Knotted Lovey book! The cutest snuggle buddy your kids will simply love to cuddle!
Come and make this Fox Knotted Lovey with us today and grab yourself the book too!
Please note: this project has been reproduced with permission from the publisher and is not allowed to be republished in any way, without their consent. It is for personal use only.
Also note: affiliate links have been added to this post – should you choose to purchase via these, I will earn a small commission that goes towards the upkeep of this site!
Mama Made Mini Knotted Loveys – The Book
by Alyson Dratch & Lindsay McNutt from Mama Made Minis
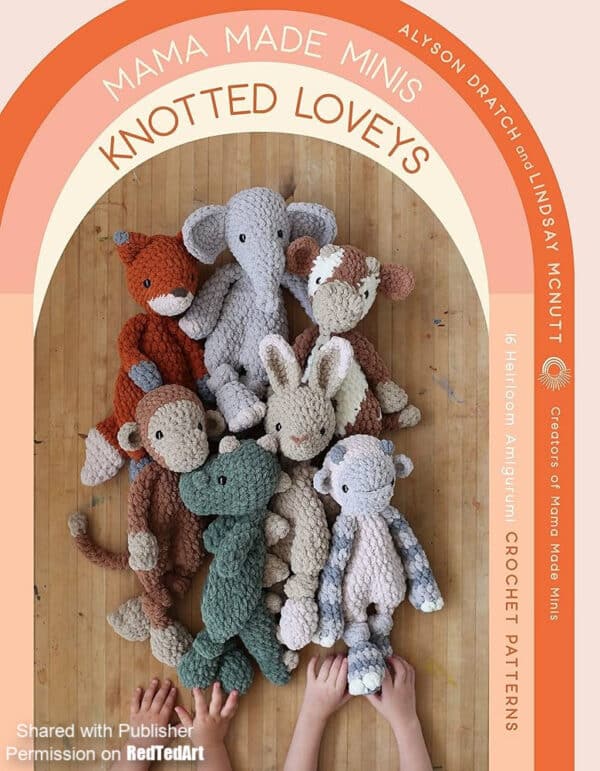
Alysin and Lindsay are the amazing duo behing the Mama Made Mini’s instagram account and Etsy Pattern Store. All of their crochet makes are irresistibly cute and cuddly. So it is no big surprise, tha they have created this gorgeous book with Page Street Publishing to bring to you 16 of their amazing Knotted Lovey Projects!
What we love about this lovelys crochet book
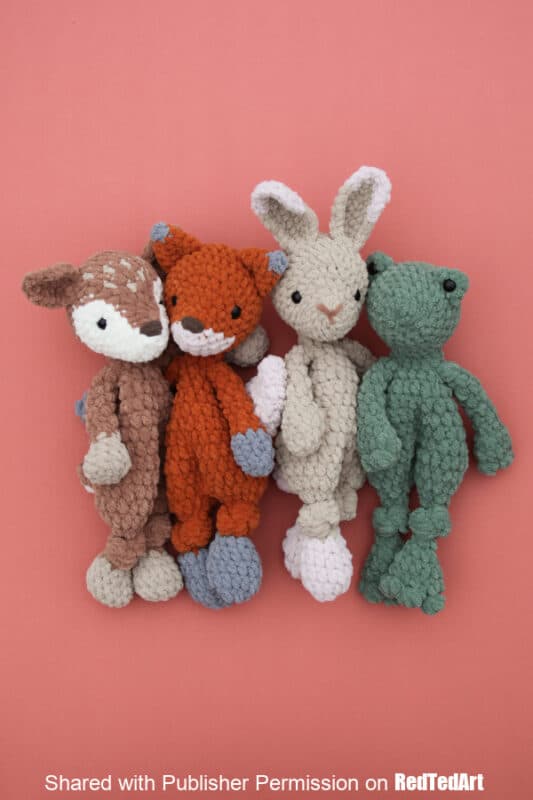
- Well to start with, it is of course super cute (obvs!). Each and everyone of the 16 projects in this book is adorable – and there is a great range of animal characters to choose from! In fact, it was SO SO SOOO hard to choose a sample project for you here today, as they are all simply adorable.
- The book, has a great “front matter” – the part of the book where you get extra details and instructions to help you be as successful as possible with completing the crochet projects. You will find extra details on how to connect head/ body/ close holes etc – this is NOT shared in this try before you buy pattern – but wanted to highlight that additional information is conatined within the book
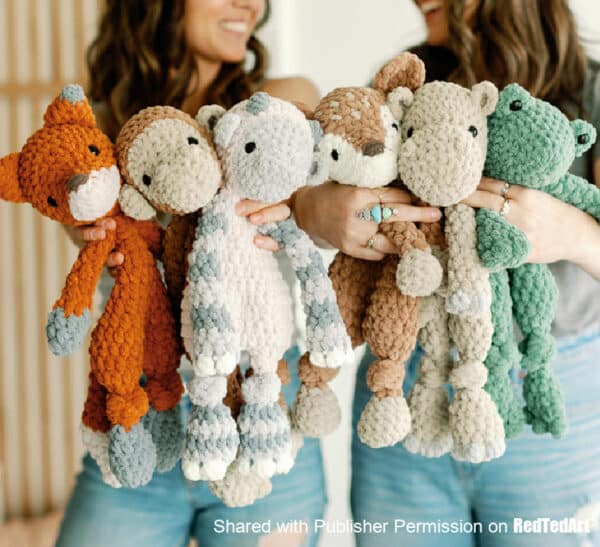
- Shows one pattern made in different yarns – so you get an idea for size differences and how well these patterns do work with a variety of yarns. You will also so see that these loveys are adorable in all sizes! It is simply a preference of which you would like to make!
Grab a copy of this wonderful book over here on Amazon.
Supplies
Yarn
The key thing when purchasing and choosing your yarn and yarn colors, is to make sure they are always the same weight category and that the description requires the same hook size.
Super bulky weight/category 6 (the book uses this yarn, but you may not always get the disired colors)
- Main color (MC): Rust (Here is a great yarn in a rusty terracotta)
- Contrast color 1 (CC1): Pewter (here is a lovely one)
- Contrast color 2 (CC2): Winter White (try this one)
- Scraps for nose (e.g. a chocolate yarn?)
Hooks
US 7 mm — head
US 8 mm/L — body, legs, arms, ears, tail
Notions
- 14 mm safety eyes or embroidered eyes (the book contains tips on embroidery)
- Darning needle
- Fiber fill for head
- Scissors
- Stitch markers
FINISHED SIZE
16 inches (40 cm) from top of head to tip of toe.
REQUIRED SEWING
You will only have to attache the arms and the tail, making this a great “low sew” crochet project too!
- Arms
- Tail
Abbreviations
Though the book provides additional information for the below, if you are following this try before you buy pattern here today, you can reference the basic crochet stitches here. As you can see from this list, the required stitches are all part of most people’s “basic crochet skills”!
This books uses the Yarn under/ Yarn Over technique. To YUYO, insert your hook into the stitch, position the yarn under your hook, pull up a loop, yarn over and pull through both loops on the hook to complete the stitch.
- MC: main color (NOTE: in this book and pattern MC is NOT a magic criccle, but simply a reference to the Main Color)
- CC: contrast color(s)
- sl st: slip stitch
- yo: yarn over
- st(s): stitch(es)
- sc: single crochet
- sc inc: 2 sc in next stitch
- sc2tog: single crochet 2 stitches together using invisible decrease (please do look up the invivisble decrease technique! As it will give your crochet a different finished look, the book shows you how to do an invisible decrease in their front matter).
- hdc: half double crochet
- hdc inc: 2 hdc in next stitch
- hdc2tog: half double crochet 2 stitches together using invisible decrease
- BLO: back loop only (refresh yourself on how to do the BLO stitch here).
CONTINUOUS ROUNDS
We have designed these patterns to be worked continuously from one round to the next. When working in the round, do not chain or slip stitch at the beginning or end of a round.
CONSTRUCTION
We have intentionally designed our knotted loveys to minimize sewing. Some pieces need to be made in advance so they are ready to crochet into place during the subsequent steps. Make each part of the pattern in the order that it is listed.
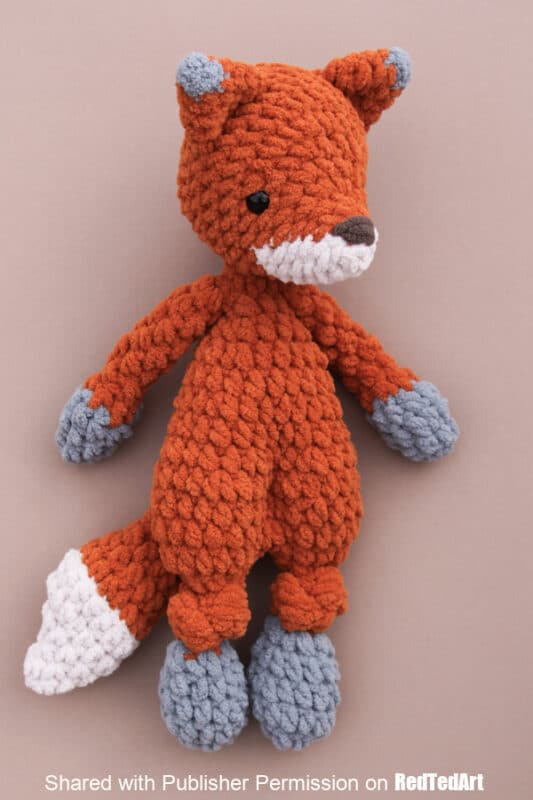
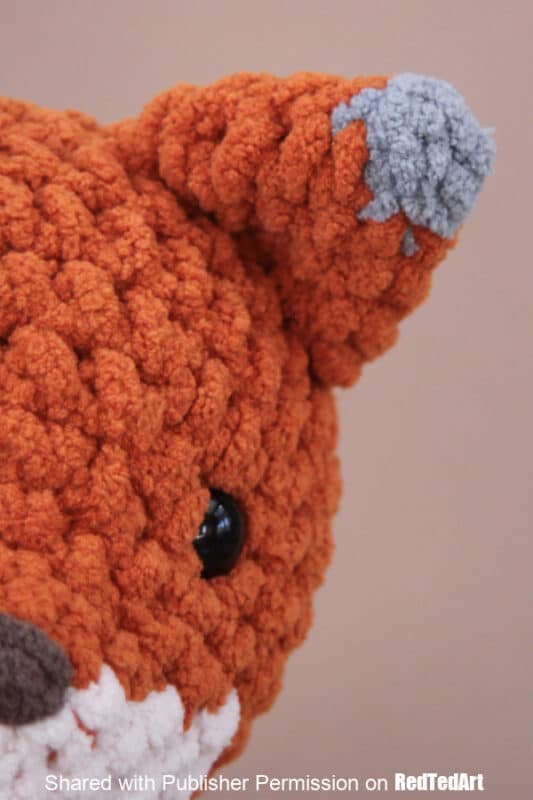
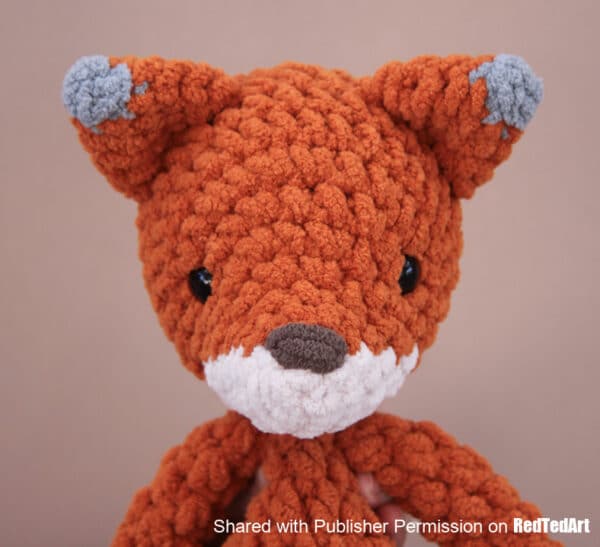
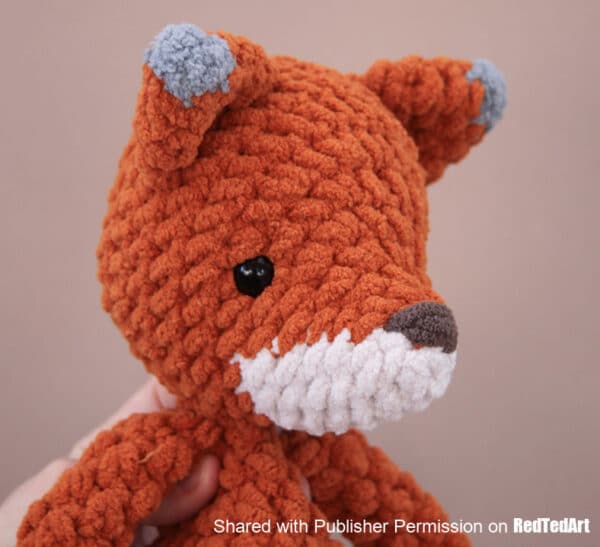
Forest Fox Snuggler Crochet Pattern
FOREST FOX or CUTE CROCHET WOLF
Introducing the hide-and-seek champion of the woods, Forest Fox! Forest loves climbing, exploring and adventures of all kinds. He knows all the best hiding spots, so don’t let him out of your sight! Crochet Forest in a rusty orange, or try a mix of gray tones to transform him into a little wolf.
FOREST FOX PATTERN
Crochet EARS (MAKE 2)
Begin working in CC1 with 8 mm hook.
Round 1: sc 4 in a magic circle [4]
Color Change to MC.
Round 2: work entire round in BLO, (sc 1, sc inc) x 2 [6]
Round 3: (sc 2, sc inc) x 2 [8]
Round 4: (sc 3, sc inc) x 2 [10]
Round 5: sc around [10]
Fasten off.
Fox HEAD
Begin working in CC2 with 7 mm hook.
Round 1 is the front of the head.
Round 1: CC2: sc 2, MC: sc 2, CC2: sc 2 in a magic circle [6]
Round 2: CC2: sc inc, sc 1, MC: sc inc, sc 1, sc inc, CC2: sc inc [10]
Round 3: CC2: sc 4, MC: sc 1, sc inc x 2, sc 1, CC2: sc 2 [12]
Round 4: CC2: sc 4, MC: sc 1, sc inc x 4, sc 1, CC2: sc 2 [16]
Round 5: CC2: sc 5, MC: sc 2, sc inc x 2, sc 1, sc inc x 2, sc 2, CC2: sc 2 [20]
Round 6: CC2: sc 5, MC: sc 2, (sc inc, sc 1) x 2, (sc 1, sc inc) x 2, sc 3, CC2: sc 2 [24]
Round 7: CC2: sc 6, MC: sc 3, sc inc, (sc 1, sc inc) x 2, (sc inc, sc 1) x 2, sc inc, sc 3, BLO sc 2 [30]
Continue with MC.
Round 8: BLO sc 6, sc 24 [30]
Round 9: sc around [30]
The ears are crocheted in place in the next round. Sandwich the ear and align with the indicated sts on the head. You will be working through 3 layers total when making your sc sts.
Round 10: sc 11, sc ear in place using next 5 sts, sc 3, sc ear in place using next 5 sts, sc 6 [30]
Round 11: sc 2, sc inc, (sc 4, sc inc) x 5, sc 2 [36]
Round 12: sc 2, sc2tog, (sc 4, sc2tog) x 5, sc 2 [30]
Stuff the head firmly, but do not overstuff.
Place safety eyes between rounds 6 and 7, approximately 11 sts apart.
Round 13: (sc 3, sc2tog) x 6 [24]
Round 14: sc 1, sc2tog, (sc 2, sc2tog) x 5, sc 1 [18]
Round 15: (sc 1, sc2tog) x 6 [12]
Round 16: sc2tog around [6]
Fasten off, leaving a long tail for closing the head. Use a darning needle to thread the yarn end through the outside loops of the remaining 6 sts, then pull tight to close. Use the needle to pull the yarn end up into the head to finish off.
After closing the head, it may be necessary to use your hands to squish it around a bit to shape it. This will help properly shape the head and allow the stuffing to settle in just right.
Embroider Nose
Using a contrast color yarn, embroider a triangle-shaped nose. NOTE: in the book, you can refer to the useful front matter for detailed embroidery instructions.
Crochet Snuggler BODY
Begin holding the head upside down with the nose pointing away from you. Working in MC using 8 mm hook, work 9 sc sts into the head in a circle (use rounds 9 to 11 of the head as a guide for where to place sts). This will be the foundation for the body.
Note: The book provides details step photos for this in the front matter.
Round 1: hdc around [9]
Round 2: (hdc 2, hdc inc) x 3 [12]
Round 3: (hdc 2, hdc inc) x 4 [16]
Round 4: (hdc 3, hdc inc) x 4 [20]
Round 5: hdc around [20]
Round 6: (hdc 4, hdc inc) x 4 [24]
Round 7: hdc around [24]
Round 8: (hdc 3, hdc inc) x 6 [30]
Round 9: hdc 2, hdc inc, (hdc 4, hdc inc) x 5, hdc 2 [36]
Round 10: hdc 2, hdc2tog, (hdc 4, hdc2tog) x 5, hdc 2 [30]
Round 11: hdc around [30]
Do not fasten off. Continue to leg instructions.
Snuggler LEGS (MAKE 2)
Lay the body flat and find the middle of the last round. Reserve 2 sts at the center (1 at the front of the body and 1 at the back of the body) using a st marker to mark. The legs will be worked individually off each set of 14 sts.
Note: The book provides details step photos for this in the front matter.
Begin working off the 14 reserved sts on one side of the body.
Round 1: hdc around [14]
Round 2: hdc2tog around [7]
Round 3: (hdc 1, hdc2tog) x 2, hdc 1 [5]
Round 4 to 11: hdc around [5] 8 rounds Color Change to CC1.
Round 12: hdc inc around [10]
Round 13: (hdc 4, hdc inc) x 2 [12]
Round 14: (hdc 5, hdc inc) x 2 [14]
Round 15: hdc around [14]
Round 16: hdc2tog around [7]
Fasten off, leaving a long tail for closing the foot. Use a darning needle to thread the yarn end through the outside loops of the remaining 7 sts, then pull tight to close. Use the needle to pull the yarn end up into the leg to finish off.
Sl st new yarn to the center of the body for the second leg, leaving an 8-inch (20-cm) tail (this will be used to stitch the body closed at the end). Repeat the above directions for the second leg.
Finishing the Body + Legs
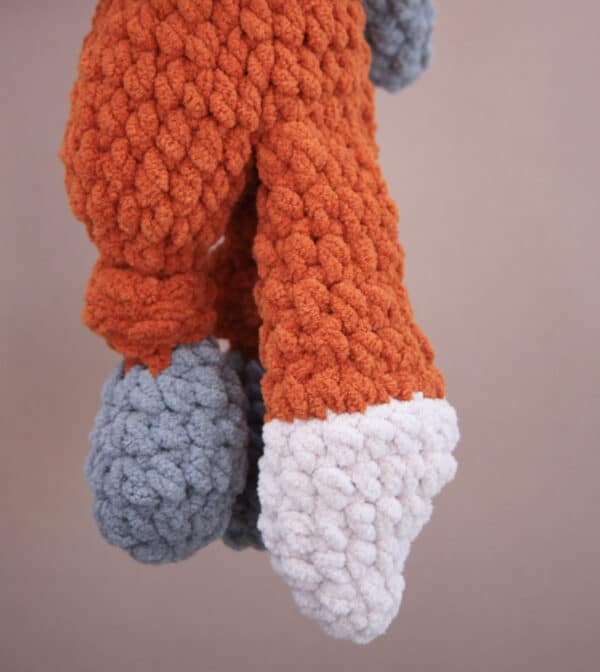
To close the space between the legs, whip stitch through the outside loops of each open st using the long tail left at the beginning of the second leg. Gently knot each leg.
Knotting the Legs
Knotting the legs isn’t complicated—don’t let this part intimidate you! Hold the foot, cross it over the leg and loop it through the hole. Pull gently to tighten it into a simple overhand knot. (Extra step photos for this are provided in the book).
Forest Fox ARMS (MAKE 2)
Begin working in CC1 with 8 mm hook.
Round 1: sc 6 in magic circle [6]
Round 2: hdc around [6]
Round 3: (hdc 1, hdc inc) x 3 [9]
Round 4: hdc around [9] Color Change to MC.
Round 5: (hdc 2, hdc2tog) x 2, hdc 1 [7]
Round 6: (hdc 1, hdc2tog) x 2, hdc 1 [5]
Round 7 to 12: hdc around [5] 6 rounds
Fasten off, leaving a long tail. Sew the arms in place between rounds 1 and 2 of the body, approximately 3 sts apart.
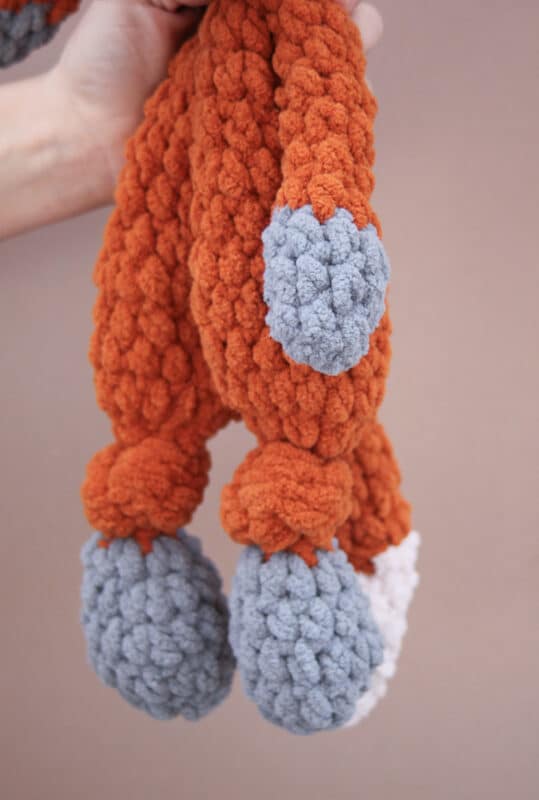
Final – the Fox’s Crochet TAIL
Begin working in CC2 with 8 mm hook.
Round 1: sc 6 in magic circle [6]
Round 2: hdc around [6]
Round 3: hdc 3, hdc inc x 3 [9]
Round 4: hdc 3, hdc inc x 3, hdc 3 [12]
Round 5: hdc 4, hdc inc x 4, hdc 4 [16]
Round 6: hdc around [16] Color Change to MC.
Round 7: work entire round in BLO, hdc around [16]
Round 8: (hdc 2, hdc2tog) x 4 [12]
Round 9: hdc around [12]
Round 10: (hdc 4, hdc2tog) x 2 [10]
Round 11: hdc around [10]
Round 12: (hdc 3, hdc2tog) x 2 [8]
Round 13: hdc around [8]
Fasten off, leaving a long tail. Sew the tail in place at the back center of the body using round 9 as a guide.
Isn’t this the most adorable pattern? Why not hop on over to Amazon and grab yourself a copy of this delightful Crochet Book and make all of Forest Fox’s friends!
I hope you enjoyed today’s adorable Crochet Pattern, you can also explore more free crochet patterns and ideas here: