How To Press Flowers
Today we are looking at being Creative with Flowers – I decided to do our very first How To Press Flowers session with the children. Flower pressing is another on of those “childhood” classic crafts that you can have a go at – it is surprising how well some flowers do press (whilst, ahem, other don’t).
How to press flowers – top 10 tips and tricks
A great summer craft for preschoolers AND older kids – a perfect fit for our Classic Summer Craft series too.
So I thought I would share our practical guide to flower pressing. No fancy equipment needed (ie no need for a wooden flower press)!! In fact I encourage you NOT to buy any supplies, at is a wonderful way to show kids how to go back to basics! Crafting really shouldn’t be expensive and full of the need for gadgets!
Materials needed to press flower
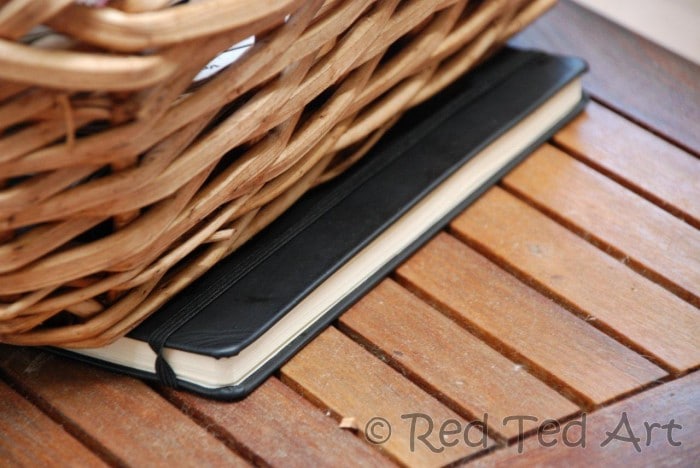
- a book or a notebook,
- something heavy (to place on top – heavy books once home are prefect),
- paper or a piece of cardboard to protect the book pages (blotting paper ideal, but not necessary),
- a range of flowers, petals and leaves
Remember when picking flowers, to be respectful to the environment and also where you are picking from. Ideally, you should only pick flowers in your own garden. Or if picking wild flower, follow forager’s guidelines and only pick a little here and there and leave plenty for wildlife.
You can also use flowers from a brithday flower bouquet!
Top 10 Flower Pressing tips:
Time needed: 20 minutes
Pressing flowers is super easy and fun! Here are our top tips for best flower pressing results!
- Press your flower as soon as possible
This is to avoid any drooping or wilting. In practical terms, this means picking flowers on your WAY HOME from a walk or to have a notebook with some elastic with you. You can then start pressing the flowers on your way back from where you are and then place the notebook under heavy items at home.
If they have started drooping, revive them a little by placing them in a small vase of water. But don’t get the petals wet.

- Use DRY flowers
If you press a wet flower, you run the risk of it getting mouldy – the simplest would be small mouldy spots, the worst would be a smelly mouldy page inside your boook. So make sure you flowers are dry. You can pat them dry with a tissue or some kitchen paper towel.
- Place your flower face down
This is a very simply and almost “obvious” tip – but it is easier to not squish any petals if you put the flower face down and place the second sheet of paper on top, than it is to place the flower right side up and put the paper on top – you are more likely to crease it that way.
Similarly, you get a different effect by pressing the same flower side ways. The simple Daisy looks sweet both “face down” and sidewise. Some “fat” flowers press surprisingly well, others don’t – e.g. for a big rose, you may consider pressing just the petals.
You can also use your finger to gently press it flat first – help get it into position.
Remeber, it also lovely to press some stems with your flowers – this will give you more creative freedom when using your pressed flowers in flower art projects later! - Use books and notebooks
You really don’t need “fancy” equipment to press flowers, notebooks on your travels and books when you get home are perfect. Just make sure your flowers don’t fall out!
- Don’t forget leaves and grasses
Do press some leaves and grasses too – they make a nice compliment for any final pressed flower arrangement.
- Leave for 2-4 weeks
Most flowers will take 2-4 to press and dry fully. Be patient.
- Use Tissue Paper or Coffee Filters
If you want to become “more professional” at pressing your flowers… add a layer of tissue paper between your flowers and the paper. Then after 3-4 days, remove the the flowers in the tissue paper and gently place between two new sheets of paper and a new book.
The reason for doing this, is to let moisture escape better and for the flowers to dry completely. This step is particularly useful when drying bigger “fatter” flowers. - Microwave Flower Pressing
Did you know you can speed the process up in the microwave? Make sure you have a plain book (no gold embossing).
Place your flowers between two sheets of paper in the book.
Close firmly… and then zap in short 30-40 second bursts. Open the page gently to let the vapour escape. Let the book cool.
Then repeat about 10x. The book will start getting very warm. So do let it cool down. Now put the flowers in another book and press “normally” for 2-3 days.
(Did you know, you can also make this cool Microwave Salt Dough Recipe as well as this Best Papier Macher Recipe! Aren’t microwaves marvellous! - Fading with time & preserving
Pressed flowers do loose their colour as they are exposed to the elements – particularly light. In order to preserve them for as long as possible, it is helpful to seal them.
There are preserving sprays out there. But a simpler “low tech” one (and not perfect, but fine for crafting with kids), is a simple Mod Podge varnish! Mod Podge is fabulous, as it comes in so many different finish – matt, gloss etc. But a similar effect can be achieved with water down PVA glue (water it down to a milk consistency).
The main thing though is to avoid direct sun light and humid rooms (e.g. bathrooms). - Experiment
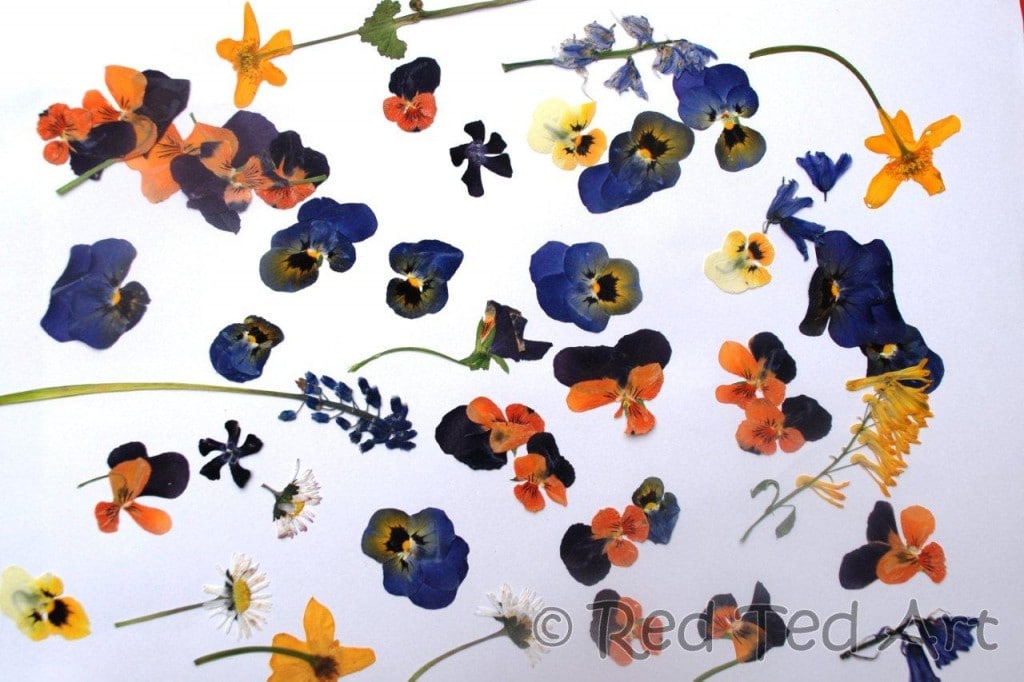
Just keep experimenting with what flowers press well and which don’t. We found that tiny forget me nots, are adorable when pressed, but have little colour. Dandelion’s, ahem, looked dreadful (but Red Ted really wanted to try it). Rose petals are great for crafting and collages etc etc
What are the best flowers for Flower Pressing?

Visit Contempfleury for a great list of flowers to press – this image is from her website and gives you a great overview. But generally speaking, the best flowers are flowers with flat blooms – e.g. pansies are popular for this reason (pansies certainly are our favourite to press).
What to make with your pressed flowers
The most popular way for people using their pressed flowers, is to create simple
- pressed flower greeting cards,
- flower bookmarks or
- art displayes (framed pictures of flowers are beautiful)
- you can use certain dried flowers on cakes and cookies too (please research this!!)
But we had a go at making some simple DIY flower tealights too.. check these out:
How to make press flower tea lighs
Press and Dry Your Flowers
1) Pat your flowers dry (get off all excess water) and place them in your book with a piece of parchment paper to press. Add some heavy books like a dictionary on top of your make shift flower press. Leave for a few days.
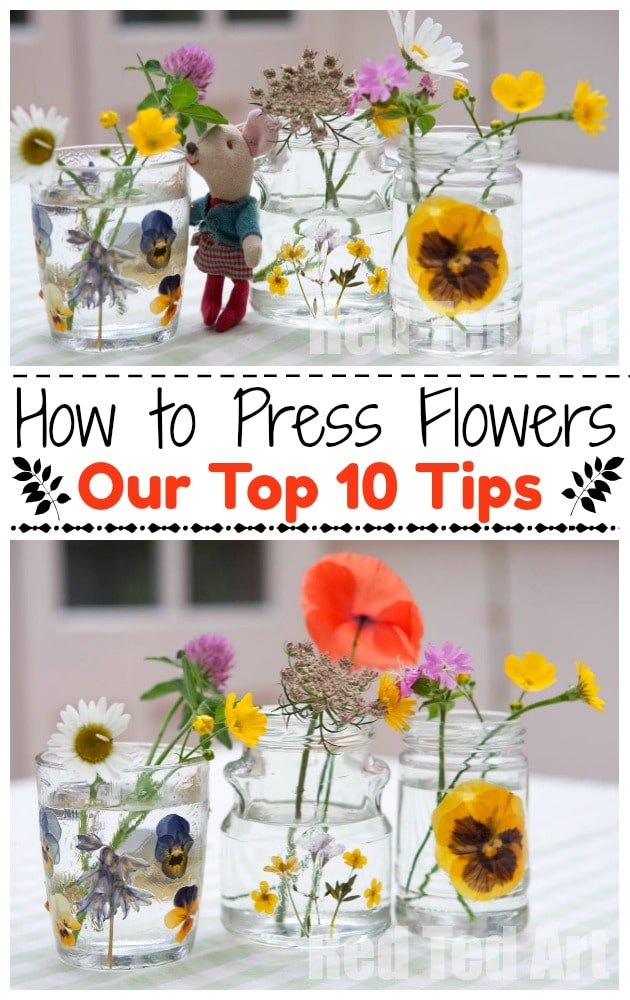
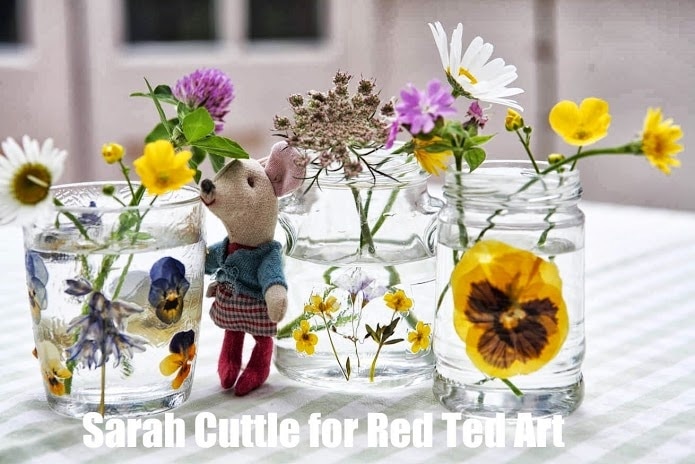
As you can see we do particularly love the pansies. Though the daisies are lovely too. And I confess, I am not sure what the yellow flower is called..
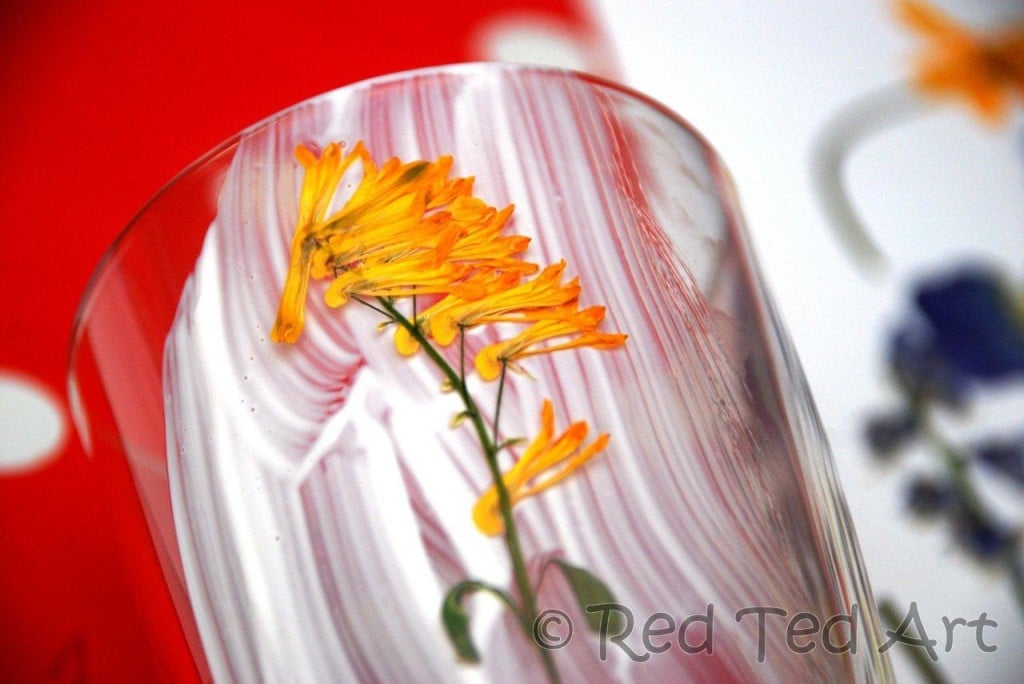
Add a layer of glue to your jar or recycled glass
2) Apply a coat of mod podge – you WILL see the texture of your brush strokes after drying – so take care if you want a “neater” finish. We did these together, so applied amply and I think the strokes add to the final effect! (We used all mustard jars that come with plastic lids – so they have a nice neat top edge).

Add your flowers and a second layer of glue
3) Add a second layer and let dry.
Flower tealights and vases
4) Enjoy! Use them as tea lights or as little vases.
So.. I hope this summer you find inspiration and give this How To Press Flowers tutorial a go!! Have lots of pretty fun!
More childhood classics for summer here: