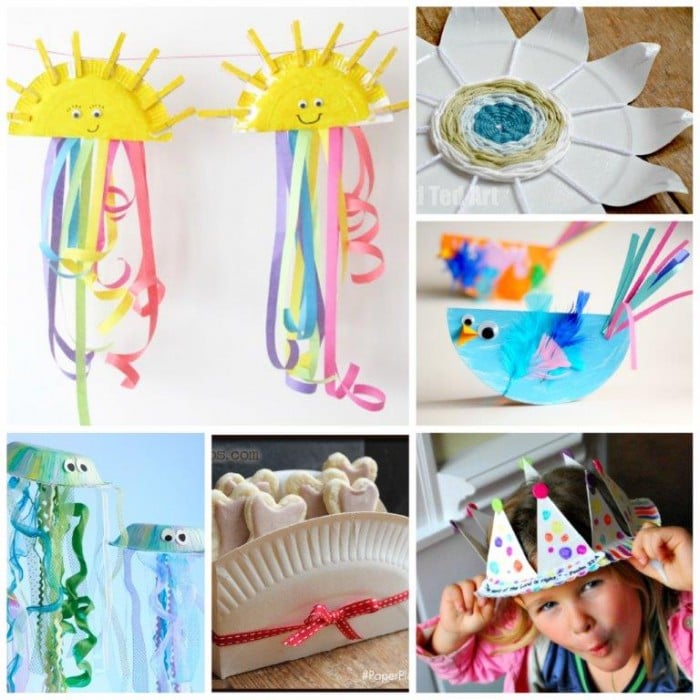
Paper Plate Crafts – Dream Catchers with Hearts
Today we are going to make a super lovely Paper Plate Craft for summer – we are making easy Paper Plate Dream Catchers. Our little dream catchers have a heart or star at the centre. But you can skip these if you wish, in order to adapt the craft to the age group of the kids you are working with. This is a great craft from preschoolers through to older elementary school kids!

A couple of months ago I donated a copy of my Kids’ Craft Book and a “craft session” to out charity auction at school. Finally, the family that bid for it and ours where all free to get together and get crafty. As the kids were all different ages, I wanted to choose a craft they could all enjoy – we had a 9yrs old, 6yrs old, 5yrs old and 4yrs old crafting. 2 girls and 2 boys. I decided on Paper Plate Dream Catchers.
To make it a little cuter/ quirkier I added a little heart / star to the centre. We always have a stash of paper plates for crafting and I just had a new batch of wool/yarn in, so thought these would be perfect. These are great introductionary weaving projects for kids too.
It was interesting to see how the different ages did. I am so used to what MY TWO kids are able to do, that I often forget that they are sometimes a little “ahead” of their peers (simply because they craft so much! Not because they are geniuses). Pip Squeak (aged 4), managed the threading part of this activity as well as the 9yrs old! I was rather taken aback!
What are Dream Catchers?
When making dream catchers, I believe it is very important to talk to your children about the significance and history of dream catchers. Where are dream catchers from? And what is a dream catcher’s importance?
The Dream Catcher Legend
Dream catchers are a Native American creation. The Native American belief, is that the dreams are all around us and in the air. Dream catchers where designed to allow the good dreams to stay with us and the prevent the bad dreams from entering our nighttime sleep.
Please do visit this Native American website for the full story! It is beautiful and would be great to read to your children whilst working!
Do dream catchers actually get rid of bad dreams/ nightmares?
There are two slightly different interpretations of how a dream catcher works. One says that the bad dreams pass through the dream catcher and OUT of the bedroom. Catching the good dreams and letting them stay (see the reference to beads below). Other say it is the other way around – it prevents the bad dreams from entering and allows the good dreams in!
Either way, the power of your own belief and can work wonders on how well you sleep at night.
Where are you supposed to hang a dreamcatcher?
The dreamcatcher really should be placed by the bedroom window or near your bed, sleeping area.
The idea is for the dreamcatcher to be near the entry point of the energies where dreams may enter. It is supposed to capture the bad dreams and only allow the good dreams to pass through.
What do the beads on a dreamcatcher mean?
Though we didn’t follow the dreamcatcher rules in our particular craft (we did simplify it), DO explain to the children, that one single bread should represent the spider – ie that spider that builds the web. This is where the original idea for the dream catcher is from. Some people add more beads in different styles to represent all the good dreams!
Paper Plate Dream Catchers – you will need:
- A paper plate per child – this will be your dreamcatcher hoop
- Scissors
- String or yarn (if wanted in different colours)
- Beads to hang at the bottom
- Feathers or felt
- A hole punch is useful
Note: no glue is needed!! And we really loved making our own felt feathers. You use the felt feather DIY technique to make paper feathers too if you wish. Probably better than using regular feathers (I am not 100% sure how eco friendly they are!)
How to Make Paper Plate Dream Catchers:
Here we have our simple dreamcatcher instructions! I hope you enjoy this post.
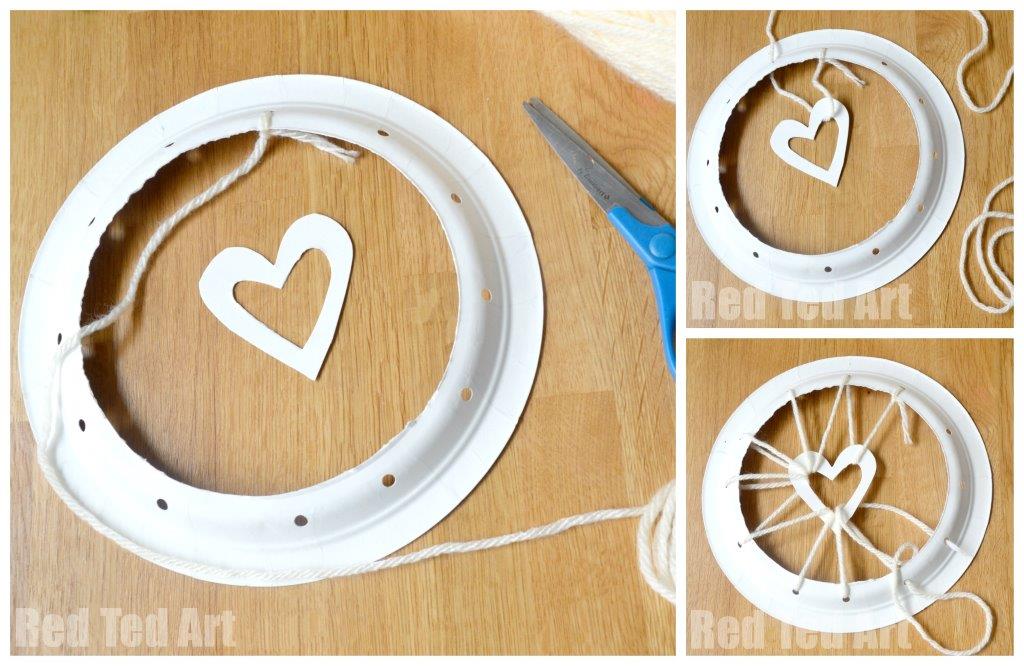
1) Begin by cutting out a circle from the centre of your paper plate. To make your dream catcher hoop.
Try and keep the bit you cut out “whole”, because you can then reuse part of of the paper plate to cut out a heart or star shape.
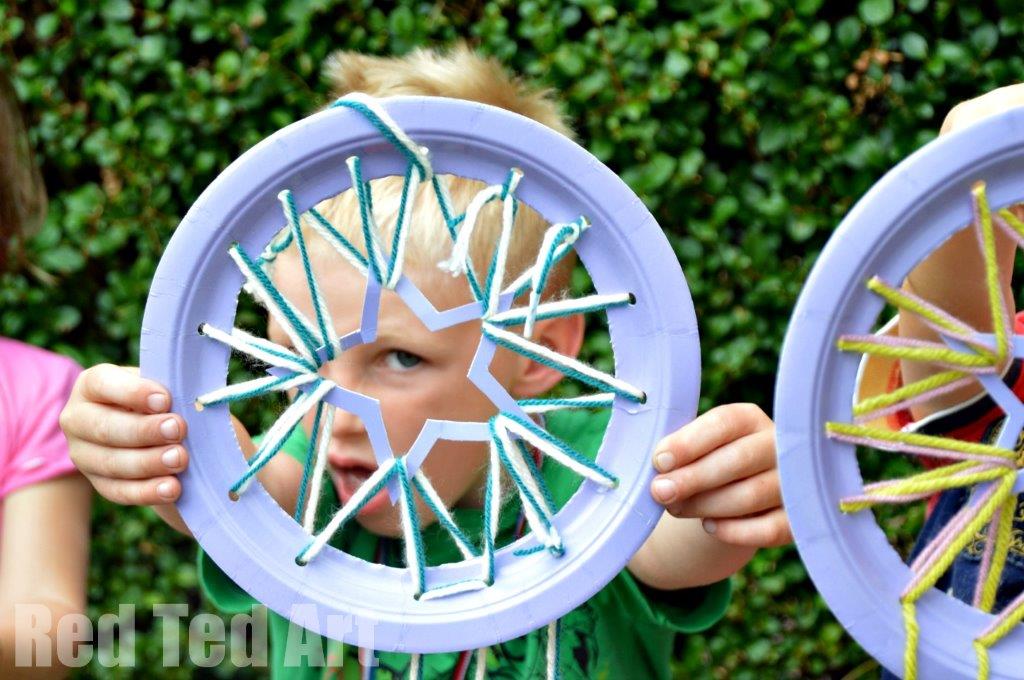
PRO TIP: the hearts were MUCH easier to thread, in retrospect the stars where fiddlier and a bit more of a challenge (poor boys!).
Take a hole punch and cut even holes into your the rim ofyour paper plate dream catcher. I started by making a hole on opposite sides, then rotating by 90 degrees and punching two more olds – a bit like a compass. Then fill the spaces in between evenly. We made 12 – 16 holes likes this – forming the rim of your paper plate dream catcher.
2) Cut some yarn – it needs to be quite long.. but that also means it is more likely to get tangled.
PRO TIP: if working with younger kids, shorter pieces are recommended.
You will just end up with a couple more knots, but I don’t think that that is a problem. Knot your wool to one hole and then lace it through the heart and then the next hole along. Always lace in the same direction – e.g. over the heart and under the hole. Don’t pull the thread too tight. Keep it loose (approx 4-5cm), you get towards the end it will naturally tighten.
TOP TIP: wrap a piece of tape round the bottom of your wool, to create a “shoe lace effect”, much easier for thread
Alternatives: you can also thread some beads along your thread as you go along. It looks very pretty to haev beads “in” your dream catcher too!
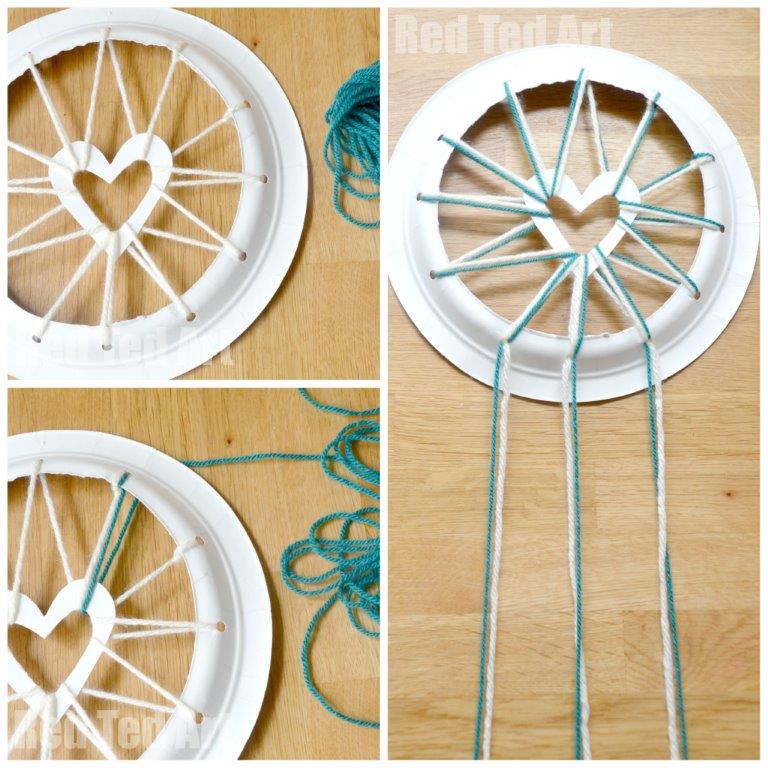
3) If you wish repeat with a second colour or third! and make a really colourful Paper Plate Dream Catcher!
TOP TIP: if working with younger kids, you may choose to thread TWO pieces of wool through your paper plate dream catcher in one go. Or just choose one colour. Kids do loose concetrations.
4) Now it is time to make your “dangly bits”. Thread some more wool through the bottom 3-4 holes of your dream catcher. Tie at the back. Again use tape at the bottom of your wool for thread.
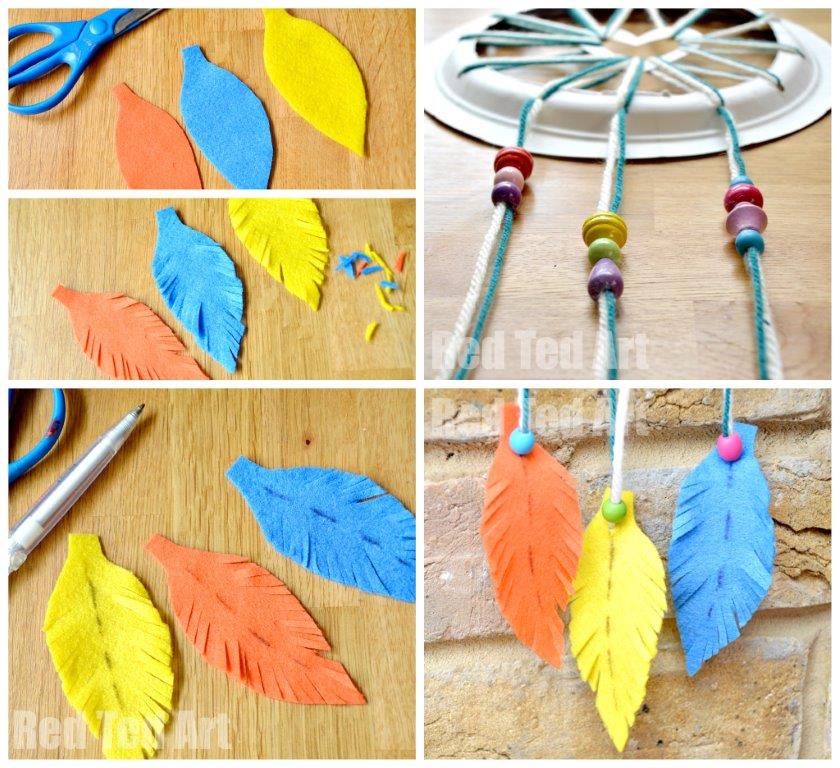
5) Bead on your beads. As our wool is quite thick, we litterally just added the beads and the thickness of the wool held them in place where we wanted them. If need be, add some little knots under the beads to keep them in place.
6) Either use natural feathers for the bottom part of youer paper plate dream catcher or make some out of felt. The felt feathers are SUPER EASY to make – simply cut a leave shape in the desired colours – snip some uhm snips into the side of the leafe and add a little line with a biro – and done, you have some felt feathers in fantastic colours.
7) Snip a tiny hole at the top of your feather. Thread a bead and then your feather and tie a knot at the back. For the real feathers, we just tied the wool around the end of the feather and “hid” the knot with a bead.
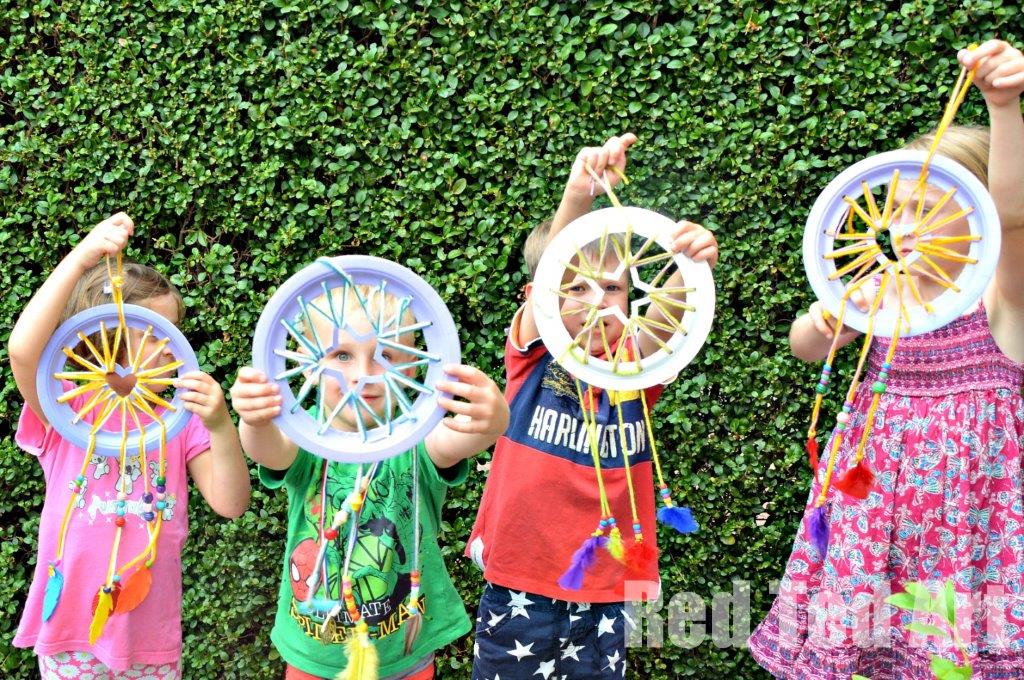
Your paper plate dream catchers are now finished!!!
I love how this craft brought both boys and girls together and how they all enjoyed it on different levels. I did have to help the boys a little more with their threading skills, but they did a great job and it was great practice! I think they love their Paper Plate Dream Catchers.. and all four got hung up in their bedrooms that night!
More wonderful Paper Plate Crafts here: