
Easy Finger Knitting Bunny DIY
If like us, you have falling in love with Finger Knitting and have already learnt how to finger knit and are looking for more finger knitting project ideas….. you may absolutely ADORE our easy finger knitting bunny diy.. well WE do.
But then we are bias as we came up with this no sew finger knitting bunny pattern. And we think it is oh so cute! Depending on your kids age and dexterity, this is either a together project (they knit, you assemble) or should be able to manage it all by themselves. I give a little pointer in the video as to how to finish it off more easily if you need to simplify the facial features! But I would say that is the only really tricky bit. If you love this bunny.. to check out all our other cute and easy Bunny Crafts for kids!
So… let’s take a look what you need to make your finger knitting bunny rabbit and how to make it!
Finger Knitting Bunny DIY – Materials
- chunky wool if possible (if your wool is thin, then either double it up or adjust the pattern by making your sausages shorter)
- contrasting wool for eyes and nose
- YOUR FINGERS
You may also like our Finger Pom Pom Chicks:

Learn how to make finger pom pom chicks here.
Finger Knitting Bunny DIY – How To
The video once again shows you the very basic of how to finger knit (I feel it is important to show it each time.. in case you are new to finger knitting and want to learn the basics of finger knitting from scratch). The video really is the best way to learn how to finger knit, however BELOW the video, I have written out some of the instructions for making the bunny itself!
Watch the video on Auto Play for this easy how to, or follow the written instructions below (or us a combination of both!)
Learn how to finger knit
Step 1 : How to Finger Knit

Hold the wool comfortably with your thumb.Wrap the wool behind your index finger and in front of your middle finger. Then behind your wedding finger and around your pinky. Then in front of your wedding finger, behind your middle finger and around your index finger.
You need to do it again. Wrap the wool in front of your middle finger. Behind your index finger. Then around your pinky. In front of your wedding finger, behind your middle finger and then around your index finger. So you have two loops on each finger.
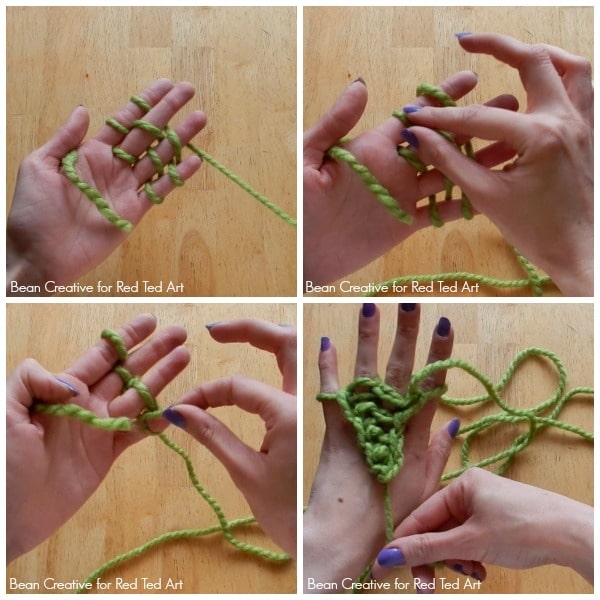
Now you need to pull the bottom loop up and over the top loop. On all fingers So you’re left with one loop on each finger. Then start again. Keep repeating these steps until you have a long enough piece. Long enough to wrap around your head.
Once you have the basic finger knitting mastered.. you will need to:
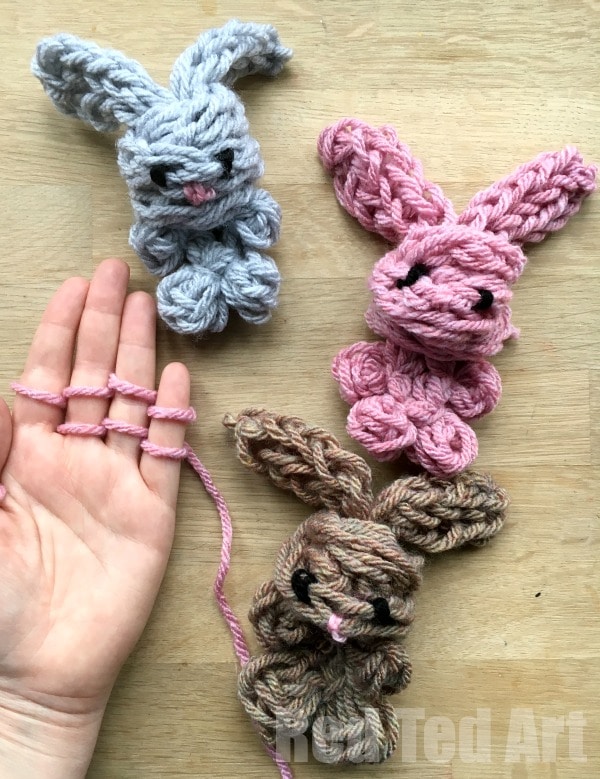
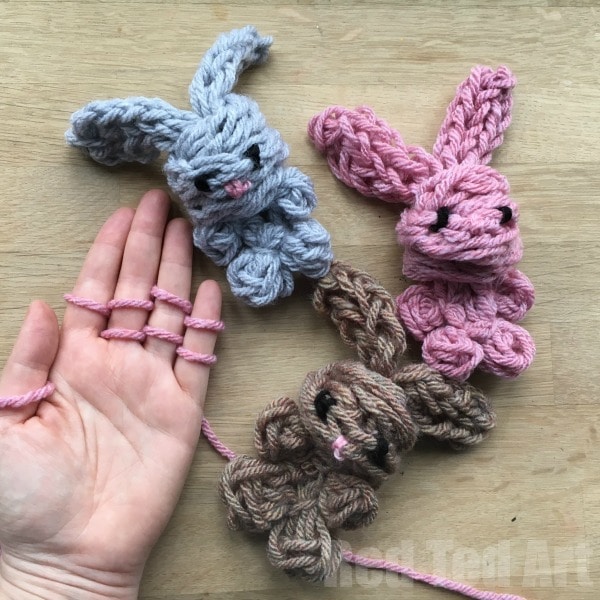
- You will need two strands of finger knitting -we made on 44cm long and the second 38cm.
- Tuck in your “loose strands” by threading it into your finger knitting.
- Take the 44cm and fold at the middle.
- Approximately 7cm from the top, tie your fold strand tightly together. This will make the ears.
- You should have a loop below it now.
- Now pinch this loop into 4 equal “small loops” (a bit like flower petals). Tie each one of these off. You have your basic bunny shape.
- Now take your second 38cm strand of your finger knitting and wrap around around your first one – between the “arms” and the “ears”. And tie a little knot and wrap it around to form a head. This can be a bit “hit and miss” and you may need to re-wrap it until you are happy with the shape of the head!
- Once happy, secure it with loose threads at the back of the head.
- Finally.. you can finish of your Finger knitting bunny diy by adding eyes and a nose – we did this by tying a little thread… but it was very fiddly, I think using a bit of felt and glue may be easier!!!
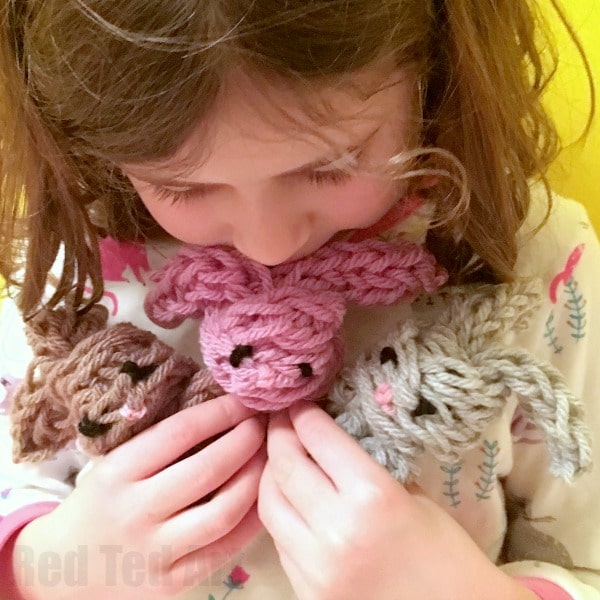
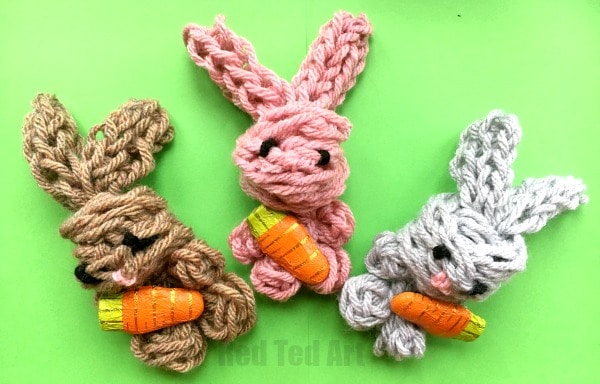
I hope you like our DIY Finger Knitting Bunny as much as we do!!! Have fun!!
Remember, we have lost more finger knitting projects for you here – from Heart Ornaments, to Butterflies and Scarves.
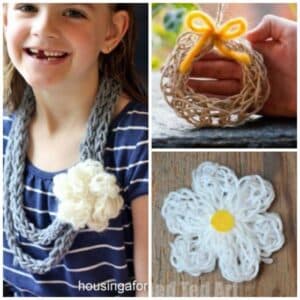
We also have tons more Bunny Rabbit DIYs for you to browse! All oh so cute and easy bunny crafts!!!

This finger knitting video tutorial is also available on YouTube: