Easy Pom Pom Chicks for Easter
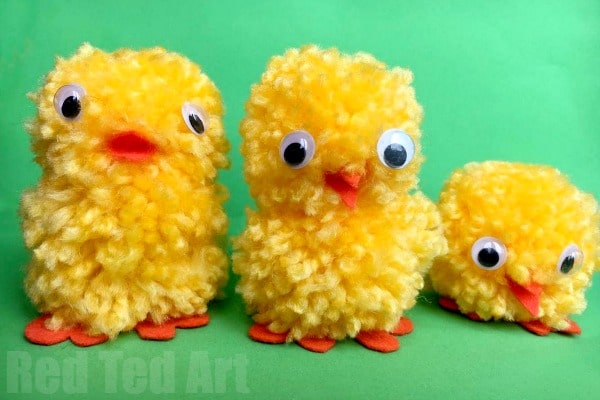
Well. We do love a pom pom. We can’t get enough of them and have shared many a Pom Pom DIY Idea here on Red Ted Art over the years! Sometimes you get so carried away with “bigger” and “better”, that you forget the classics – just like this adorable “classic” Pom Pom Chick for Easter and Spring. Yep. Why reinvent the wheel and do something **amazing**, when in fact, all the kids want to make is a childhood staple: enter the Easy Pom Pom Chick. A super cute Easter Craft for Preschoolers and kids! So easy so cute.
How to make a pom pom chick!
The finger pom pom making method is really fun.. and you can use four fingers as we did here today for our pom pom chicks, or just two fingers, to make a smaller pom pom with your fingers.
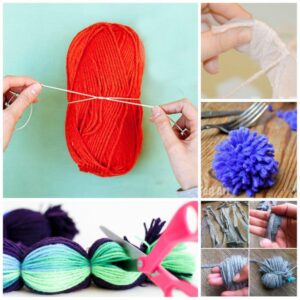
Today we make our Pom Pom’s using the Finger Pom Pom making method, but do check out this collection of 7 Pom Pom Making Methods ideas for alternatives (I like the cardboard disc method best), if Finger Pom Pom making is not quite your thing!

Pom pom chicks are super fun and easy to make and are a wonderful simple Easter craft idea for kids of all ages. Or make a of baby chick pom poms and pop them into the Easter Baskets!
Cute Pom Pom Chicks – Materials
- Yellow yarn
- Your fingers (or check out these Pom Pom Making Methods we do REALLY like the Pom Pom Makers! They are so great for kids to use)
- Some orange felt – but you can use cardboard too!
- Googly eyes (or small pieces of black felt or black beads would be fab too)
- A sharp pair of scissors
- Small dab of glue (PVA or fabric glue) or a hot glue gun to add the eyes and beak
The hand pom pom method is very simple to the fork pom pom method but results in a bigger pom pom. You can use either method and make lots of different sized chicks!
How to make a Pom Pom Chick (Finger Pom Pom Method):
So we have created a simple Pom Pom Chick video for you again, however have also added the step by step instructions (including some photos from the How to Make Heart Pom Poms post) below. So if you want the watch the video, you can, or you can read and follow the written pom pom making instructions below!
You will need to make TWO of these Pom Poms in yellow yarn (though, not being colourist, your pom poms chicks could be ANY colour, right?! In fact, why not make a set of Rainbow Pom Pom Baby Chicks?!)
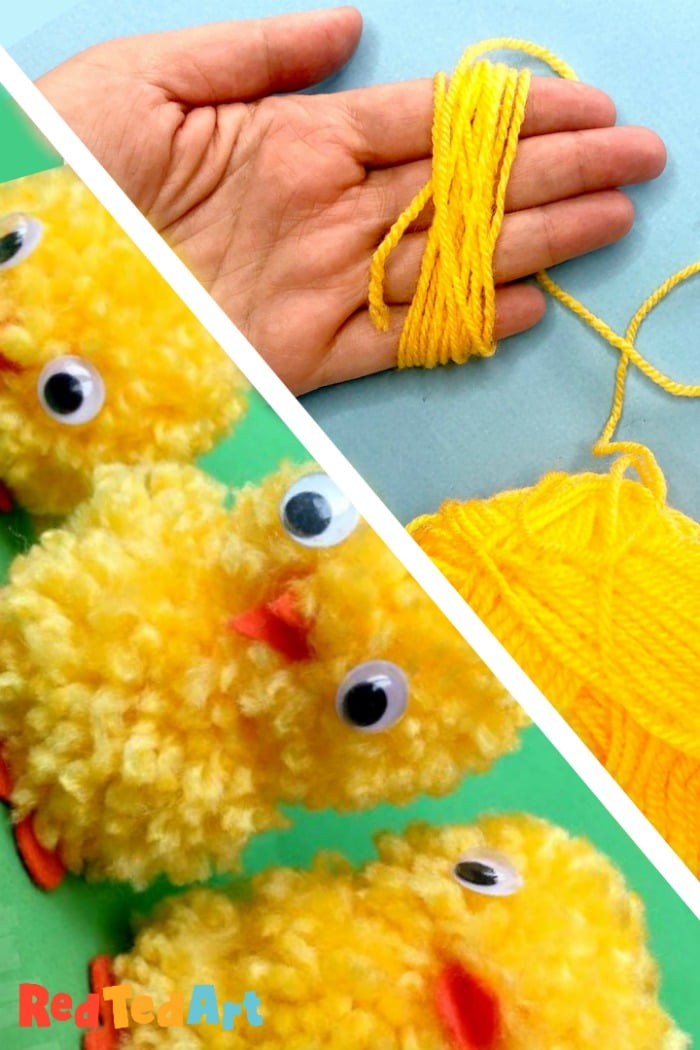
Start wrapping the yarn around 4 fingers.
Keep wrapping until you have a decent amount like this :
Use another piece of yarn to tie around the middle tightly.
If you want to hang it off something you can leave the piece of yarn long.
Cut all of the loops with a sharp pair of scissors (it makes all the difference!)…
Then you need to start trimming your pom pom. With the Finger Pom Pom making method, you do actually have to trim QUITE A LOT! We like to save these trimmed pieces and use them as stuffing on small sewing projects.
Keep the “tying of strands” as you will use these to know the two pom poms together!
I decided to trim one pom pom a little smaller than the other.
Once trimmed, you can knot the two pom poms together, using the stands you used to tie your pom pom.
Finally – cut a beak (a double triangle folded in half) and some feet out your felt:
Fold the beak in half and glue in place! The feet go on the bottom of the pom pom. Let dry and you have finished your Easy Pom Pom Chicks!!
You can of course embellish your pom pom baby chick further and add little wings (maybe in yellow felt?) or add a ribbon to hang your pom poms into an Easter Tree!
If you love pom poms like us.. do check out the Pom Pom DIY Ideas
and 7 Pom Pom Making Methods ideas for alternatives!
Happy Pom Pom Chicks making!!!!
This video is also available on YouTube (long form)


