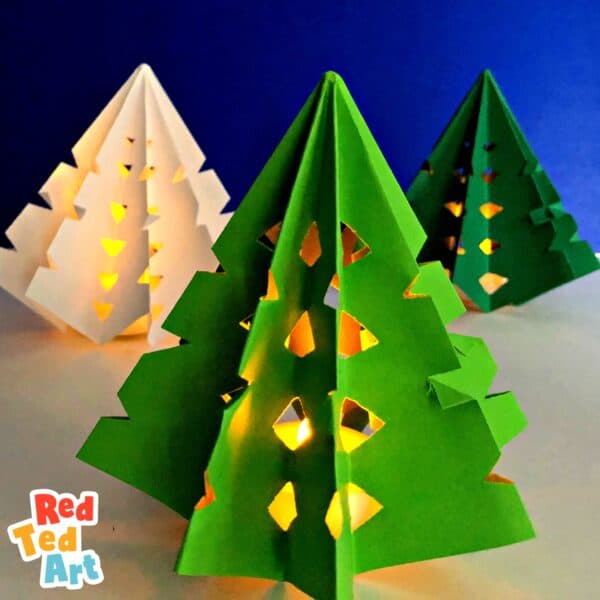
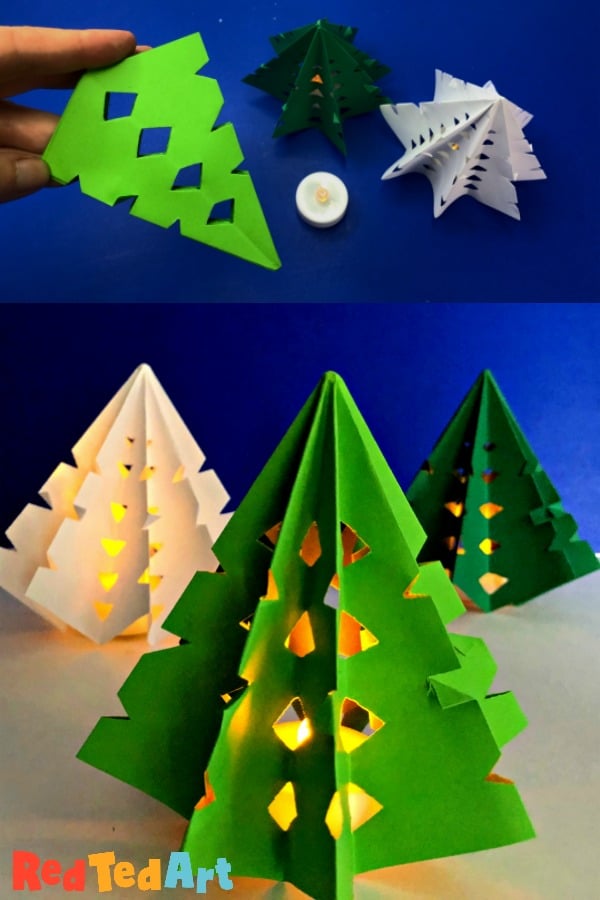
3d Paper Christmas Tree Luminary
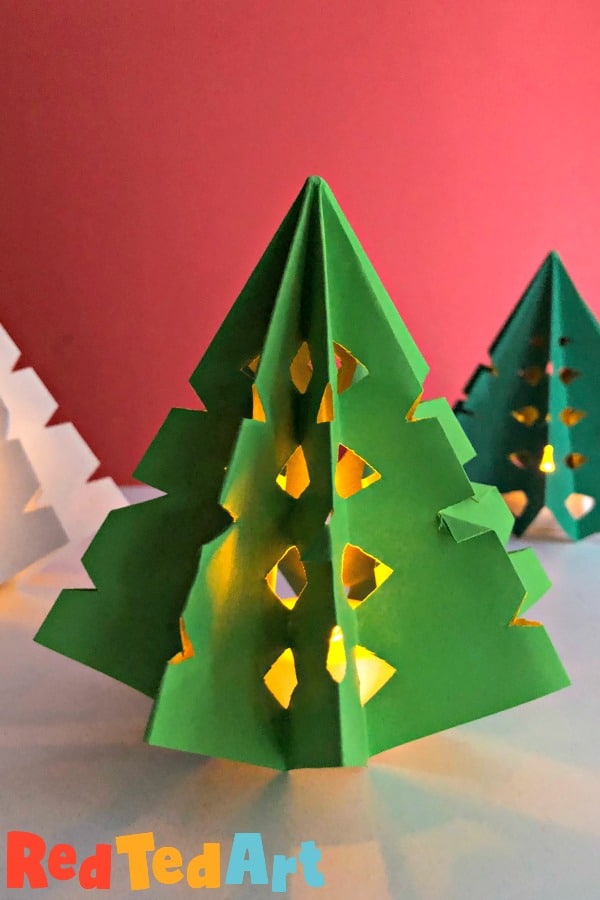
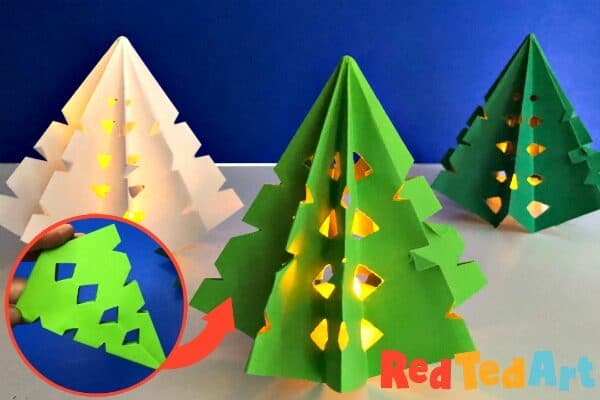
We love creating Paper Christmas Crafts for Kids! And we have a fabulous paper craft for you today – these 3d Paper Christmas Tree Luminaries!
If you love paper snowflakes and fancy the next challenge, these are super easy to make and look great both with and with an electric tea light! What a fantastic paper craft for Christmas.
If you love this paper craft.. you may love our brand new Easy Paper Projects book for kids – a perfect creative Christmas gift!
Paper Christmas Tree Light – Materials
- square piece of paper approx 20x20cm (we cut down an A4 sheet of paper)
- scissors
- tea light (optional
A 3 page printable worksheet with a lesson plan overview, as well a 2 page photo step by step instructions is available over in my Teacher’s Pay Teacher’s store.

How to make Paper Christmas Tree Kirigami
Check out our easy to follow video instructions or follow the step by step written instructions below. As mentioned you can get a photo step by step worksheet over on Teacher’s Pay Teacher’s store too!
Step by steps written instructions for making Paper Christmas Trees!
This Paper Christmas Tree Luminary is very similar a Paper Snowflake. So you may find some steps familiar!
For step by step PHOTO instructions head over to the Teacher’s Pay Teacher’s store!
- Fold the square piece of paper across the diagonal to make a triangle.
- Take the far right corner and fold across the center perpendicular to meet the far left corner. Making another, smaller triangle.
- Take the shorter edge on the right and fold to meet the longer edge on the left.
- Fold one more time to create an “odd shape”.
- Cut across the straight edge.
- Time to add your patterns. Make triangle (or heart shapes!) along the longer edge, which is also a “closed spine”.
- Your cuts should look like this.
- On the other side make a single cut in the middle and cut a triangle shape above and below it. The line cut will be used towards the end.
- Unfold your paper. You should have somehing resembling a paper snowflake!
- Re-crease your folds along the “main pattern”. This will make the next step easier.
- Now you need to “concertina” your paper. Push the main pattern “inside” and make the shorter pattern the outside edge.
- Keep going round.
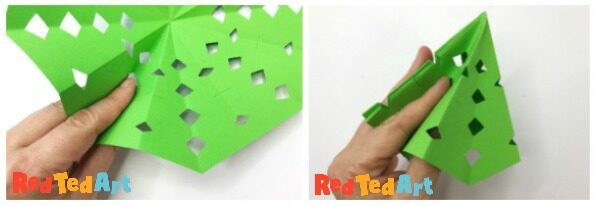
- Once finished your tree will look like this. Not super even. This is were the extra cut comes into it.
- Fold the cut down. This helps shape the tree and secure the overall circular shape.
Check out the rest of our Paper Christmas Crafts here:
More FABULOUS Christmas Tree Crafts:

