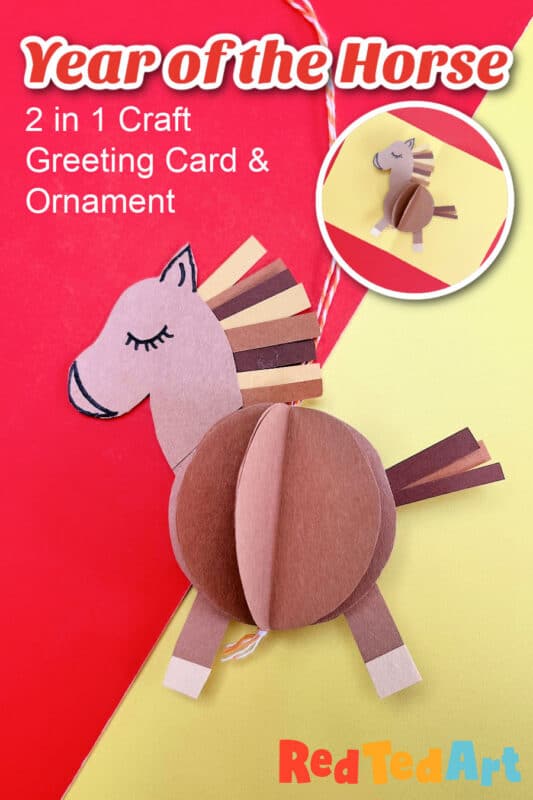
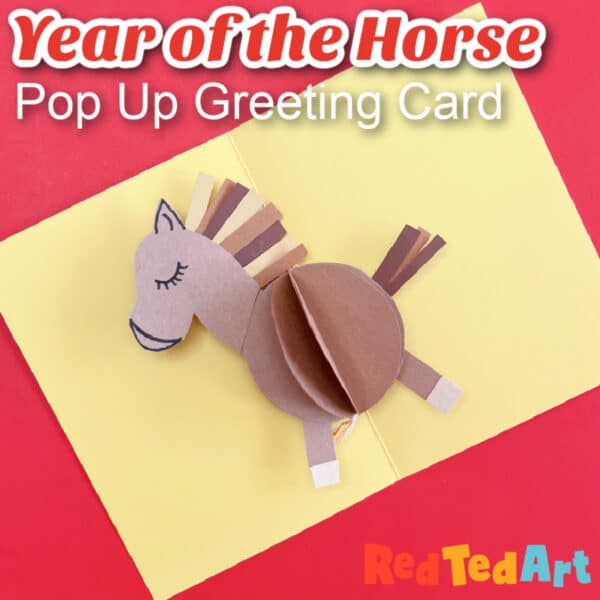
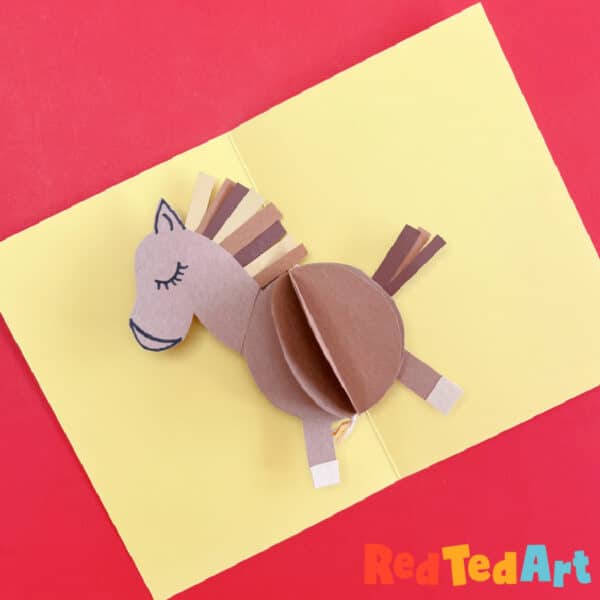
3d Paper Horse Ornament
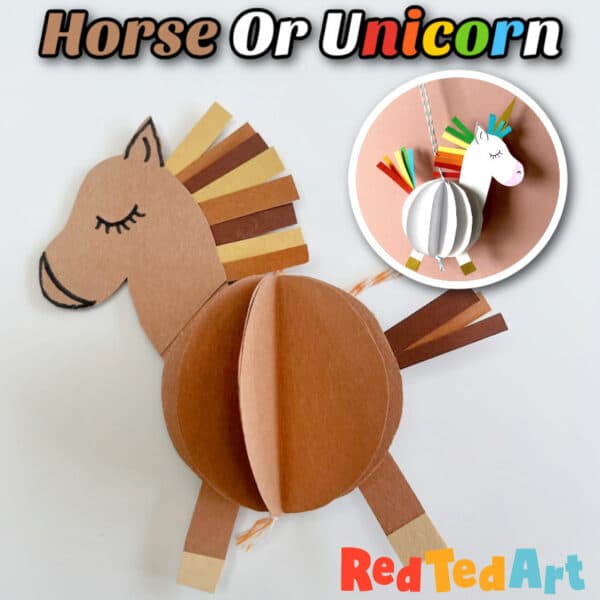
Well, when you have a fun craft that you love, then why not make it again! We turned our oh so fun Unicorn Bauble (and pop up Unicorn Greeting Cards), into a quick and easy 3d Horse Paper Craft!! Same craft, but ideal for all Horse lovers or Year of the Horse crafters! Lpve that all you need is paper to make this cute horse craft!

As mentioned, this Horse Craft, is based on our previous Unicorn Craft, which we have no extended to include the Horse printables too. It is a perfect craft for the Year of the Horse this Chinese New Year 2026! But also makes a great craft for any farmyard study unit, general horse lover craft or Kentucky Derby Craft idea!!!
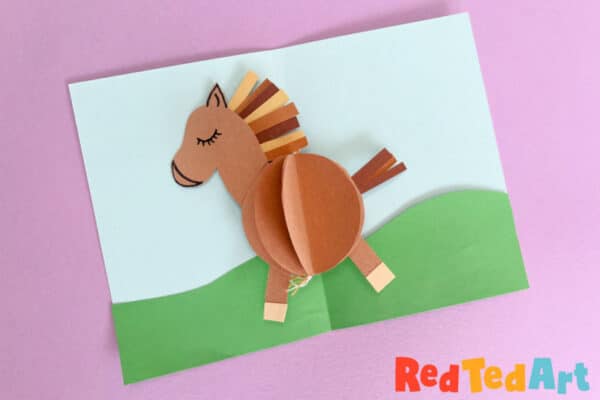
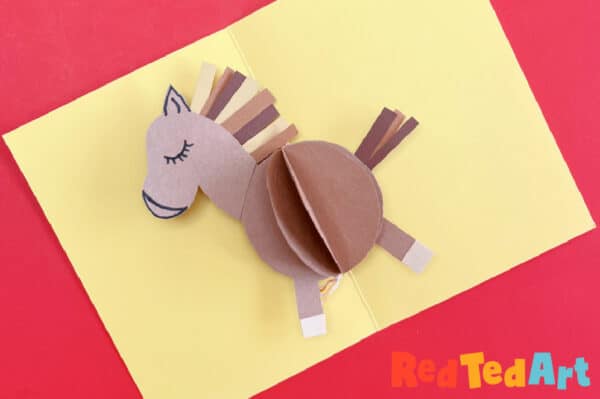
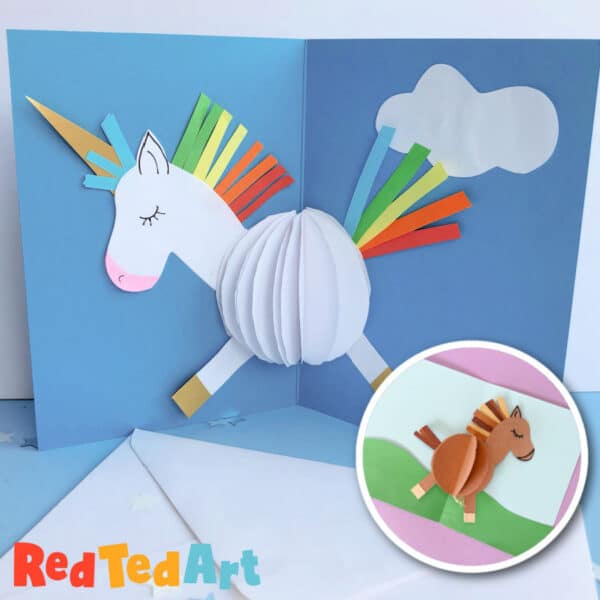
You can make this 3d Paper Horse Decoration – as a stand alone decoration or even as a pop up horse greeting card:
Switch out the colors to yellows, golds and reds, and it is perfect for Lunar New Year 2026 too:
So let’s get started!
Supplies needed to make this 3d Paper Horse ornament
- Optional: Horse templates (though the step by step video tutorial shows you how to create your own)
- Paper in desired colors (we used brown paper here, but you can use fiery reds, bright yellows etc for Chinese New Year)
- Scissors
- Glue Stick
- A little baker’s twine for the horse ornaments or a some cardstock for the pop up cards
- Pens for details
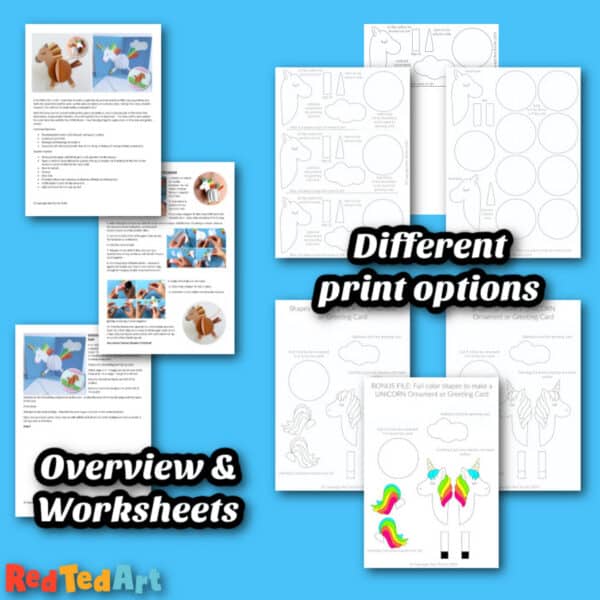
The full 9 page printable is available on Teacher’s Pay Teacher’s. But you can still make this craft on your own. All Teacher’s Pay Teacher’s purchases are hugely appreciated and a great way to support the upkeep of this blog! Thank you!!

The 9 page printable includes:
How to make a 3d Paper Horse Ornament (and greeting card)
Let’s begin with the 3d Horse Ornament and video tutorial. This is the same video tutorial as for our 3d Unicorn Baubles – all you need to do is switch out the colors and not bother with the triangle horn – the video guides you through drawing your own unicorn head, which is relatively simple:
We also have a video tutorial for the Horse Pop Up card adaptation:
Step by step instructions for making a 3d Paper Horse
As mentioned these work well for the Year of the Horse, as “just” horses and of course as Unicorns!
Preparing the Paper Horse Head
As mentioned – there is now a printable PDF to help you with this craft but you really don’t need it!
If sketching your own templates – you will need something circlular for the horse’s body. I used a small expresso cup – which is a really nice size. But you can use any circle. Maybe get hold of this circle template first, as you will want to use it to get the horse head correct.
- Sketch out your horse head or use our horse template (use your circle template – whether it is a cup or lid to guide you re size). You will need 2 of these facing in opposite directions (draw one, get two pieces of paper, cut 2 at the same time.. flip one over)
- Add details in pen – e.g. for the ear, eyes and nose
- Now it is time to cute some paper strips for the mane and tail. I made them very narrow – 2mm wide and about 3-4 cm long (but you will trim them later).
- Add a little glue to your paper horse head… and start sticking down your mane. Stick it as neatly to the edges as you can as sometimes the line is visible through the white paper.
- Add some extra mane to the other side of the ear, so it matches both sides. Trim the mane if need be!
- Glue on your second head piece, so that your paper head is pretty on both sides.
The horse head is now finished.
Preparing the Paper Horse Tail
- Cut extra strips of paper – again approximately 2mm wide and 3-4 cm long and put those to one side
Preparing the Paper Horse Legs
- Cut strips of brown paper 1cm wide and 2-3 cms long.
- Use a black pen for hooves (or use gold paper if making a Chinese New Year horse!)
Make your Paper Unicorn “Bauble” Body
- Cut 9 brown circles (you can use our template for size)
- Fold the circles in half.
- Add glue to one half of the circle and lay a second circle on top.
- Continue until all half circles a stuck together.
- Now cut a longish piece of bakers twine – measure it against the bauble and head to see that it is long enough for hanging. Double it and make a knot one end.
- Add LOTS of glue to the spine of the bauble, as well as one side of the bauble. Place your Horse Tail pieces on the paper to have a “pointing up” tail. Add your Bakers Twine to the centre of the spine.
- Now take the first piece of paper and contect to the last piece. You should now have a paper bauble, with a rainbow tail and hanging from Baker’s twine!
Final Assembly of your Paper Horse Decoration
- For the last step, take your horse head you made earlier. Find the paper bauble part that is more or less opposite the tail and glue into position.
- Finally add one leg to the segment where the tail is, one leg to segment where the head is.
Your lovely paper unicorn decoration is FINISHED!!!
Extension: Making a Pop Up Horse Card
A fun extension idea for this horse/ unicorn ornaments, is to turn them into simple Pop Up Cards. These are particularly lovely for birthdays or if making the horse, The Year of the Horse or Kentucky Derby fans.
Pointers for Assembling the Pop Up Card:
Follow steps 1-7 – though you can use less circles if you wish. 5 is enough. Though 9 is still fun!
Glue the tail and one leg to one half of the baubles.
Glue the head and one leg to the other half of the bauble.
Add glue to the tail and leg and position on the card – so that the spine of the bauble aligns with the spine of the card.
Press down.
Add glue to the head and legs – then fold the card to glue the head in the perfect position.
Open and your basic card is ready. You can add additional features the card’s background such as clouds in the sky, stars or rainbows.
Enjoy!
If you are looking for more lovely Horse Crafts, take a look here, ideal for the year of the horse too!:


So fun!