How to make Conker Snake Counting Tools for Preschool
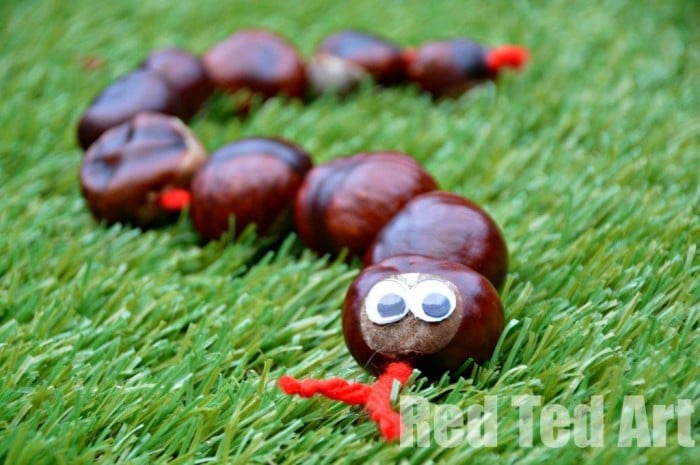
More Autumn Crafts for Preschoolers for you – this is a real blast from the past for us: Conker Snake one of our all time favourite Conker Crafts. They are another classic Autumn craft to do with kids. We love crafting with nature at this time of year.
Going out and collecting conkers, acorns, leaves and whatever else is out there for us to discover (I have a whole list of Nature Crafts for Autumn for you to check out!
And don’t forget the British classic of “How to Play Conkers” – how I love Autumn!!). Horse Chestnut Snakes are PERFECT for “using up” tons of those chestnuts. if you are like us.. you will end up with bags full of conkers with not enough crafts to use them all up. Snakes it is.
A great numeracy tool for preschoolers and early years:
The best bit?
These wonderful and tactile little toys double up WONDERFULLY as counting snakes.
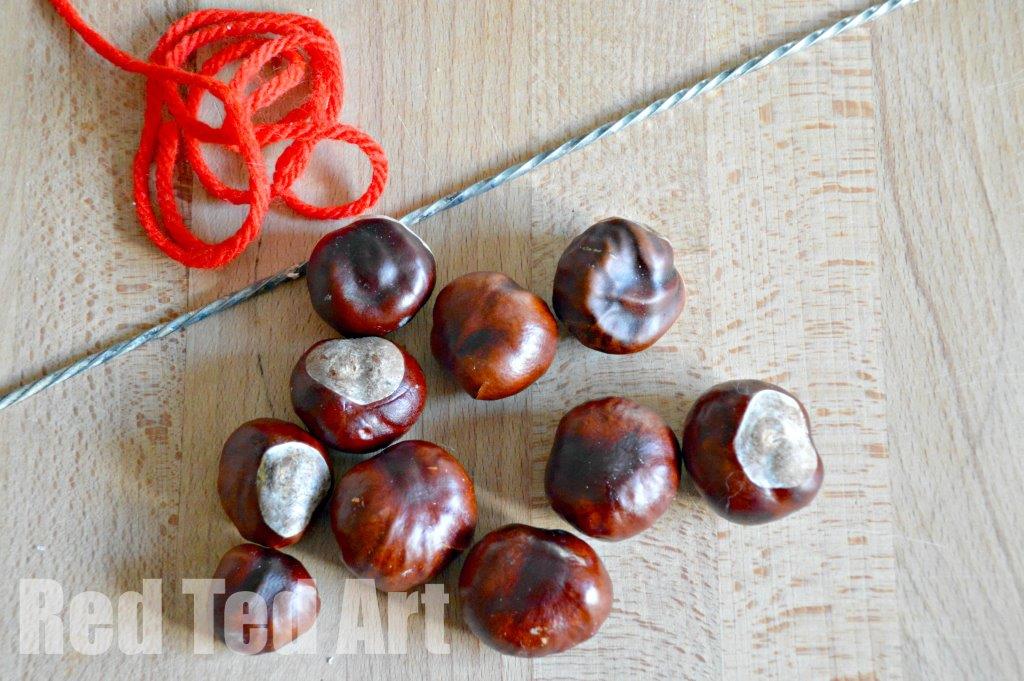
We get 10 chestnuts.. and if you want label them 1-10 (my daughter did this on one of them a year or two later) and use them to count to ten, but also add and subtract with in the “10” range. Perfect for number bond practice too!
Materials need for chestnut snakes:
- a handful of conkers… the more you have the bigger the snake – 10 is great as a counting tool,
- skewer + lighter (a hot skewer goes through the conkers more easily) – ADULTS ONLY PLEASE!
- string or wool,
- a little wire to make a threading needle or tape, to turn the wool into a “threading shoelace)
- googly eyes,
- glue
Autumn Crafts Conker Snake: This is how we did it….
You can either watch the handy video tutorial on auto play or follow the step by step instructions outlined here.
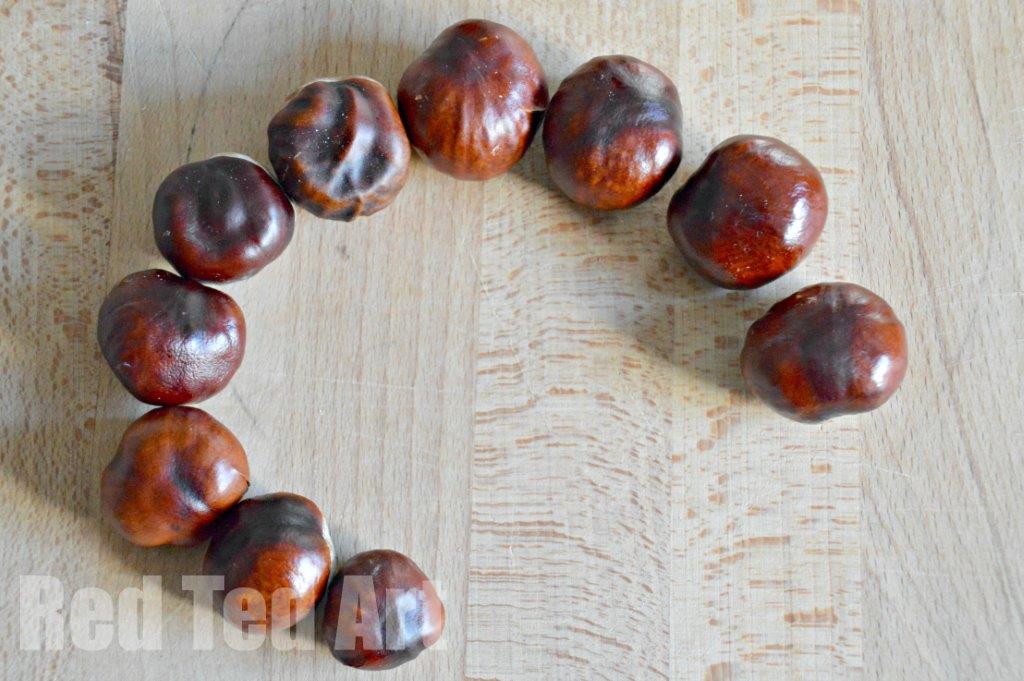
1) Sort your conkers by size. Smallest at the end. Find a nice big one for the head – choose one with a nice “non shiny” bit. This is important, as googly eyes (or anything for that matter) don’t stick very well on the “shiny” bit… but DO stick on this “face” part of a conker.
2) The parent. (ADULTS ONLY) now makes holes into all the conkers – sideways – so you can string them up – I used a kebab skewer for this. If you heat the tip of the skewer it goes through more quickly. Just take care not to burn yourself!
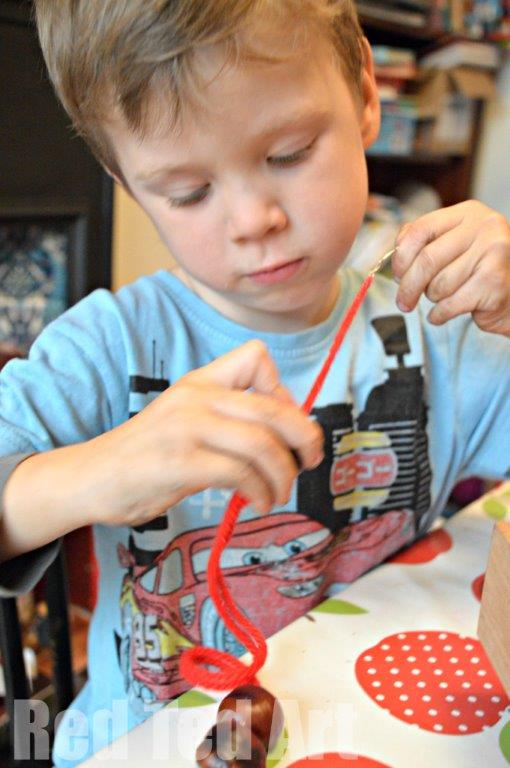
3) We made a little “needle” from wire, as I couldn’t find my “wool needles”, then we threaded through the wool “double”, so that we can have a forked tongue at the end.
4) Thread your conkers. Optional: tie knots between each conker, but it isn’t strictly speaking necessary.
5) We then tied a knot at the tail end and cut the wool close to the knot. Then I did two knots at the “muoth end, to give the a tongue shape. Cut the wool about 2cm from these and tied little knots at the very end, o avoid fraying and to allow for a “split tongue”.
6) Glue on googly eyes on to the “non shiny” part the conker. If you DO end up with only a shiny part of the conker for the face, make some scratches into the shiny surface, that should give your glue some “hold”.
Enjoy… this Autumn Crafts idea also makes for a very tactile “play thing”… let younger siblings play (minus the googly eyes).
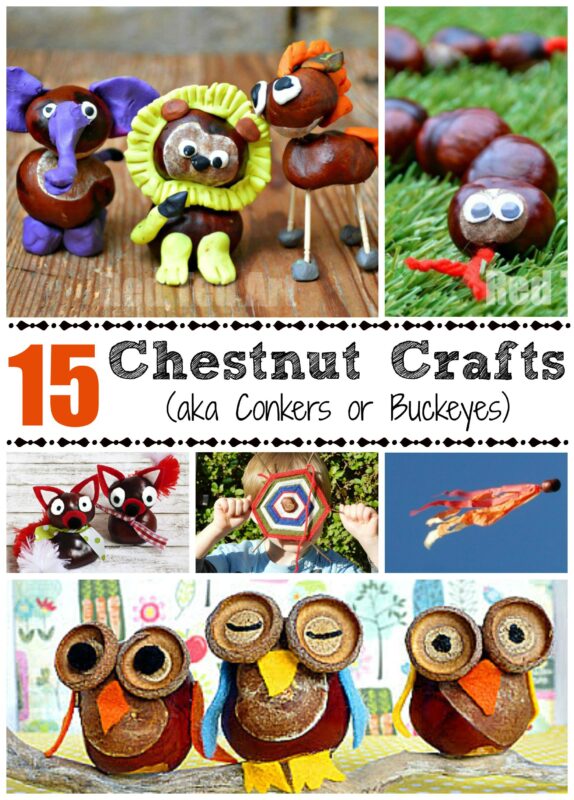
See our full set of Chestnut DIYs here:
Looking for more Nature Crafts for Autumn? Take a peak at these!
Enjoy!

