Bat Paper Puppet
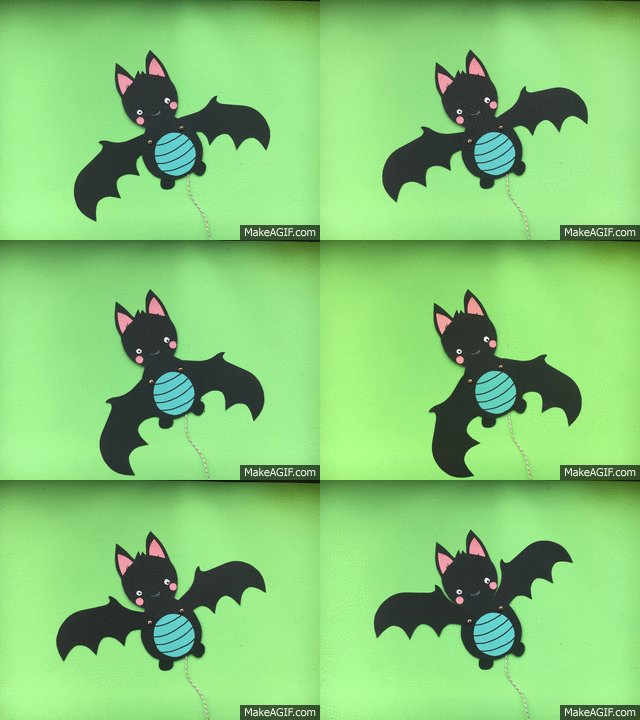
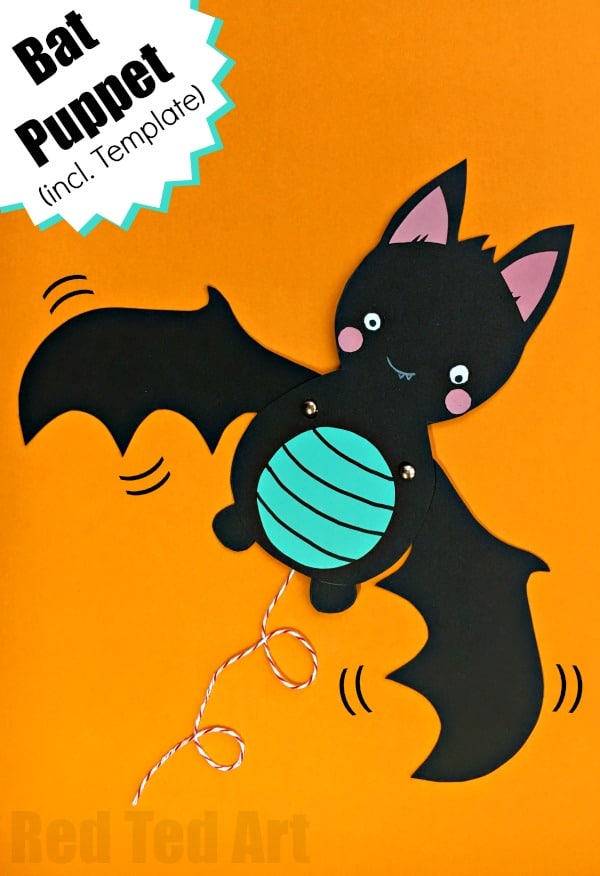
Time for more Free Halloween Printables. Well.. you may think I have gone a bit BATTY.. Batty about Paper Puppets that is. Earlier this month (and yes, it isn’t even December yet), I shared a super cute and easy Elf Paper Puppet Template. I had so much fun creating it.. that I just had to make another for Halloween.. so here is our cute and easy Bat Paper Puppet. Eeek. Isn’t it adorable? And it flaps it’s wings… a great little Paper Halloween Craft for Kids – I love that you can use it as a Paper Toy, but also as a Halloween Decoration. You can create your own designs (I discuss briefly how in the paper puppet video below) or make us of our free paper puppet template. Paper Crafts for Kids ROCK!
These bat puppets were first shared in October 2017 and have been updated and repbublished for your convenience!
Bat Paper Puppet – Materials

- Make sure you download your FREE Bat Paper Puppet Template (add $0 at checkout)
- Black card + coloured paper scraps for details
- Hole punch (single hole hole punches are super handy
- Brads/ split pins
- Bakers Twine (oh how I LOVE bakers twine)
- White or silver pen
- A large pointy needle
- Glue stick & Scissors
How to make your moving Bat Paper Puppet
As per usual, I hope you find the short video below useful in making your Bat Paper Puppet!! But I have also added some written instructions for you below! (This video is also available in a slightly longer format on YouTube!).
- Cut out your template and trace over the black, pink and white cardstock
- Cut out all you bat puppet’s pieces.. you will need a main body, two wings, a tummy, ear detail, eyes and rosy cheeks (optional). Though I have added eyes to the template.. why not experiment with different eye sizes – e.g. as with our Origami Bats from last year? They can look so fun quirky depending on how you position them.(And id you know that last year’s Origami Bats also work as Bat Bookmarks? How fab! Yay!! But I digress…)
- Next glue all your bat’s body pieces together – so the body, eyes, cheeks and tummy. You can add stripes to the tummy for extra detail.
- With a white or silver pen add the mouth. You can also cut out white teeth (again see the Origami Bats for reference).
- You will now need to hole punch out four holes – 2 on the body and one each on the wings. Make sure you position the holes as per the template.
- Thread your bakers twine (we have thin bakers twine and a needle with a large eye). Knot one end and push through the wing in the position marked with a dot.
- Secure the wing to the body with a brad.
- Now run the needle through the second wing.
- Secure the second wing to the body.
- Make sure the bakers twine rund between the two wings and is a straight line when the wings are in the down position. Knot off the second side.
- Get another piece of bakers twine and secure in the middle of the first piece of twine.
- You are finished. You bat should now flap nicely!!!
Enjoy! Hope you enjoyed this lovely little Bat Puppet and that the Bat Paper Puppet Template comes in handy.
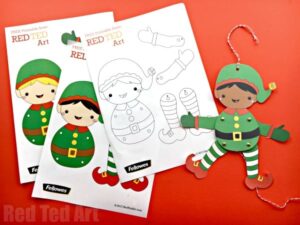
Remember to check out our cute little Elf Paper Puppet for later in the year (there are 16 multicultural elves to choose from, as well as boys and girls!):
More Fabulous FREE Halloween Printables:
More gorgeous Paper Halloween Crafts:


