
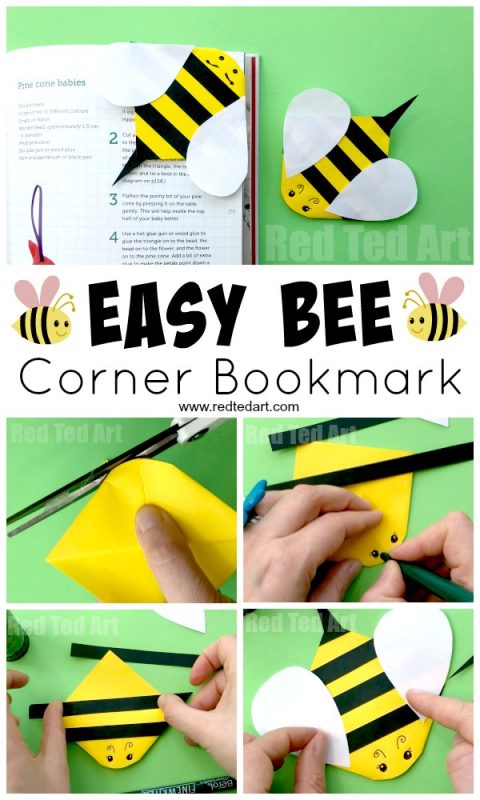
Bee Corner Bookmark Paper Crafts for Kids
Buzzzzzzzz.. Oh yes, finally SPRING is in the air (it feels like it has been a very LONG Winter)… and with Spring, the blossoms are are out and the bees are buzzing. Time for a favourite Paper Craft of ourse – the Bee Corner Bookmark. Though we have an extensive Corner Bookmark Design collection.. we do not yet have the humble Bee Bookmark Corner. This is a super quick and easy bee craft to make and only takes a little snipping and sticking to get it done. Perfect for a Spring or Summer Reading Project in the classroom!!!
Bee Corner Bookmark – Materials
- A yellow piece of square paper (we cut down A4 into 2 squares of approximately 15 x 15cm – but any size is fine!)
- Some scraps of white paper
- Some scraps of black paper – though you can use pens too
- Black pen for the bee’s eyes and antennae
- Glue stick
- Scissors
How make a Bee Bookmark Corner
How to make a bee corner bookmark video! Or follow the photo instructions below.
Corner Bookmark Bee Step By Step Instructions
Begin by making a basic Origami Bookmark in yellow. We have Origami Bookmark Step by Step Instructions (including photos) or check our handy Bee Corner Bookmark video above!

Flip the bookmark over, so you are working with the “full square of the yellow paper” (and not the folds). Round off the tip of the bookmark for a nicer “rounded” bee head.

Cut out your bee bookmark’s features – some black strips of paper (approx 1cm wide) and two large “tear drop” shaped bee wings.
Glue on your strips to the back of the bee – we used 4 black lines. Once glue on, you can trim them against the shape of of your corner bookmark.
We also cut out a little black bee sting!

Draw on some bee eyes and antennae.

Finally glue on your bee corner bookmark’s wings.

Your Bee Corner Bookmark is now FINISHED! Now wasn’t that easy?!
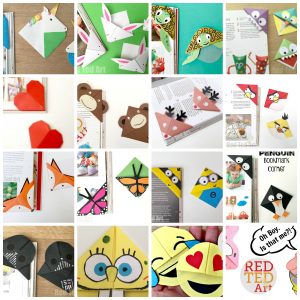
We have Bookmark Ideas for Summer here:

And of course an extensive list of Corner Bookmark Designs here:

This video Tutorial is also available on YouTube