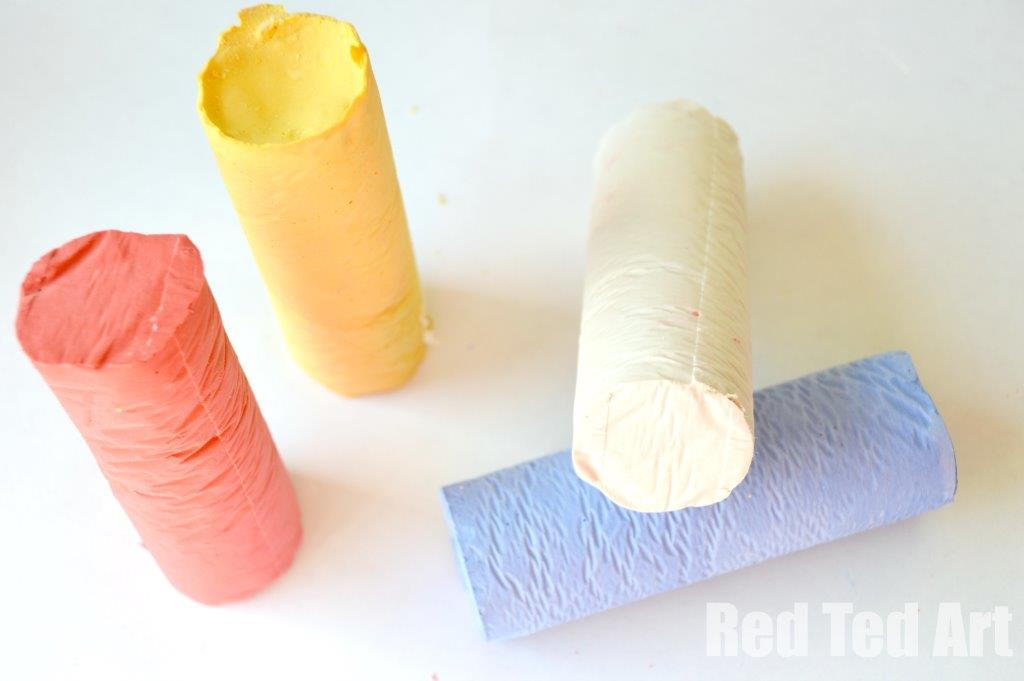
DIY Sidewalk Chalk Recipe
We love making our own things – whether it is our own “playthings” or gifts for family or an arty recipe, making you own is a fun experience and makes you enjoy the final product more. And so we decided it was time to have a go at making Sidewalk Chalk. Making Sidealk Chalk is reasonably straightforward, though it is worthwhile “setting up” and getting ready for it, as the chalk sets quickly. This is a super simple DIY Sidewalk Chalk Recipe and you won’t need many ingredients. I particularly love that this crafts also makes use of the humble TP Roll.. one of our favourite craft materials for kids! Hooray. (Check out all our zillions of loo roll crafts!). This is a great Summer Craft for Preschoolers.
CAUTION: when Plaster of Paris activates it becomes HOT. Please never stick a finger or hand in the mixture and always use it under supervision!
DIY Sidewalk Chalk Recipe/ Ingredients:
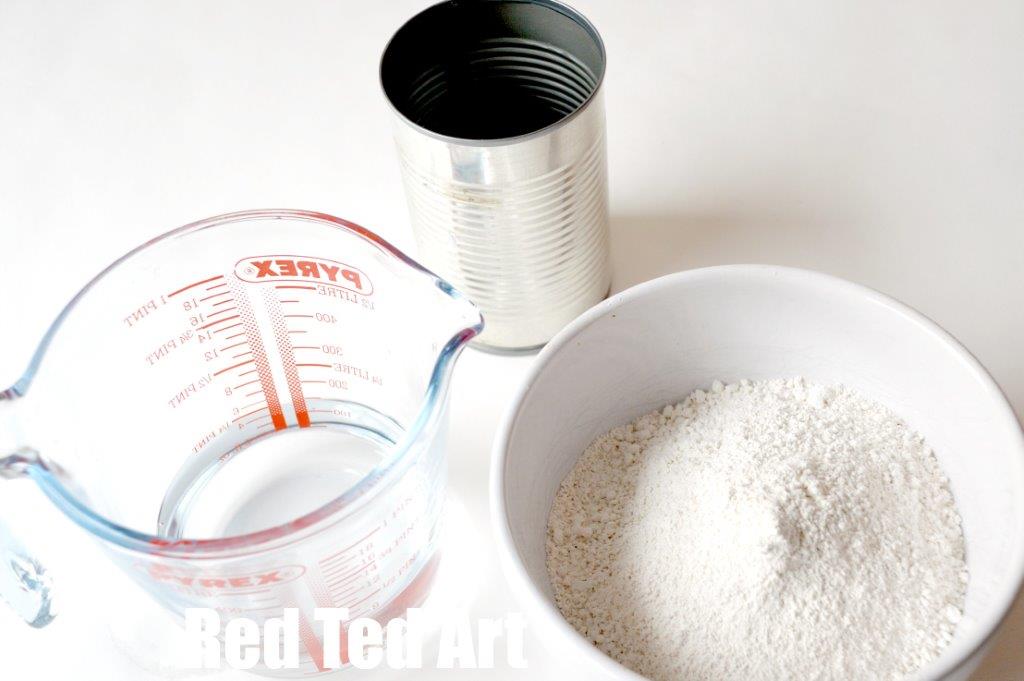
- 1 cup Water
- 2 cups Plaster of paris*
- 3 tlb sp tempera powder paint or food colouring or poster paint
- An old tin/ plastic cup and chop stick for mixing and storing – we used an old tin per colour.
- TP Rolls (one per colour)
- Baking paper
*double check the instructions on your plaster of paris packaging. Make allowances for paint. If in doubt, LESS is better as it will result in a softer chalk that will draw better.
Or use silicon moulds for pretty shapes!
DIY Sidewalk Chalk How To:
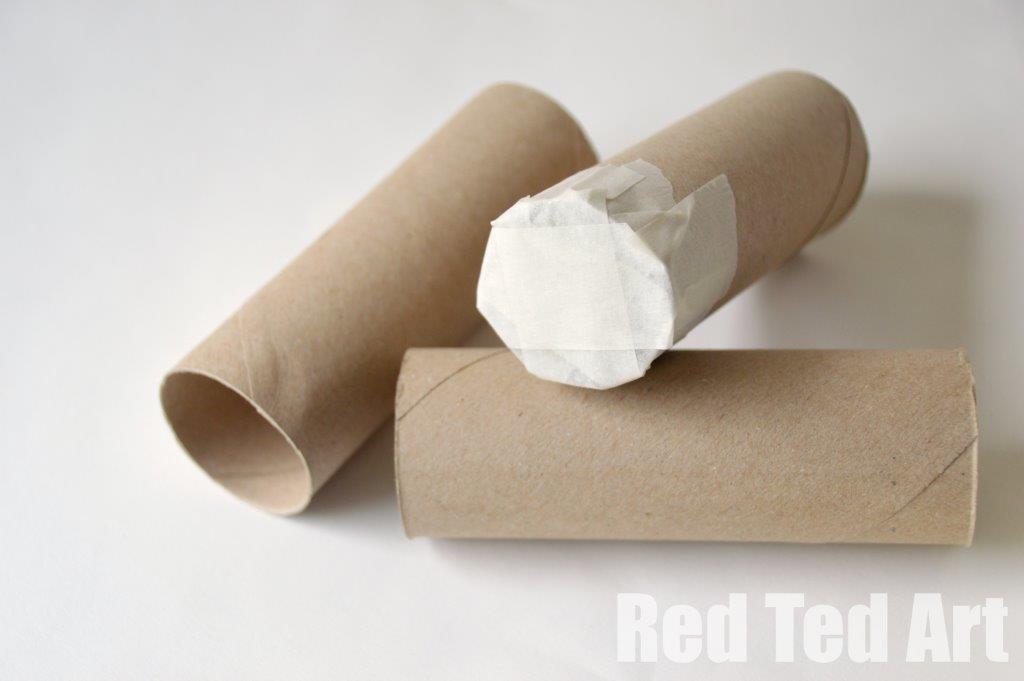
1) As mentioned above, be sure to prep your work area first and make sure you have everything out. Plaster of paris sets relatively quickly and you want to be ready with each step. To begin with, seal all the “bottom” ends of your TP rolls with masking tape. Make sure these are neat seals. Out of our 6, we had one leakage!
2) Line your TP Rolls with baking paper. The plaster of paris is “very wet” and you need the extra protection of the baking/ greaseproof paper!
3) Now it is time to get ready! I like to get everything out and measured before I start mixing. Remember to make allowances for the tempera powder, i.e. take out a spoon or two of the plaster of paris. Less plaster of paris more as the runnier the mixture, the softer your final sidewalk chalk will be.
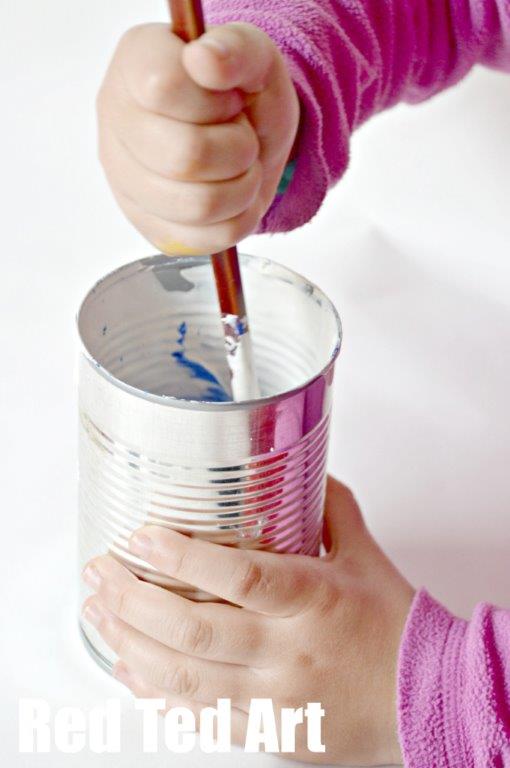
4) First add the water, then gradually add the plaster of paris and then your paint. For WHITE chalk, you CAN leave the plaster of paris “plain”, but it won’t be a “brilliant white” when you draw. So do add some white tempera powder for extra effect.
5) Pour into your sidewalk chalk TP Rolls. The plaster of paris usually begins seeting after 15min or so… you can tell that it is about to harden, when it warms up.
NOTE: This is a great opportunity to TALK SCIENCE and pointout to the kids that you put room temperature items together and suddenly they get hotter all on their own accord, why is this happening? what else can they observe? (read why here).
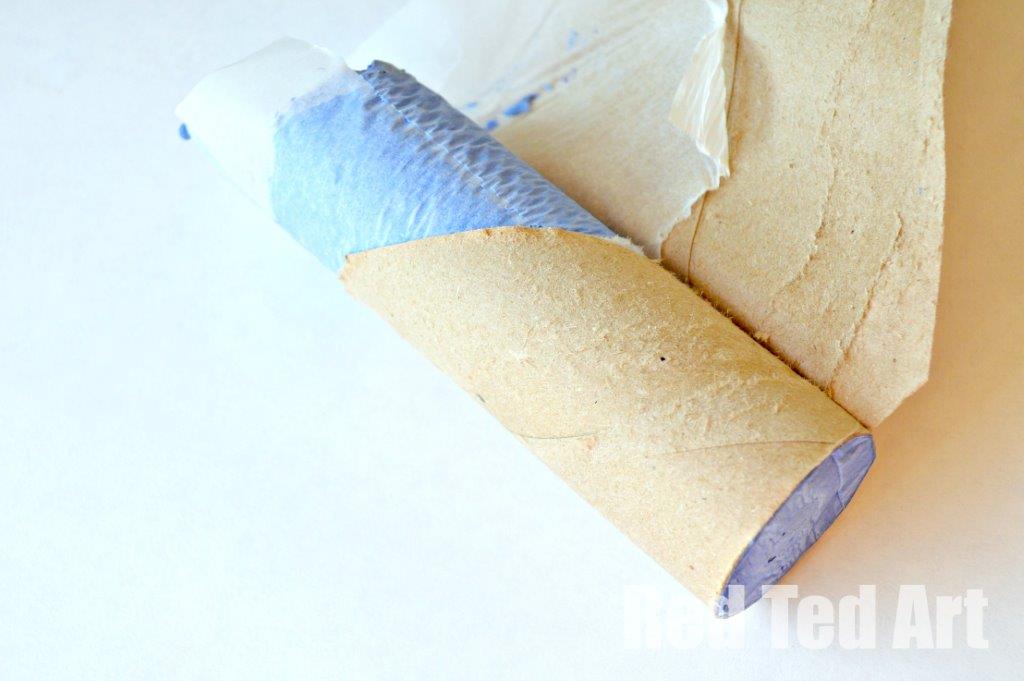
6) Ideally leave it a couple of hours or over night. Then peel off the paper from your sidewalk chalk.
7) All done. Step back and admire your homemade sidewalk chalk!!
Check out more great Summer Crafs for Preschool!


