
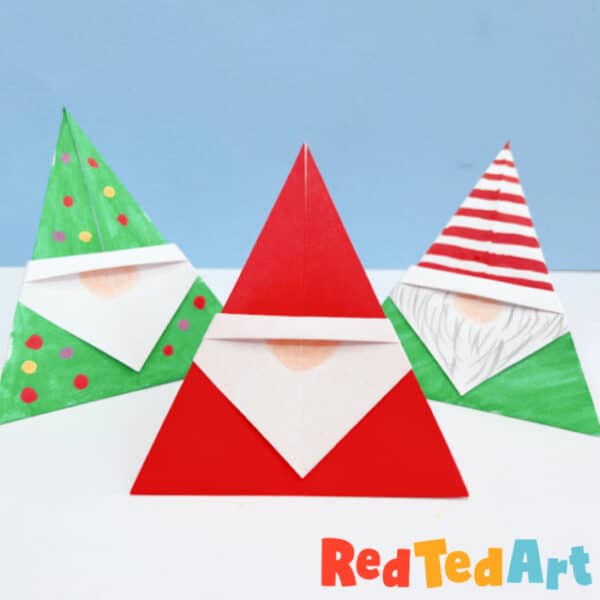
Easy Origami Gnome for Christmas
Welcome back to some more Christmas Origami fun! As you may have noticed, we have a bit of a Gnome Craft thing going this year.. somehow, once you make one gnome, you simply see gnomes EVERYWHERE… which is what happened with this adorable and easy origami gnome for Christmas.
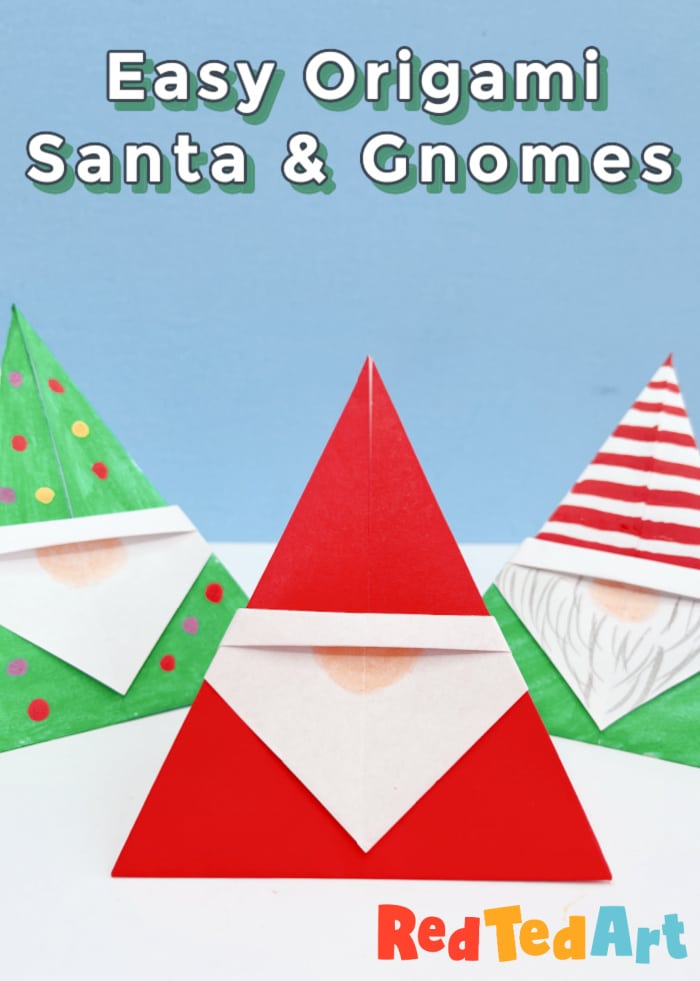
I was going to share how to make an Origam Santa.. and then, I thought.. actually, why not make this using white printer paper and turn it into an adorable gnome? This way you don’t need that special origami paper (red side, white side) and can you can also personalised the gnome to your hearts content.. right?
Your kids will love making this origami gnome, as it is so very easy – and all you need is a white piece of square paper and some pens or markers to have lots of decorating fun with. As mentioned, you can easily make the gnome’s hat and gnome’s body red.. and then, technically speaking, you also have an origami Santa claus! Well.. a 2 for 1 craft if every I saw one!
If you like making paper gnomes.. do also check out this adorable Christmas gnome craft – I particularly love the 3d shape of these ones and that fact that they are so so easy to make too.
On to our easy origami gnome today!
Origami Santa/ Gnome Ideas
These little paper santa and gnomes are so so easy and quick to make, that you can make lots of them.. you can
- add them as gift tags to gifts
- add them to the front of a greeting card
- stick two back to back and make a little origami ornament for the christmas tree
- make a whole set, tape them to some ribbon or baker’s twine and make a garland
- use them as fun little Christmas notes to leave around the house or in a lunchbox (write on the back of the gnome or encourage the recipient to unfold the gnome for a secret message
One little paper gnome craft.. so many uses!! And don’t forget, with the assistance of a red pen.. you gave yourself an adorable origami Santa Clause too! Woohoo.

To make an origami gnome you will need the following supplies:
The craft supplies needed are simple –
- a square piece of paper* (any size will do, in fact, I used scrap paper cut offs, but 15 cm x 15 cm is a nice size to start with)
- colouring pencils, markers or pens
- optional – a little tape or glue stick to secure the back, but not necessary!
* we used printer paper – no special craft paper or red origami paper needed for this origami project!
We have a super handy one page worksheet that you can download from the Teacher’s Pay Teacher’s store. A small contribution that helps with the upkeep of this blog AND gives you a handy one pager to work with at home or in the classroom (also added bonus, that the worksheet is ad free!).

How to make an Origami Gnome (or Origami Santa!)
This is a super simple origami project that focusses on the triangle shape. Making a great little craft for reinforcing symmetry and shapes in the classroom.
You can follow the video tutorial on auto play, or the simple step by step photo instructions below!
Begin by making some guide folds
Ironically, I AM using red and white origami paper for the step photos – only so you can easily see when and how to flip the paper… BUT, as you can see in the last step for decorating.. white paper is totally fine!
As mentioned – a handy one page printable is available here (ad free too!)
You need to start off by making one guide fold. Rotate the square piece of paper by 90 degrees, so that you have a diamond in front of you.

Fold the bottom point up, to meet the top point. And make a neat crease. You should have a triangle in front of you.
Unfold again.
Now you are back to the square, with a diagonal line.
Shaping the santa gnome’s hat

Rotate the square pieces of paper, so you have the fold running down in front of you.

Take the left corner and fold inwards, aligning the edges with the central line.

Repeat with the right corner.
You should have a kite shape in front of you.

Take the longer point of the kite and fold it to meet the opposite end. Make a neat crease.
Shaping the santa gnome’s beard

Flip your origami project over and rotate – so the flat edge is along the bottom.

Take the top corner and fold down, not quite to the bottom edge.

Make a neat crease. This will be basis of the beard.

Make another small fold – a few mm wide – this will form the brim of santa’s or the gnome’s hat (or santa’s hat).
Finishing the origami gnome shape/ triangle

Flip your origami project over again.

Now take the right side and fold over and make a neat edge.

Repeat with the left side.

Flip back. And you have a basic origami gnome or origami santa! If you have used white paper (which we did for our origami gnomes), you will have a white shape of course!
Customise your origami project
Now it is time to customise your little paper gnome. As mentioned you can turn him into any kind of gnome dress up that you wish simply by using different colour pens to decorate with.. but he can also easily be turned into an Origami Santa (no special red origami paper needed!!)..
for the santa

you simply colour in the Santa’s hat and body red and draw a nose or small face.. done!
for the gnomes

Have fun exploring decorations. You can make stripey hats. Dotty hats. Block colour hats. Hats with hearts etc. You can use stickers or different pens etc.
For ease, I unfold each section – as I add the gnome’s nose, add a little colour to the gnome’s beard etc. But strictly speaking you do not need to unfold it.
Optional: accessories your gnomes and santas
Ok.. so I always get a little carried away. I can’t help myself.. but at this point, you can always accessories your little gnome with cut outs from more paper scraps – maybe add some reindeers antlers? or a cute little gift? I can guarantee you we will be making these again at Valentine’s too!

Congratulations, you have made your first little origami gnome!

Aren’t these little paper gnome’s the cutest? You can then have extra fun with pom poms or other cut offs to add details to your adorable gnome Santas!
I love that ll you need is some white printer paper – even cut offs or scrap paper will do! All you need to do is make sure you have a square sheet of paper in any size! Making this the perfect classroom craft or thrifty craft at home. Origami projects should be easy and accessible for all to make! And it also makes so for a super simple Origami Santa claus too, don’t you think?
You can now stick an origami gnome or two onthe front of your Christmas Cards, make some collages, ornaments or bunting.. so many possibilities!
I hope you found these instructions useful and that you give our little origami gnome a go! Isn’t he fun!! And love that this little origami project is so versatile.
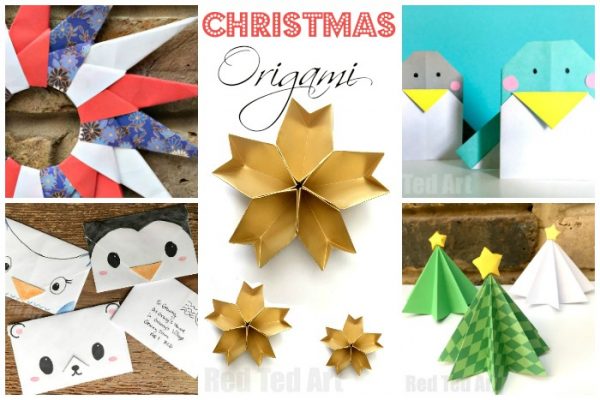
As you can imagine, I have MORE Easy Christmas Origami ideas for you to browse… take a peak at these fantastic origami tutorials for the holiday season!
And see the rest of our Gnome DIY Craft Ideas here:
