Easy Origami Owl Finger Puppet
I do love the Autumn Crafts season!!! So many lovely things to make from all sorts of animals, like Owl Crafts, to crafting with leaves and pinecones to working with paper. As you know we love a nice Easy Origami for Kids idea.. and have another such craft for you today! We will be making Easy Origami Owl Finger Puppets! They are based on the traditional Origami Cup and are transformed with some fun doodling! Doodle owls are easy and fun a great way to explore colours and patters. Let’s see how this cute paper owl is made today!

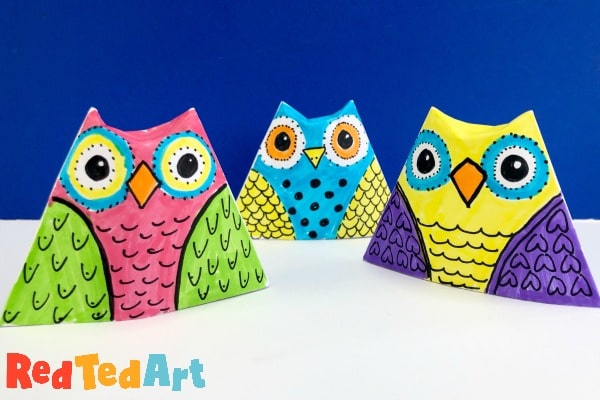
Aren’t these paper owls gorgeous? Love all the bright colours and patterns. It is a great opportunity to simply explore and experiment.. doodling is so much fun.
Origami Cup Paper Owl – Materials
- Square piece of white paper (we cut down A4 paper into 2 squares of approx 15cm x 15cm
- Colouring pens or pencils
The great thing about these doodle owls, is that, like our Bird Finger Puppets, you can actually make these with scrap paper!! Just fish it back out of the recycling bin.. cut into squares (as shown below) and fold and decorate. So fun!
If you would like printable lesson plan overviews and worksheets, you can get them on my Teachers Pay Teacher’s store for $2. But this blog should be all you need!
How to make an Origami Owl Finger Puppet
Yes.. as per usual you have a choice of watching our super quick how to video or following the step by step written instructions below (with photos of course!).
Step by Step Tutorial for the paper owl!
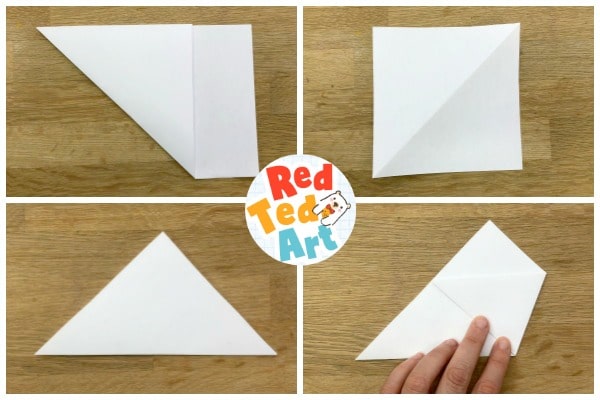
Begin by turning your paper into a square – we like to use half a sheet of A4 paper.. which results in a quare sheet of around 15 x 15cm. Fold one corner up to make a triangle.
Trim off the edge.
Open the triangle and you have a square. Though you can keep the triangle folded.
Turn it round so you have the long edge running parallel to your table.
Take the right hand corner and fold it up – to create anothe parallel line.

Repeat with the left hand corner.
Fold down the triangles at the top – one at a time. And tuck into the paper cup.

Now you have learned how to make a basic paper cup it is time to decorate and fun with your doodle owl.
I like to start with the beak and easy, then add wings and then fully colour. Once the ink has dried.. add details in black.
Finally, pop your paper cup over two fingers, and with the other hand, make a dent in the top to shape for owl “ears”. Add a little colour if you wish.
Your Paper Owl Finger Puppets are finished!!! Hope you enjoyed these as much as we do!

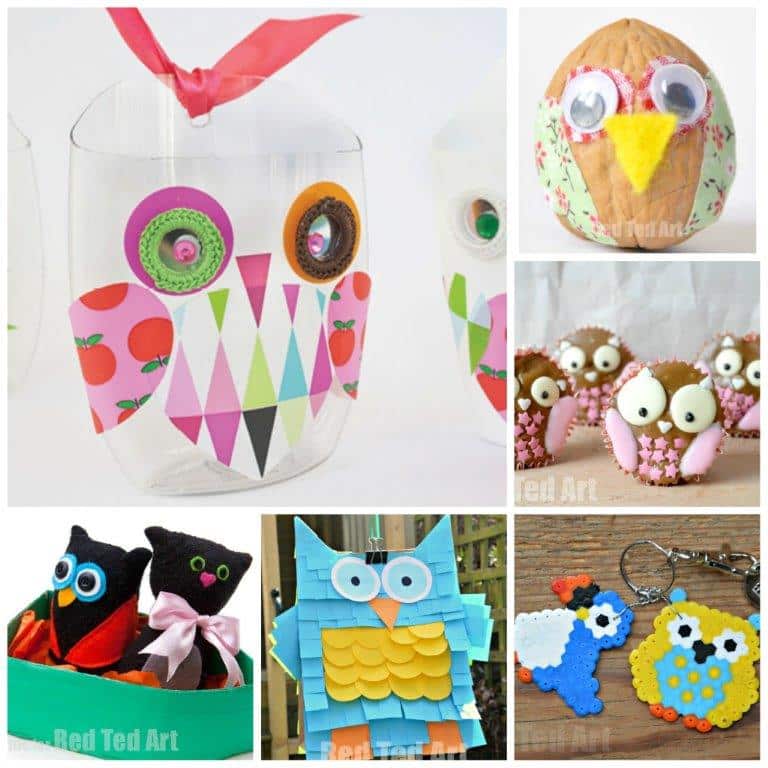
More Owl Crafts for Kids