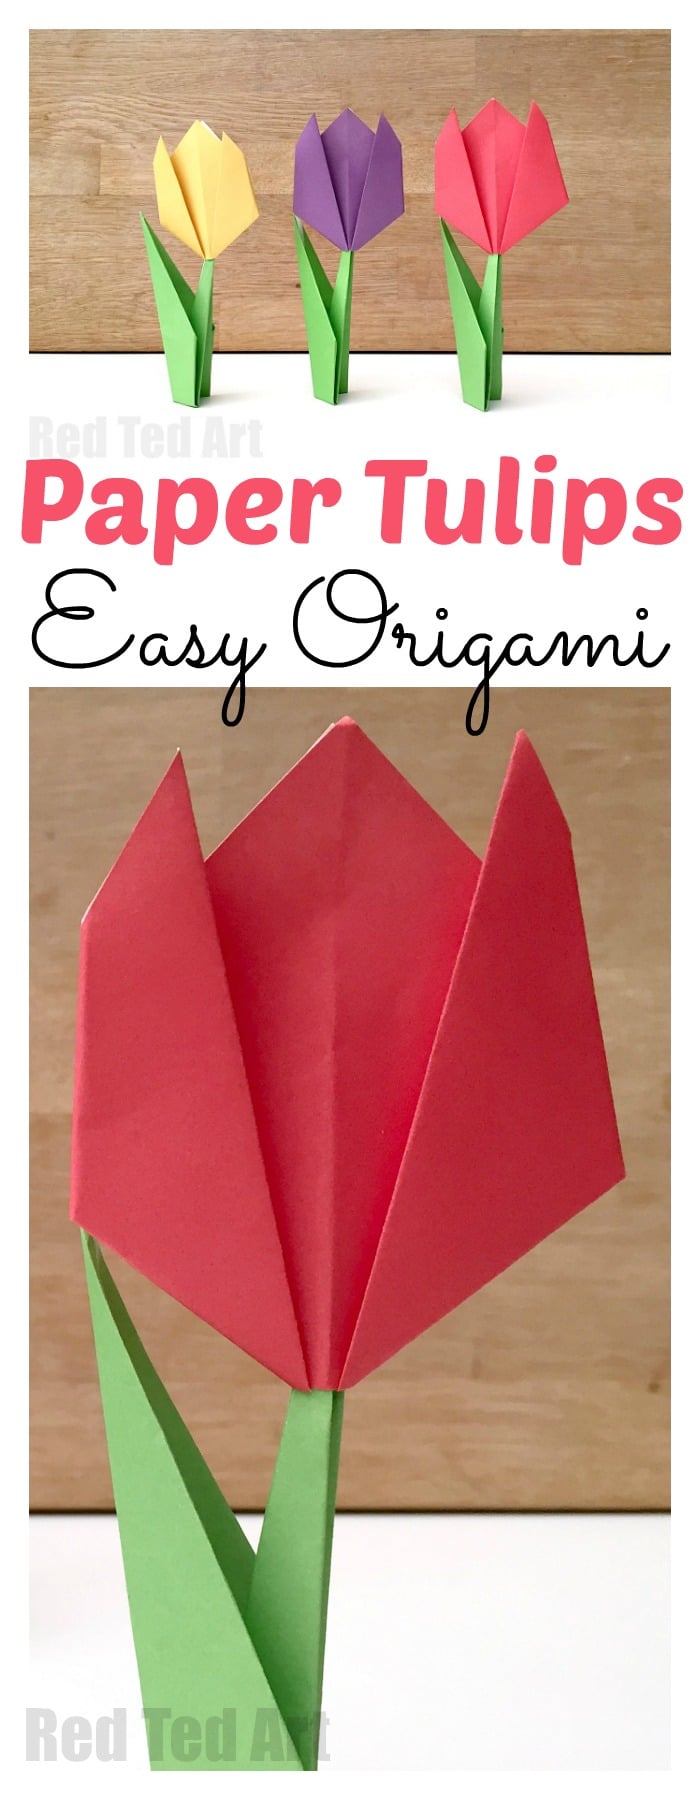
Easy Origami Tulip Tutorial with Step by Step Instructions
Learn how to make an easy paper tulip – a super easy Origami Flower for Kids to get started on! This origami tulip stands freely but is also great for collages and card making (especially lovely for Mother’s Day Cards and Birthday Cards. This is a great origami tulip project for preschoolers and beginners. Learn using our step by step instructions or handy video tutorial! This is part of our collection of popular Origami Projects for Kids!
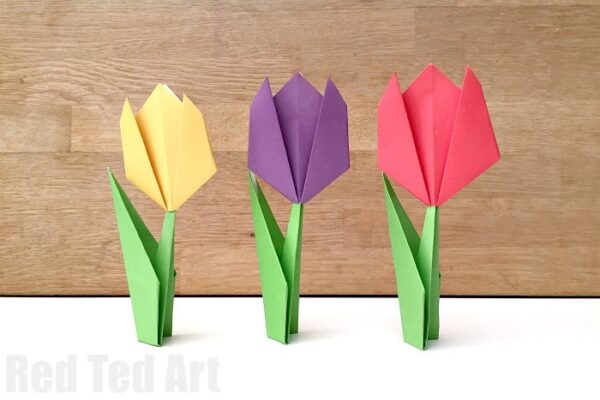
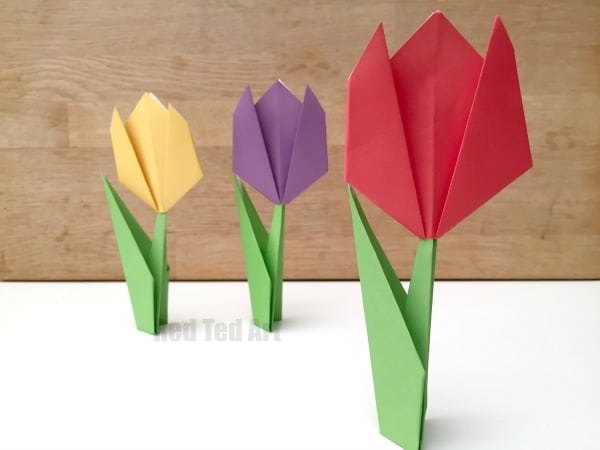
Spring is in the air. Mother’s Day is around the corner and today we have a gorgeous little and Easy Paper Tulip Craft for you! These paper flowers are quick and easy to make. They are also super easy and would look great on a greeting card, as part of a big collage (what a lovely gift to make), or make them with stems and have them as “stand alone” decorations.
They are also a great Origami project for beginners (we have lots more ideas for you to check out!!), as they are so quick and easy to do. We have become a little obsessed with paper crafts – as you can make these almost any place and any time – all you need is a pad of paper!! There are many educational benefits of origami folding and you will be surprised to hear that even very young children can give origami a go. And this origami tulip is the perfect project to start your kids off!
If you glue the two parts together, I think this simple Paper Tulip.. would really work well as an easy Tulip Origami Bookmark, don’t you think?!
To make an easy paper tulip, you will the following supplies:
- Square piece of origami paper for the tulip flower head 12cm x 12cm (the size of your square sheet of paper doesn’t really matter, we just like this size for beginners!)
- Green piece of paper for the stem 15cm x 15cm*
- Scissors (to snip and connect)
*this is really not an exact science! You can experiment with different paper sizes if you wish!
Now you have your basic supplies (aka a square piece of paper), let’s check out this origami tulip tutorial and see how easy it is…
How to make an easy paper tulip step tutorial:
This really is the easiest origami flower to make! A great project for beginners and younger children for spring, Easter or Mother’s Day crafting and art projects. Either watch our quick video instructions or follow the step by step photo instructions below. There are two options for the stem.
An origami stem shared in the video or the simpler “paper straw” stem showed below. Choose which suits you best!
Time needed: 5 minutes
Origami Tulips are super easy to make and a great Preschooler Spring Project or paper flower for kids of any age!
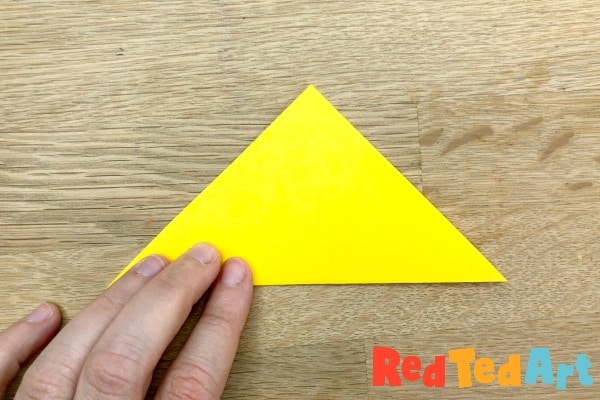
- Origami Tulip Flower – Step 1 Create a Triangle
Turn your sheet of square paper, so you have a diamond shape in front of you. Fold the paper UP across the diagonal to make a triangular shape.

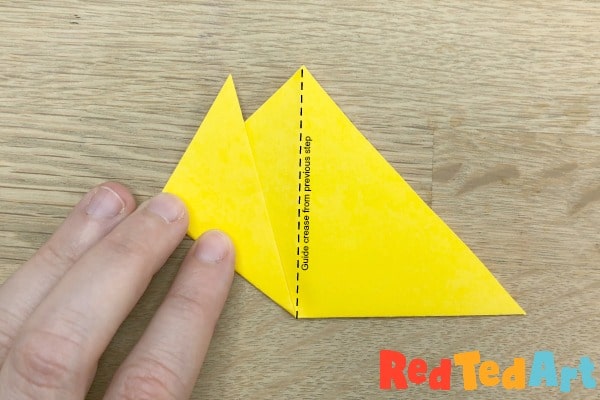
- Shape the Tulip’s Head
Fold down the centre of your triangle to create a “guide crease” (see photo diagram below). Open up again. Now you know where the middle of your paper flower is. Let’s begin with the left side. Take the left corner and fold up the sides at an angle to great a left flap. The previous fold will help guide you as to where the central line is. As per the image. These are the tulip’s petals. Then repeat with the right corner/ right side. You now have made the basic petals of the tulip.
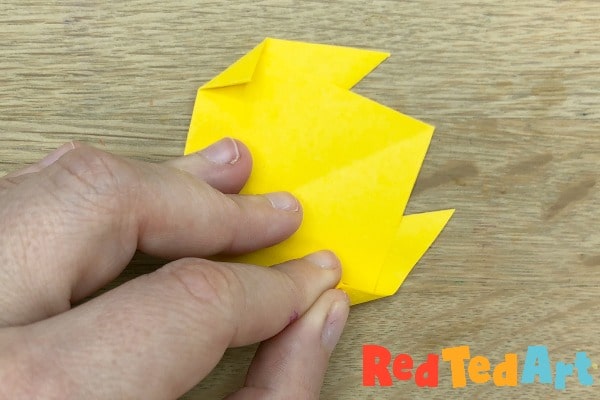
- Final details to the Origami Paper Flower’s Head
Flip your paper over and fold in the sides to shape your paper tulip! The basic origami flower is finished. Now for a stem.
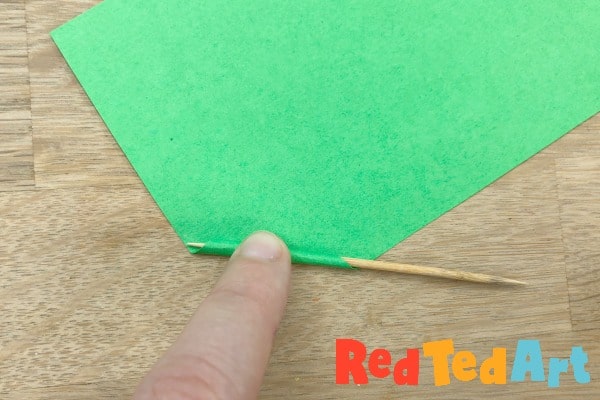
- How to make a stem – a quick fun way
The video shared in this blogpost shows you how to make an ORIGAMI stem. However, you can also choose this other rolled up paper straw method.
Take the green paper and start rolling it up diagonally. Using a tooth pick or a thin paint brush to get it going should help. Secure with a little glue.
Cut a snip into the bottom of the tulip head and insert. Finished. If making the origami stem version, your tulip will be able to stand too and will have leaves (watch the video on auto play for this part of the tutorial)!
Aren’t these Paper Tulips simply adorable? I think they make a great origami project for any age group… but are especially a lovely Preschool Spring Craft don’t you think? They would look lovely on mother’s day cards! Or make a bunch as a small bouquet to give to mom.
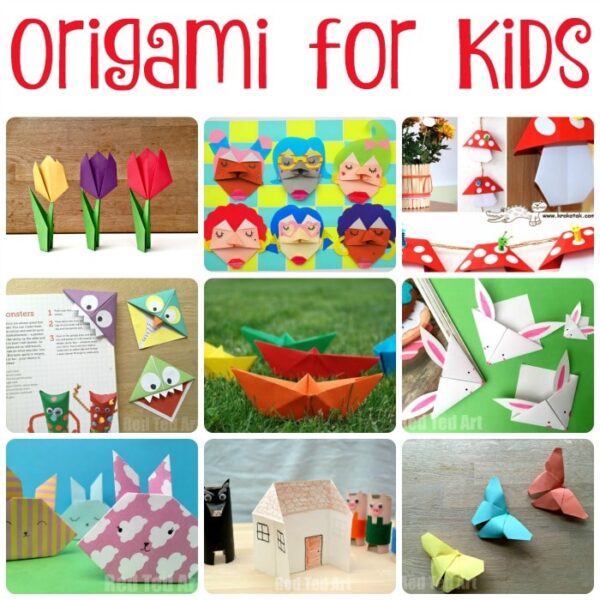
As mentioned above, we have lots of paper crafts and Origami ideas for kids… plenty of ideas to get stuck in and have a go and discover your love for paper!!! There are paper crafts for all levels – lots for beginners and also, some for those feeling more confident and wanting to give something new a try!
Take a peak at our Origami for Kids (aka Beginners) here – we regularly add new origami tutorials to this collection, so do bookmark it and pop in on a regular basis!