Cute Origami Envelope – Winter Animals
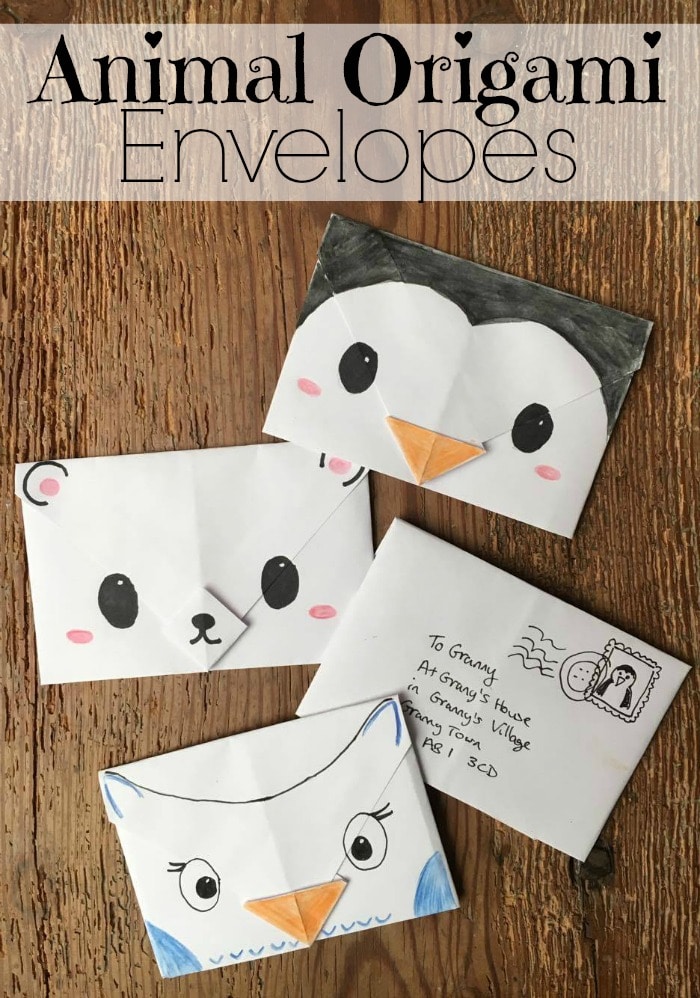
Our love affair with Easy Origami for Kids continues. What we are REALLY enjoying right now, is making easy origami and decorating it as cutely as we possibly can. So today we are all about this Cute Origami Envelope. Yes, make these super easy basic envelopes and then turn them into lovely Penguin Origami Envelopes, Polar Bears and Owls. What a hoot indeed!
We also have a great set of simple Origami Envelope Chicks for the spring/ Easter season if you would like to check those out too!!
Cute Origami Envelope – Winter Animals -Materials:
- white printer paper
- pens for decorating
(we used these wonderful water color pencils – love love love – US/ UK)
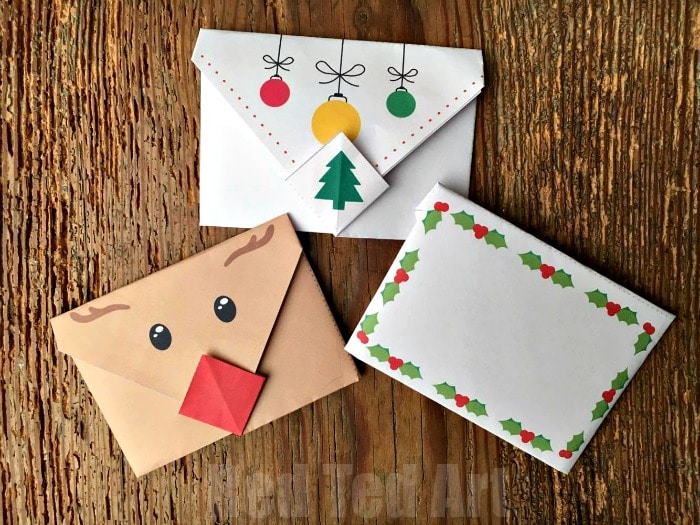
In the video, I also show some fab Origami Envelope PRINTABLES – we have two sets that you can get for free here:
—> Christmas envelopes BAUBLES and HOLLY <—
—> Christmas envelop Rudolph <—
The lovely Easy Peasy and Fun also has these AMAZING (non origami) printable animal envelopes. 15 designs for just $4.99
Cute Origami Envelope – Winter Animals – how to:
As with all origami – it really IS easier to you the steps in a video tutorial on auto play – much easier than following step by step photos.
So do take a peak!!! Hope you like it!!
But I do have step by step instructions below too!
Ah they are so so soo cute, don’t you think!?
How to make an origami envelope (basic origami pattern)
You will need a square piece of paper to begin with. Take your A4 sheet of your “main” animal colour. We like white printer paper as it is plentiful and allows plenty of scope for decorating.
Fold up a corner to make a triangle. Cut along the edge (keep the cut offs if you want to glue on any ears later).
You should now have a large triangle – which, if you unfold, makes a square. Keep folded.
With the long edge perpendicular to you, fold down the top of half of the triangle. If you are familiar with our Corner Bookmarks, this is the same step at the beginning!
You should now be able to “see” 4 triangles of equal side.
Take the right hand side and fold over.
Repeat with the left hand side – make sure the right and left match!
Now you will make the little “lip” that allows you to tuck in the envelope cover and will also be “nose” or beak of your animal design.
Make a fold perpendicular to the bottom edge.
With your index finger, push the bottom of this fold in – it should start forming a square (you may want to watch the video for this bit!).
Fold down flat.
For a beak, you need to fold down the outer diamon again to make a triangle.
Bring down the top of the remaining triangle to make the flap of your envelope.
Your basic origami envelope is done.
Decorate the Origami Envelopes
Now you just need pens, markers, watercolours – whatever take syou fancy and decorate!
Aren’t they adorable?
Love origami? Want more Origami for Beginner ideas? Take a peak:
Our video tutorial is also available for viewing on YouTube:


