Easy Rectangular Origami Box
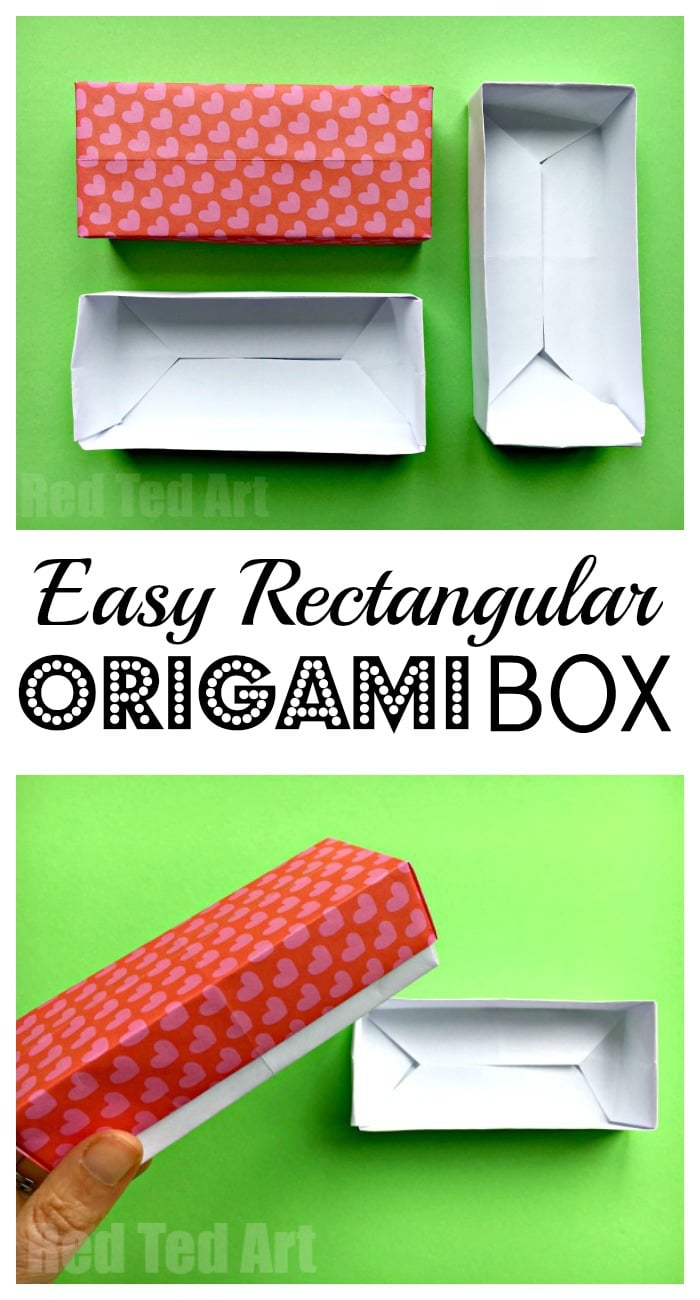
Oh yes.. here we go again with another Easy Origami for Beginners idea – we have shared an “ordinary” square box, made out the traditional square paper in the past.. today we share a rectangular origami box! This is a cute little gift box, would also work great as a small stationery box to organise your desk or your drawer.. can be made simple and plain or decorated in any way you wish (check out our Minion Paper Box DIY coming SOON!!!). This is probably the easiest how to make a rectangular box with lid tutorial you can find, a great one for beginners! We also have a square Origami Box for you to check out!
Rectangular Origami Box DIY – Materials

- two large sheets of Square paper (we cut down oridnary A4 sheets into squares).
- the paper square of the “inner” part of your box needs to be approximately 0.5cm smaller the paper for the lid
If you choose to decorate your box (as mentioned, see our MINIONs coming soon!), you will need extra paper, glue and pens for decorating your paper box DIY.
How to make a rectangle box with lid
These little paper boxes made from a square sheet of paper are really sweet, easy to learn and fabulously versatile. They make great little “desk tidies” or a way to help organise your drawer space – perfect for those paper clippers and erasers. Or use this easy origami box to store hair elastics and slides. They also make fantastic little gift boxes (fill with homemade truffles or other small gifts!). Just lovely. Leave them plain.. or decorate your rectangle origami box to your hearts content.
Here is how very easy it is to make your own rectangular origami box. Enjoy!!
What do you think? I would love to hear what you plan to use your rectangular paper box for? As mentioned they make great little gift boxes too.
NOTE: I have STEP images for the square paper box.. and thought I would add them here, as in essences the two paper boxes are the same! Just the shapes slightly different, so if you prefer step by step photos, take a look at these instructions:
How to make a paper box step by step instructions
It is all about the fold line creases as guides!
NOTE 1: To make a box with a lid, it is ideal to have two squares – with the base colour square being a TINY bit smaller than the box lid. Just a millimeter or two smaller – the different size will make it easier to slide the lid onto the top of the box.
NOTE 2: Making a paper box takes a lot of folds – but apart from one step (I will highlight this one and let you kow exactly where you can double check this in the video) they are all easy! The neat creases are KEY to this origami pattern. So take your time.
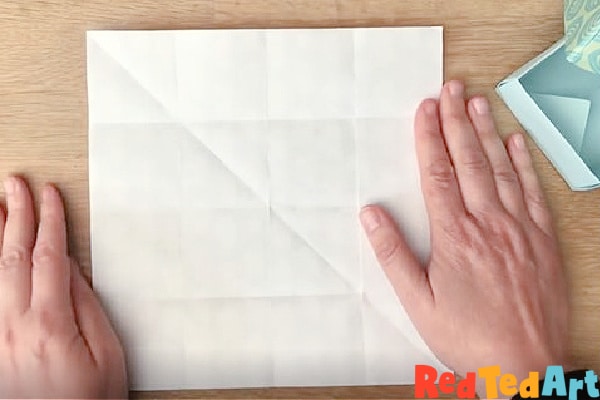
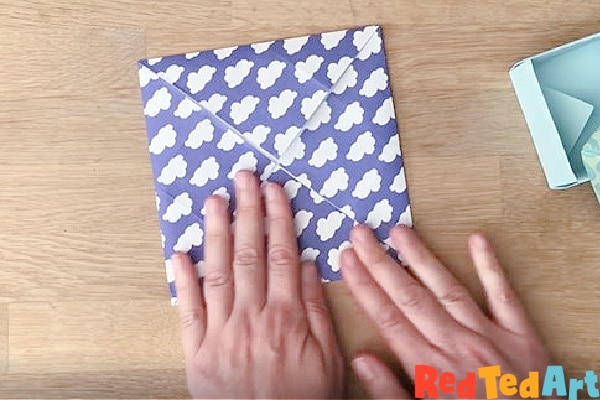
Begin by making your first 4 x 4 grid of folds
Fold the square piece of paper in half. Open up.
Bring the edge of the paper in, to meet the centre fold and make a crease. Open up.
Repeat with the opposite edge. Open up. You should have a square with 3 lines running down the middle.
Rotate the square by 90 degrees and repeat these first three steps. So you end up with 3 new lines but perpendicular to the the rest!
Has now created a grid of lines. That results in 16 smaller squares.
Fold in the four corners similar to a fortune teller
Now bring in each of the four corners and make neat creases.
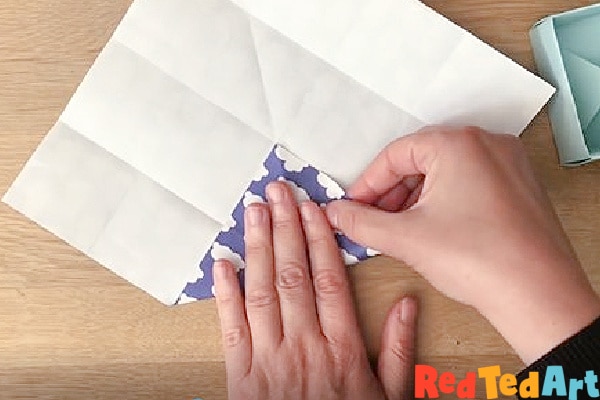
You will see that it looks a bit like an origami fortune teller:
Shaping the walls of the origami box
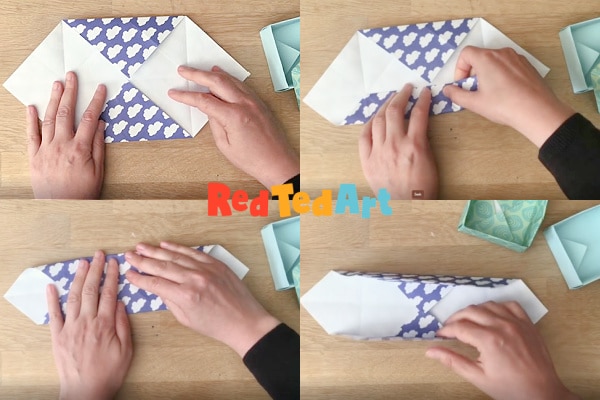
Now unfold two of the opposite corners again (top left image).
Bring up the bottom edge to meet the middle. (top right image).
Fold down the top edge to meet te middle (bottom left image).
When you now lift those flaps you can see the sides of the walls “forming” (bottom right). The edge of the box is made!
Unfold all.
Repeat the same folds but with the left and right sides.
Make the corner folds of the orgami box
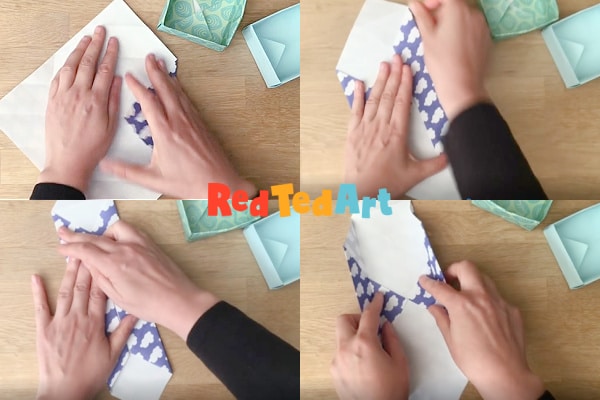
Now comes the “tricky” bit of the of the box origami box. Making the corner folds, to create the 3d Corners/ pop up walls. Go to 3 minutes 40 secs in the video, if you need the additional visual aids.
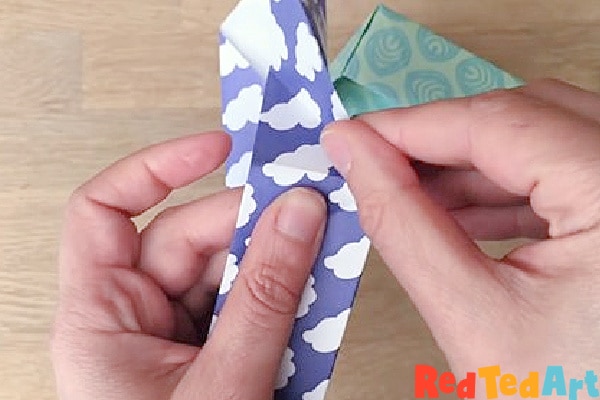
Keeping those side walls upright. Look at the side of your wall and find a diagnoal crease.

This diagnoal crease, needs to be pushed in, to shape the box.

Repeat on the other side and fold down the flap.
Repeat for the other end of the box.
I do think this step is best show in the video – which you can watch on auto play or scroll down for the YouTube video. This step is shown at 3 min and 40 seconds.
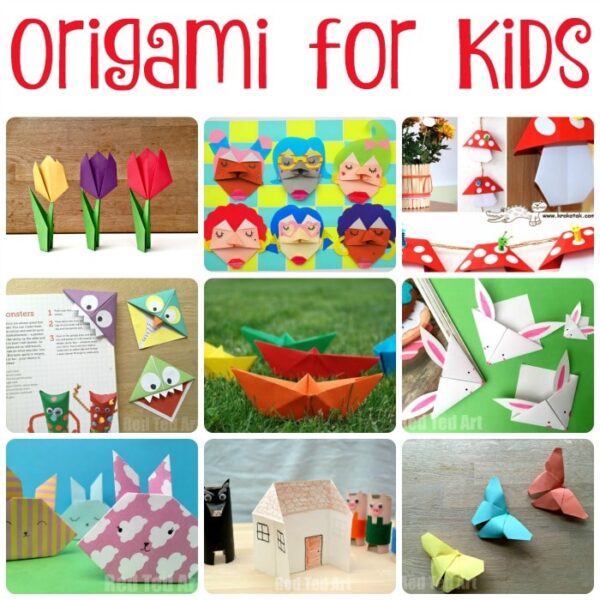
Hope you enjoyed this simple paper box tutorial.. we have lots more simple and Easy Origami for Kids for you to browse here: