
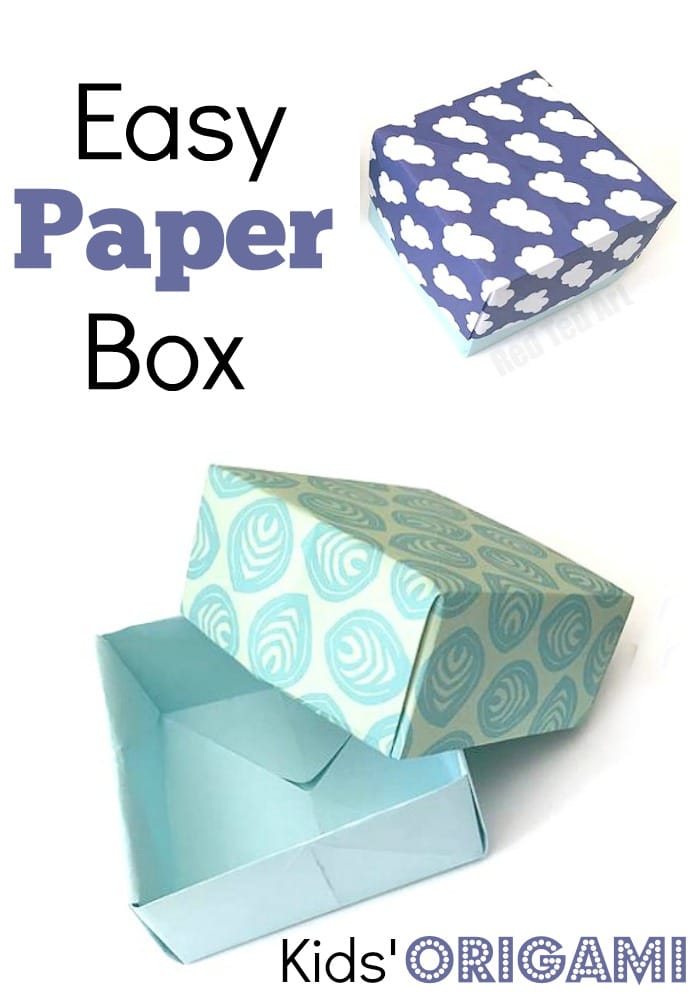
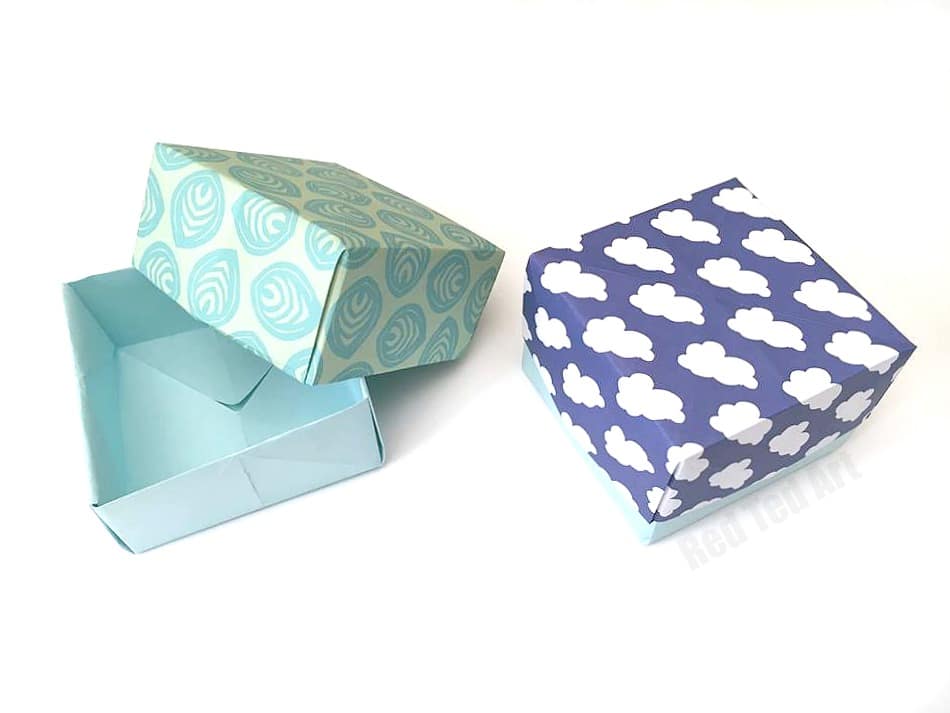
How to Make a Paper Box Tutorial
As our adoration of paper crafts continues, we share with you these adorable little paper boxes. We love both DIY Gift Boxes, as well as Easy Origami for Kids. I have actually had them here on Red Ted Art before – made from HESSIAN – so yes, this Origami Box is very versatile – and you can make them from paper or a stiff fabric like hessian (see the Hessian Box DIY here). This Paper Box DIY is perfect for small Christmas Gifts, for a Mother’s Day gift or maybe you have made a nice Friendship Bracelet for a friend and this would package it wonderfully! Similarly we have a fabulous rectangular Origami Box for you to check out and try too!
Paper Box How To – Materials
- 2 sheets of A4 paper (cut down to squares)
If you have patterned paper or pretty origami paper that is ideal… but you can use plain printer paper and either “leave it plain” or decorate it with markers or a stamp!
For this paper box, no glue needed! No ruler either!
Origami Box Tutorial How To
We have a handy origami box project tutorial on the auto play video. And have written step by step instructions below. At the bottom of this post, you can also find the YouTube version of this video!
I do hope you give this little Origami pattern a go. As once you get the hang of it, it is really easy to make!! You can even upcycle old magazines or comic books (they would look very cool!).
How to make a paper box step by step instructions
It is all about the fold line creases as guides!
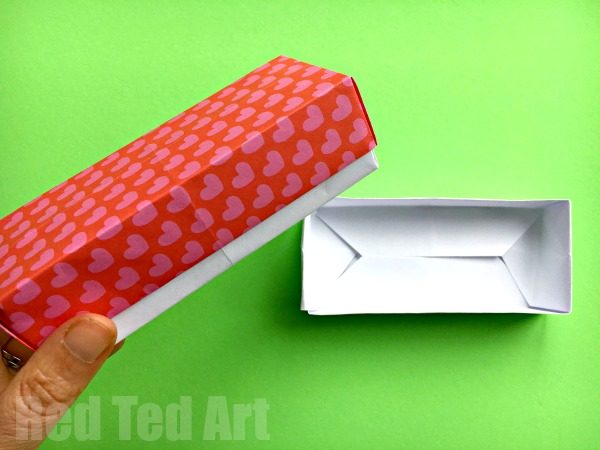
NOTE 1: To make a box with a lid, it is ideal to have two squares – with the base colour square being a TINY bit smaller than the box lid. Just a millimeter or two smaller – the different size will make it easier to slide the lid onto the top of the box.
NOTE 2: Making a paper box takes a lot of folds – but apart from one step (I will highlight this one and let you kow exactly where you can double check this in the video) they are all easy! The neat creases are KEY to this origami pattern. So take your time.
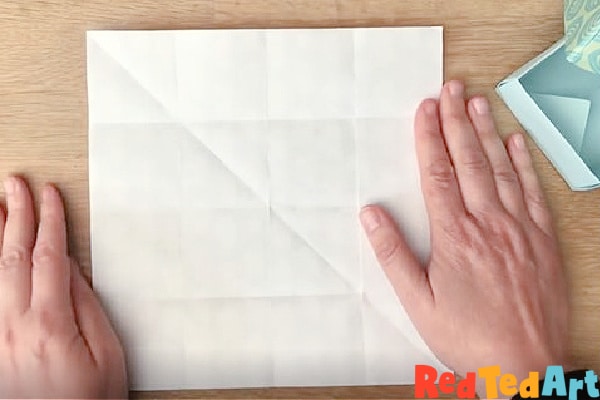
Begin by making your first 4 x 4 grid of folds
Fold the square piece of paper in half. Open up.
Bring the edge of the paper in, to meet the centre fold and make a crease. Open up.
Repeat with the opposite edge. Open up. You should have a square with 3 lines running down the middle.
Rotate the square by 90 degrees and repeat these first three steps. So you end up with 3 new lines but perpendicular to the the rest!
Has now created a grid of lines. That results in 16 smaller squares.
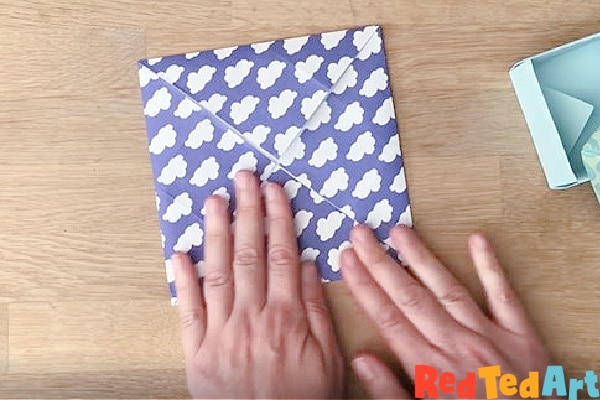
Fold in the four corners similar to a fortune teller
Now bring in each of the four corners and make neat creases.
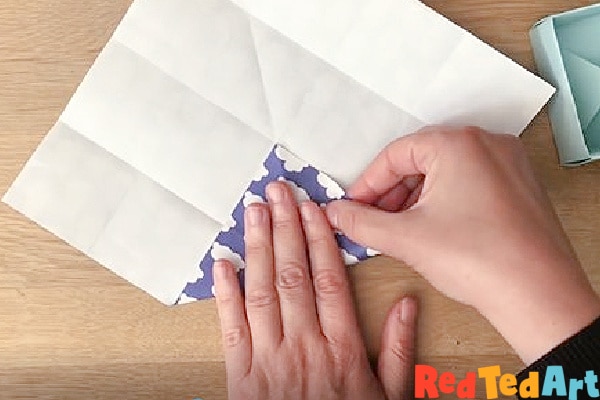
You will see that it looks a bit like an origami fortune teller:
Shaping the walls of the origami box
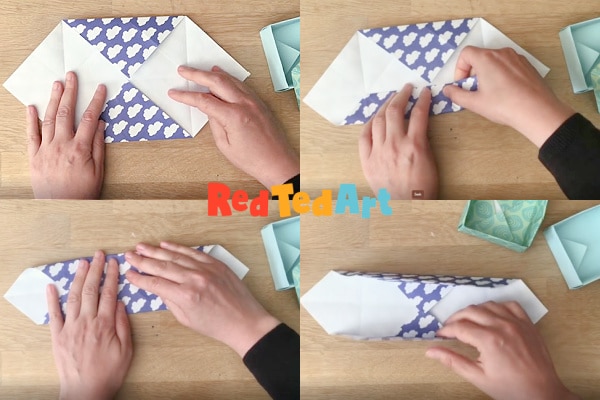
Now unfold two of the opposite corners again (top left image).
Bring up the bottom edge to meet the middle. (top right image).
Fold down the top edge to meet te middle (bottom left image).
When you now lift those flaps you can see the sides of the walls “forming” (bottom right). The edge of the box is made!
Unfold all.
Repeat the same folds but with the left and right sides.
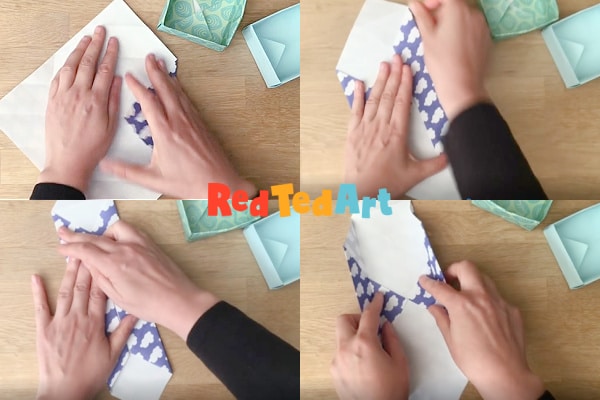
Make the corner folds of the orgami box
Now comes the “tricky” bit of the of the box origami box. Making the corner folds, to create the 3d Corners/ pop up walls. Go to 4 minutes 40 secs in the video, if you need the additional visual aids.
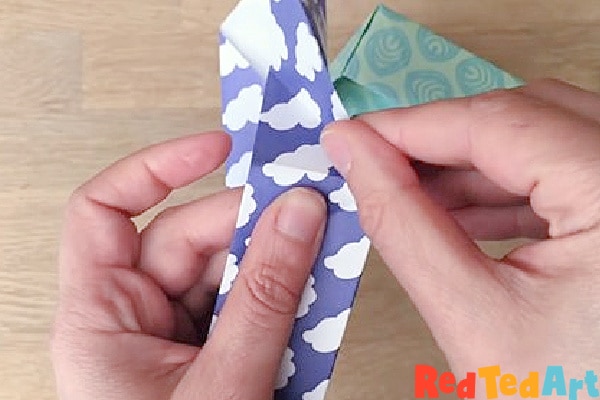
Keeping those side walls upright. Look at the side of your wall and find a diagnoal crease.

This diagnoal crease, needs to be pushed in, to shape the box.

Repeat on the other side and fold down the flap.
Repeat for the other end of the box.
I do think this step is best show in the video – which you can watch on auto play or scroll down for the YouTube video. This step is shown at 4min and 40 seconds.

Now repeat and make a base for your box – remember to use a square piece of paper that is SLIGHTLY smaller. Though the same size paper usually works too, you just need the squash the box a little to fit in the lid!
The same steps of this SQUARE paper box, applies to our rectangular box, which you can view here:
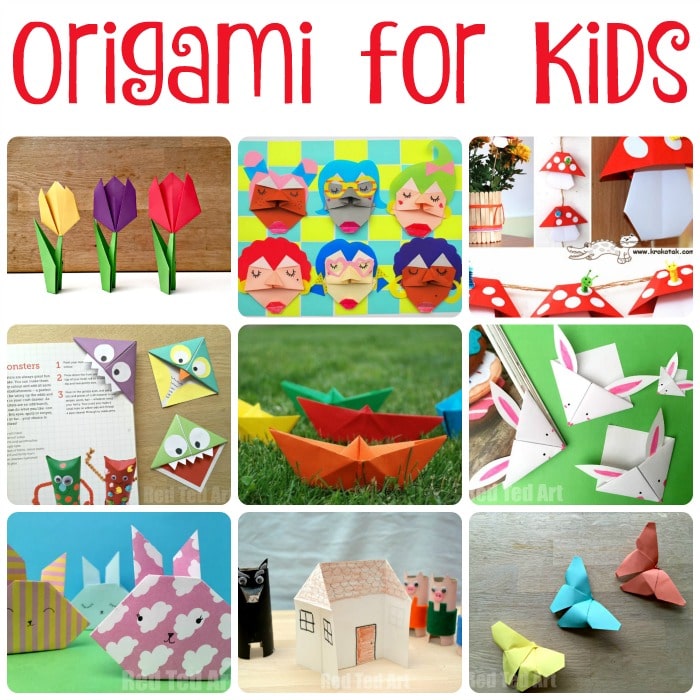
We have LOTS more origami for kids – check out all the ideas here:
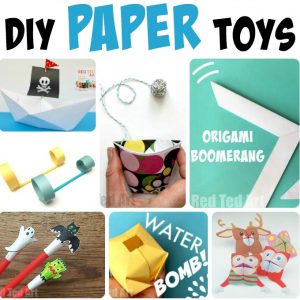
As well as some fantastic paper based toys – simple DIYs, hours of fun!
Also why not look at our other DIY Gift Box ideas?

If you like this video, do SUBSCRIBE to the channel too!! It is totally free to join up!