
Easy Felt Gnome DIY Ornament
Today we share a free felt gnome pattern with you – we ADORE making DIY Gnomes.. as well as Felt Ornaments.. so we had to bring the two together, to make these easy Felt Gnome DIY Ornaments. We love working with felt, as it looks great, but is also easy to work with for Beginner Sewers!
Let’s make some DIY Gnome Christmas Ornaments
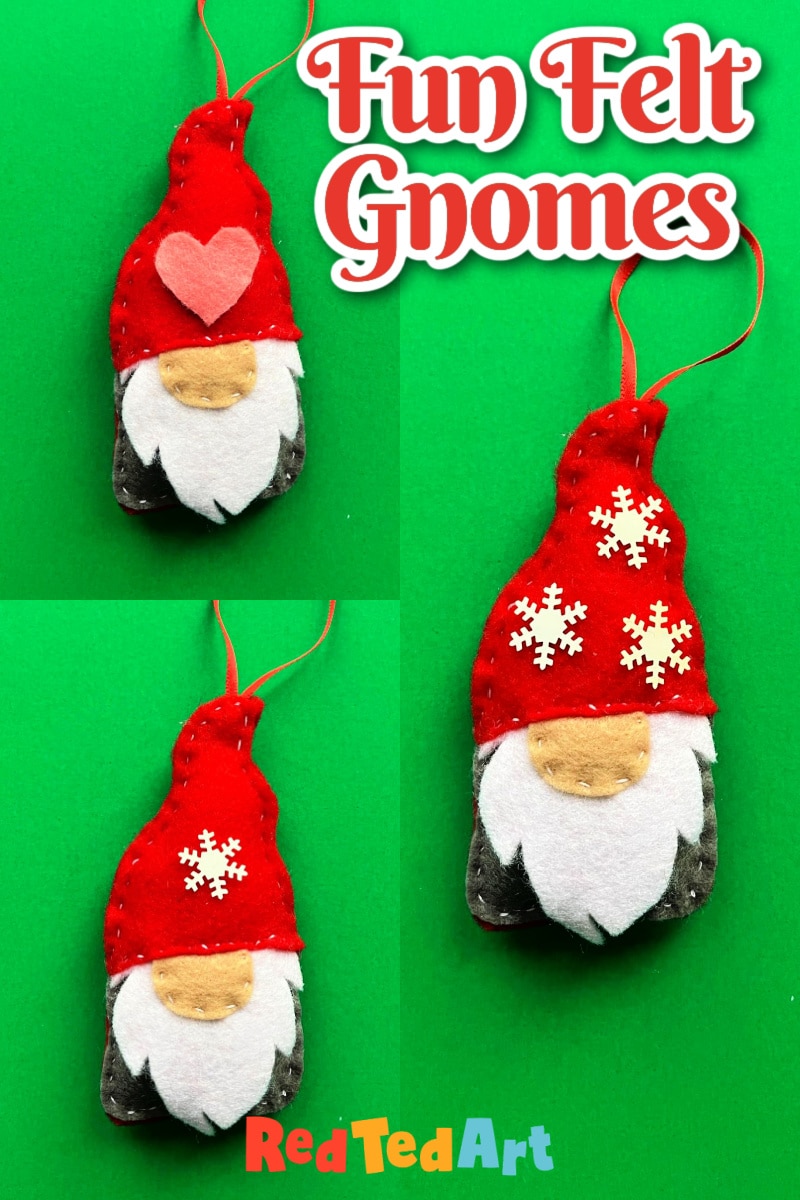
These little felt gnomes make the perfect Christmas Gnomes Decorations.. but I think would work really well as adorable Valentine’s Day Gnomes too!
I have provided a free template in two gnome sizes – depending on your preferences. I think the bigger gnome is perfect for beginners!
DIY Felt Gnome Ornaments – Supplies:
- Felt fabric in desired colors
- Thread (I used regular sewing cotton but embroidery threads are nice too)
- Needle & good scissors
- Ribbon or baker’s twine for hanging
- Paper for printing the felt gnome pattern
- Stuffing (we recycled some yarn cut offs from my daughter’s prolific crochet work)
- Optional: Embellishments (e.g. snowflake sequins or felt hearts)
- Optional: Hot Glue Gun for additional hat pattern embellishments
This is currently a FREE Felt Gnome Pattern – simply add $0 at checkout. Though of course tips are ALWAYS appreciated and very welcomed to keep this site up and running!

How to make a Felt Gnome DIY Ornament Tutorial
We used a simple running stitch throughout, making this a great sewing project for beginners. Learn all about the basic hand stitches here.
Note: You can use a hot glue gun if you prefer. I am not so keen on fabric glue/ craft glue, as I find that soaks into the felt and doesn’t always stick so well!

Cut out Gnome Shapes (FRONT only)
Begin by cutting out the FRONT of your gnome first – it is best to cut the back of the gnome later, so you can make sure the shapes all fit perfectly together. So you will need to cut the following pattern pieces:
- Gnome’s Hat
- Gnome Body
- Gnome Beard
- Gnome Nose
- Optional: Felt embellishments, such as heart or holly & berries

Pin the shapes in place
It is worth pinning your shapes in place, so they align nicely.
NOTE: I decided to hot glue my gnome hat embellishments (hearts and snowflakes).. but you can start this craft, by sewing these in place frist!

Sew across the gnome hat brim – make sure to secure the nose and beard too.
NOTE: I decided to sew down the whole of the gnome’s nose, so you may want to do this at this stage, though my photo step by step instructions do not show this!

Align Front & Back Of Gnome and TRIM
Place the front of your gnome onto the felt for the back and cut out. Or, if you have cut it already, trim to fit. Not cut too closely, as when you sew, the felt unaligns a little… so it is safest to keep an edge.

Sew all around the edge
Now continue to sew down the side of the gnome’s body and all along the edge. Be sure to lift the gnome’s beard as you go round. I think it is nice for the beard to remain “loose”.

Add a ribbon to the top of the hat
When you get to the top of the hat, be sure to add a knotted ribbon or baker’s twine for hanging. I actually put two stitches through the ribbon to help secure it.

Add stuffing
Sew down the side of the felt gnome hat and add stuffing. We recycle old yarn from crochet projects, as well as old pillow stuffing.

Sew Shut
Now carefully sew your gnome shut!
NOTE: As mentioned, I decided to sew down the gnome nose after all.. so did this before sewing the felt gnome diy ornament shut!

Hot glue embellishments for gnome hat pattern
As mentioned you can of course vary the hat patterns at the very beginning.. and sew on any hat embellishments.. or you can “play” with the hat decorations now at the end, and simply hot glue gun them on!
Hope you have enjoyed this cute Christmas craft and that you give this Christmas Gnome Ornament DIY a go!!! Merry Christmas to you all!
More gorgeous Felt Ornament DIYs to make with the kids, tweens, teens or grown ups:

More fabulous DIY Gnome Crafts for all seasons – or very specifically Valentines Gnomes:
