
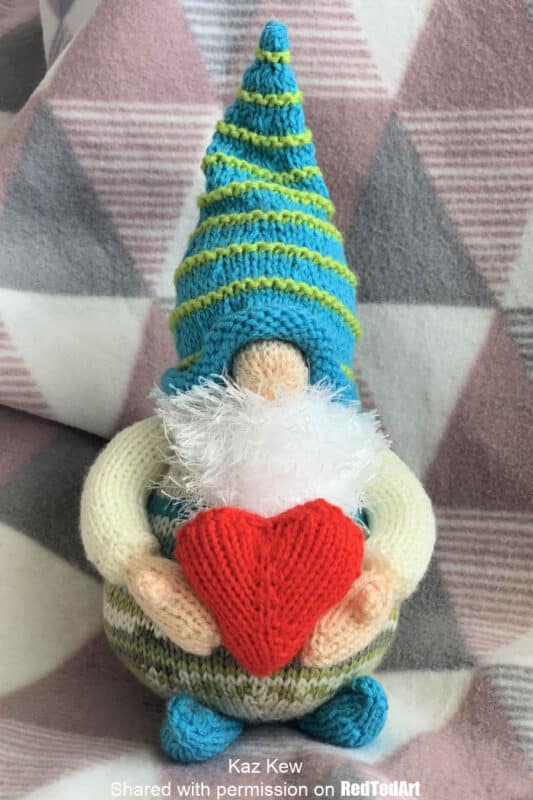
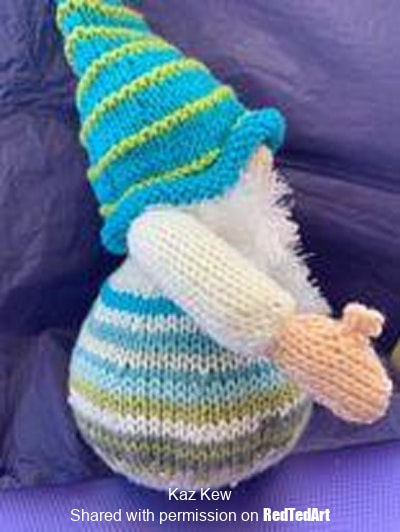
Free Nordic Gnome Knitting Pattern
Hooray, we have another great Knitting Pattern for you! This is a lovely guest post by Kaz Kew, who as kindly shared her knitting projects with us before (check out her adorable Knitted Rubber Duck). Today, she shows us how to make the cutest of cute Nordic Gnome Knitting Pattern – her very special Gnorman! So much fun! Who doesn’t love a fabulous DIY Gnome! (If you crochet.. you can check out this Crochet Gnome as well!).
About Kaz Kew
Kaz is a wonderful passionate knitter that I “met” in the Random Acts of Kinding Knitting & Crochet group. A lovely group of (mainly) knitters and (some) crocheters, who love to make things for the general public to find. Isn’t that lovely? Kaz is also active on her own Kaz Kew Blog!
Kaz loves knitting and loves to inspire others to have a go! And today, she very generously let’s me share her Duck Knitting Pattern, with you, lovely Red Ted Art readers! Hurray!
Should you have a go at making this little duck, please DO share any of your photos, we would love to see them!
Materials/equipment
DK in all 6 colours:
- Colour Change wool for main body
- 2 complementary colours for hat, (I also used one of these colours for belt and shoes).
- Skin tone (of choice) for hands, nose and head
- Cream for shirt
- Red for heart
- Cream or white Eyelash wool for beard (tinsel and faux fur wool can also be used) (if you don’t have fluffy wool for the beard – you can also try this “strands of yarn” beard, which looks great as per this gnome – you could even “brush” the wool to fluffy it up!).
Other supplies:
- 3mm needles through out
- Toy stuffing
- Yarn needle
Abbreviations used in this pattern
- k = Knit
- p = Purl
- k2t = Knit 2 together
- p2t = Purl 2 together
- inc = increase (Knit into front and Back(KFB), or your preferred method)
- st = stitches
- ss = stocking stitch
- (–) x? = repeat instruction inside bracket the number of time stated {e,g x2 = twice}
- Turn = work stated number of stitches and turn without wrapping
- W+T = wrap and turn, after knitting required number of stitches wrap wool around next stitch without knitting and turn work
- PSSO = pass slipped stitch over last knitted stitch
- Sl 1 = slip next stitch without knitting
- Mc = main colour
- Cc = contrasting colour
How to Knit a Gnome – Gnorman!
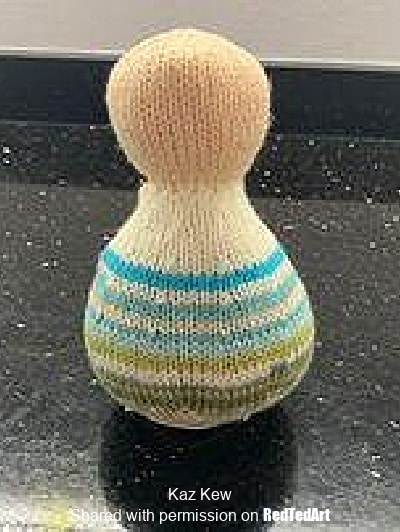
Knit the Gnok’s Body & Head
Main piece Body and head starting at base. I’ve used colour change wool.
- Cast on 8st (8st)
- inc in all (16st)
- p 1 row
- (inc k1) x 8 (24st)
- p 1 row
- (k2, inc) x8 (32st)
- p 1 row
- (k3, inc) x8 (40st)
- p 1 row
- (k4, inc) x8 (48st)
- p 1 row
- (k5, inc) x8 (56st)
- p 1 row
- (k6, inc) x8 (64st)
- p 1 row
- (k7, inc) x8 (72st)
- p 1 row
- (k8, inc) x8 (80st)
- ss 5 rows start with p
- (k6 k2t)x10 (70st)
- ss 4 rows start with p
- (p2t,p5)x10 (60st)
- ss 4 rows start with k
- (k4, k2t)x10 (50st)
cut wool Long leaving long end to sew when finished - belt change colour, ss 2 rows start with p
- shirt change colour, ss 2 rows start with p
- (p2t, p3)x10 (40st)
- ss4 rows start with k
- (k2, k2t)x10 (30st)
- ss 4 rows start with p
- (p2t)x15 (15st)
- Change to skin tone ss 2 rows k then p
- k1 (inc, k1) x7 (22st)
- p 1 row
- inc in all st (44st)
- ss 11 rows starting with p
- k4 (k2t, k3) x8 (36st)
- p1 row
- (k1 k2t)x 12 (24st)
- p 1 row
- k2t x12 (12st)
- p 1 row
Cut wool leaving long end, bind off by threading wool through remaining st and using to close back seam. Stop at the belt.
Stuff the head at this point. Change to long end from no.24 continue to sew pausing to stuff before sealing closed
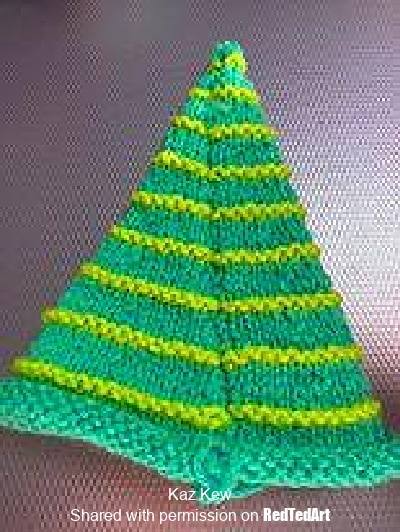
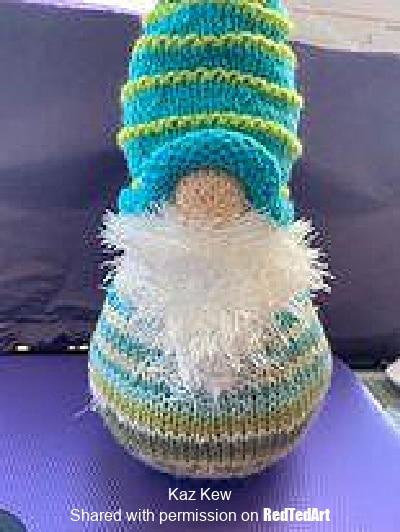
Knit Gonk’s Hat
Working in TWO colours:
- Main colour(mc) and
- Contrast Colour (cc)
- mc Cast on 54st (54st)
- ss 8 rows starting with k
- cc k2 rows
- mc ss 3 rows start with k
- (p7, p2t) x6 (48st)
- cc k2 rows
- mc ss 3 rows start with k
- (p6, p2t) x6 (42st)
- cc k2 rows
- mc ss 3 rows start with k
- (p5, p2t) x6 (36st)
- cc k2 rows
- mc ss 3 rows start with k
- (p4, p2t) x6 (30st)
- cc k2 rows
- mc ss 3 rows start with k
- (p3, p2t) x6 (24st)
- cc k2 rows
- mc ss 3 rows start with k
- (p2, p2t) x6 (18st)
- cc k2 rows
- mc ss 3 rows start with k
- (p1, p2t) x6 (12st)
- cc k2 rows
- mc ss 3 rows start with k
- p2t x6 6st
- cc k2 rows
- mc ss 3 rows
Cut wool leaving Long, Bind off by threading wool through stitches on needle.and sewing row ends together.
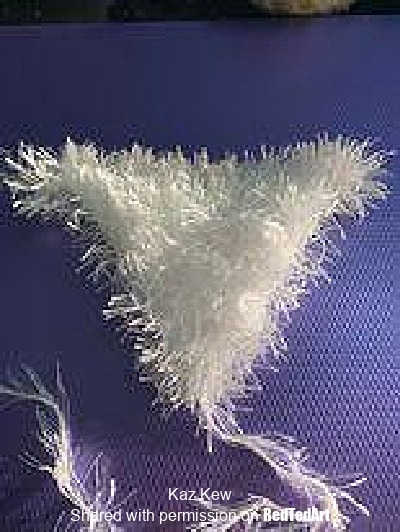
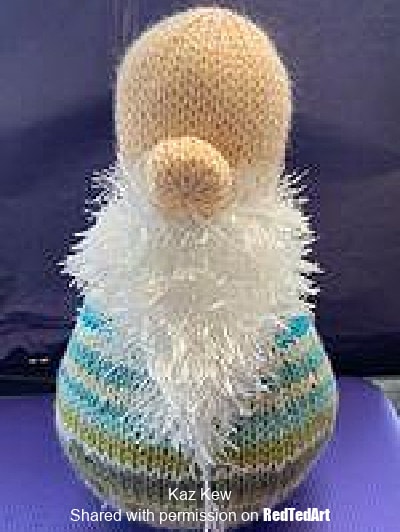
Knit the Beard
NOTE: if you don’t have fluffy wool for the beard – you can also try this “strands of yarn” beard, which looks great as per this gnome – you could even “brush” the wool to fluffy it up!
Beard in eyelash white wool/ fluffy wool
- Cast on (35st)
- k 1 row
- p2t, p to end
- k2t, k to end
Repeat last 2 rows until you have 3 st remaining. Cast off 3 stitches.
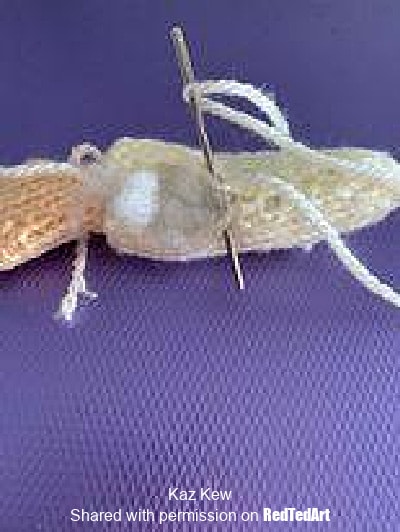
Knit the Nose
Nose with skin tone of choice
- Cast on 9st (9st)
- inc in all (18st)
- ss 5 rows
- k2t x9 (9st)
Cut wool leaving a long end, bind off by threading wool through remaining st and using to sew row ends together. Stuff and attach to the head, so that the bottom is level with the first row of
skin tone for head and on the opposite side to the back seam.
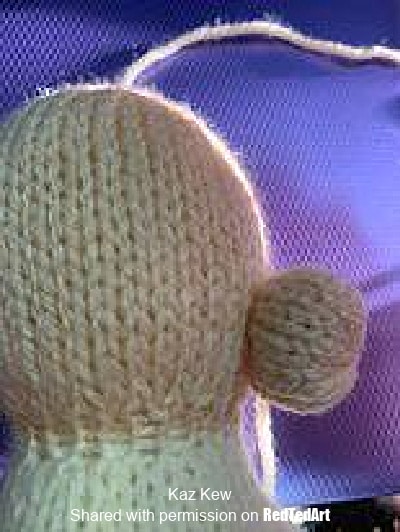
At this point I sewed beard in place and then hat.Making sure that is secured either side of nose.
Knit 2 Arms
Arms (x2) starting on hand with skin tone of choice
- Cast on 6st (6st)
- (k1 inc) x3 (9st)
- p 1 row
- (k2, inc) x3 (12st)
- ss 3 rows start with p
- k6 cast ON 6st k6 (18st)
- p 1 row
- k6 cast OFF 6st k5 (12st)
- ss 2 rows start with p
- p2t p8 p2t (10st)
- k3 (k2t)x2 k3 (8st)
cut wool leaving a long end, to sew row ends of the hand together later, when the arm is complete. - Change to shirt colour wool and p 1 row
- inc x8 (knit) (16st)
- k1row (cuff reverse ss)
- p 1 row (end of reverse ss)
- p 1 row (16st)
- k2t, k12, k2t (14st)
- ss 19 rows start with p
- k2t, k3, (k2t)x2, k3, k2t 10st
- p2t,p1, (p2t)x2 p1, p2t 6st
Cut wool leaving a long end, bind off by threading wool through remaining st and using to sew row ends together at later point. Repeat for second arm.
Making up arms:
Using the long end of skin tone wool from hand, sew row ends (of hand only) together and stuff.
Go back to top of arm and bind off stitches, use this wool to sew row ends together, sewing towards hand leaving gap to stuff arm and then close remaining gap to finish.
Then attach to body. I place mine close to the neck and inline with the beard.
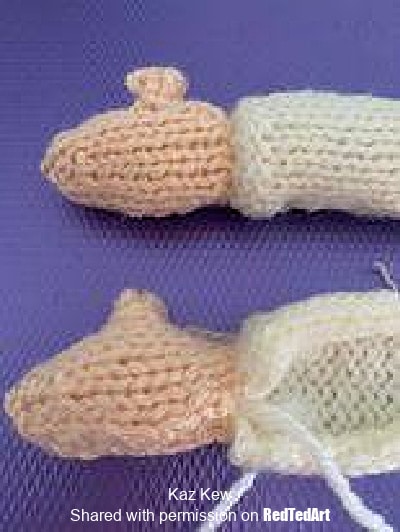
Knit the Gnome’s Shoe
Shoe (x2) starting at the toe end.
- cast on 3 (3st)
- ss 4 rows start with k
- inc in all st (6st)
- p 1 row
- (k1, inc) x3 (9st)
- p 1 row
- k2, inc, k3, inc, k2 11st
- ss 8 rows start with p
- p2t x5, p1 (6st)
- k 1 row
- p2t , p2, p2t (4st)
- k2t x2 (2st)
Cut wool leaving long end, bind off by threading wool through remaining st and using to sew row
ends together, stopping half way to place a little stuffing in half of the shoe.
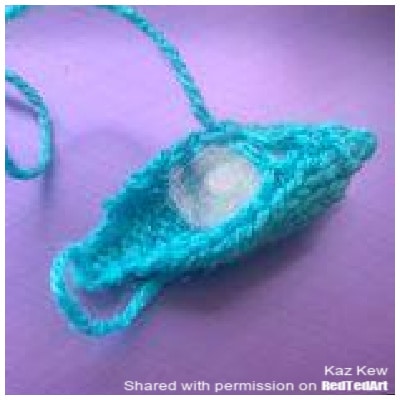
Continue sewing seam ends to the cast on edge. You will notice at the cast ON end the shoe is very narrow, this is the curl. Push all stuffing to toe end making sure NOT to FILL THIS NARROW PART.
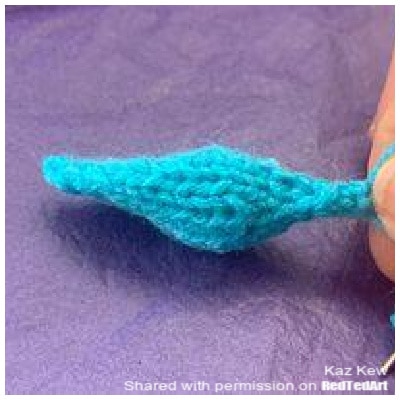
Use the remaining long end to sew one stitch about five rows from end and pull the cast
on edge back to form CURL.

Sew to base of main piece end of Gnorman!
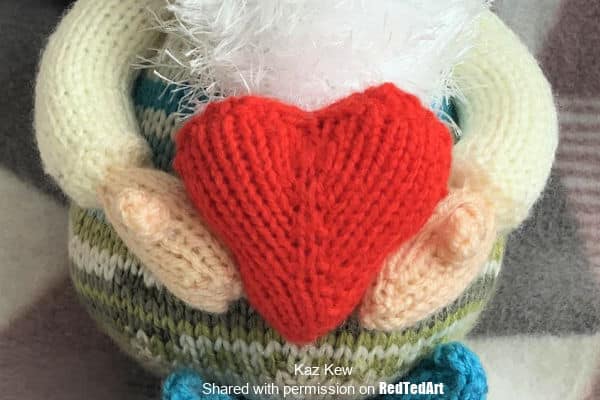
How to knit a heart for Gnorman
Heart using red and leaving long end.
- cast on 3st (3st)
- inc in all (6st)
- p 1 row
- (inc, k1, inc)x2 (10st)
- p 1 row
- (inc, k3, inc)x2 (14st)
- p 1 row
- (k6 inc) x2 (16st)
- p 1 rpw
- (k7 inc) x2 (18st)
- p 1 row
- (inc, k7, inc) x2 (22st)
- p 1 row
- (inc, k9, inc) x2 (26st)
- p 1 row
- (inc, k11, inc) x2 (30st)
- p 1 rpw
- (inc, k13, inc) x2 (34st)
- ss 3 rows start with p
- short row k2t, k15 turn now working only on these 16st
- p7,p2t, p7 (15st)
- k2t, k11, k2t. (13st)
- p5, sl1 p2t PSSO, P5 (11st)
- k2t, k7, k2t (9st)
- p3 sl 1 k2t PSSO p3 (7st)
- k2t, k3, k2t, (5st)
Bind off by threading wool through remaining stitches, only short end required to seal.
Rejoin wool to the remaining 17 st
- k15 k2t (16st)
- p7,p2t, p7 (15st)
- k2t, k11, k2t. (13st)
- p5, sl1 p2t PSSO, P5 (11st)
- k2t, k7, k2t (9st)
- p3 sl 1 k2t PSSO p3 (7st)
- k2t, k3, k2t, (5st)
Bind off by threading wool through remaining stitches only short end required to seal.
With the long end from cast on sew row ends together, this forms a back seam.
Isn’t Gnorman wonderful? A very big thank you to Kaz Kew, for being so generous with her amazing knitting patterns!
More fabulous DIY Gnomes, as well as more fantastic FREE Knitting Patterns here:

