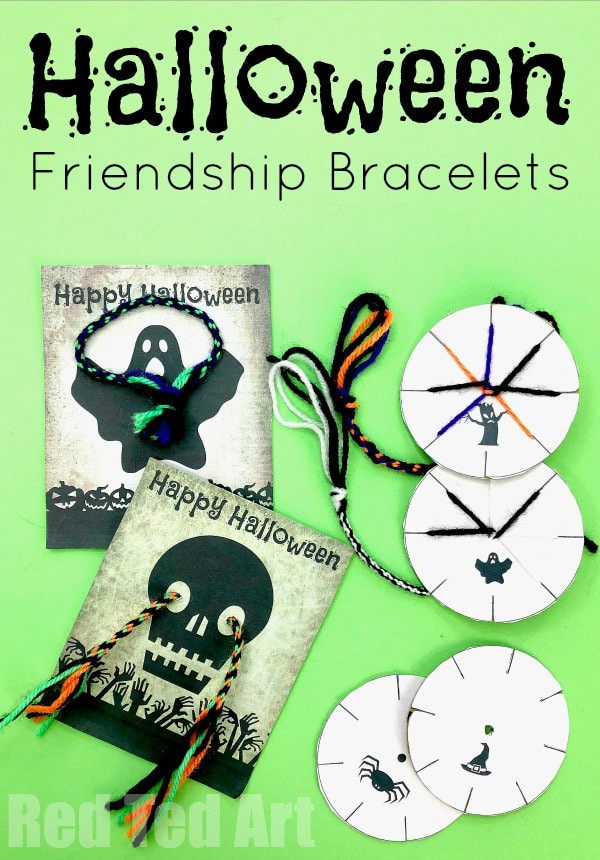
Halloween Friendship Bracelets
We do like some “Non Candy Treat” and “Non Candy Halloween Gift” ideas for kids! Though of course Halloween wouldn’t be the same without a ton of candy.. it is nice to manage the amount the kids receive and give! A couple of summers ago we had a go at these super duper easy Friendship Bracelets made with a cardboard disc. They are still hugely popular with both my kids AND their friends, so we thought, we could have another go at making these Halloween Friendship Bracelets as Halloween Gifts for the classroom – my kids can make them for their friends.. but they would also be a fabulous Halloween Classroom activity to later trade! These Halloween Friendship Bracelets come complete with printable instructions, as well as some cute Halloween Printable Gift Cards.
If you are looking for other types of Friendship Bracelets to make, do check out this set of DIY Friendship Bracelets!
Halloween Friendship Bracelets – Materials
- Yarn in halloween colours
- Cardboard
- Scissors
- Printables & cardboard (optional)
I did create a printable for the gift sets too – they are in my Teacher’s Pay Teacher’s Store and only cost $3 for the Halloween templates, printable instructions, Halloween Printable Cards.


NOTE: You CAN make the this craft without making a purchase!! The printables have only been provided to make it easier for teachers or people working with bigger groups to make this craft.
How to make a Halloween Friendship Bracelet with Cardboard
Do watch our step by step video guide below – it is our original video – with “different” colours. Be sure to select Halloween colours for your Halloween Friendship Bracelets.
How to make your cardboard loom for friendship bracelets –
You can make your own Friendship Bracelet Template as per the following step by step instructions or get our Teachers Pay Teachers Printable.
- Using a tin can or similar, cut out a cardboard circle
- Draw 4 lines across your kumihimo cardboard disc to create 8 equal segments. I found that if they are not exactly equal it isn’t really a problem. Just get it as neat as possible.
- Make a hole in the middle (big enough to thread all 7 pieces of yarn through, I use small scissors to push them through)
- Cut 1cm into each line you drawn – so you have approximately 1cm cut, 2 cm uncut and then the hole
Your DIY Kumihimo disc is ready to get crafty with!!
How to make kumihimo friendship bracelets using a cardboard loom –
For this section refer to the video as it really makes it easier to understand.. however here are some written instructions.
- Take your seven strands of yarn and tie a knot at one end – now depending on how you finish off your bracelet, you may want to vary how you make this knot – see below for different options
- Thread your strands through the hole in the disc. I find using scissors to push them through really helps!
- Now you 7 strands dangling down. Take one strand at a time and slot it through one of the 1 cm strips.
- You should now have a disc that looks like the image below:
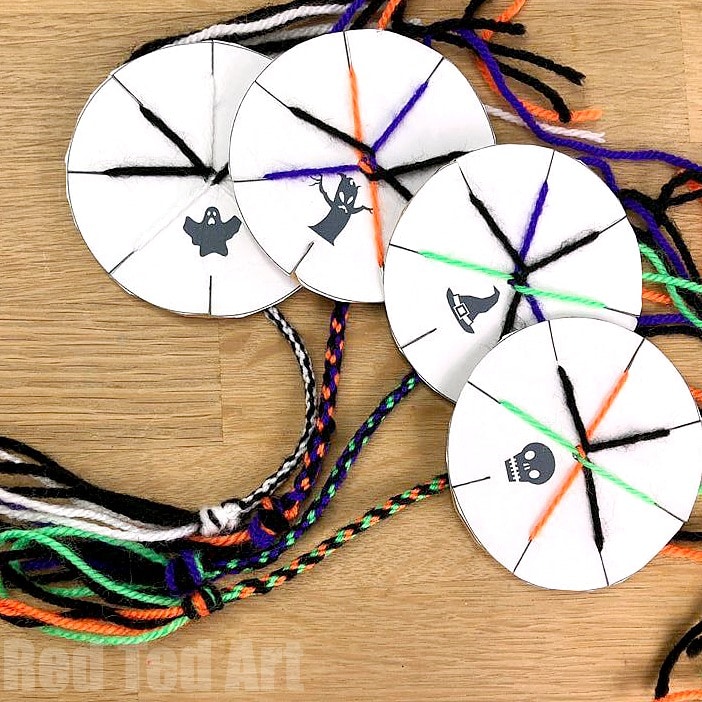
- 7 strands tucked in, with one “space slot”.
- Take the 3rd strand to the LEFT of the spare slot, lift it up, bring it down and put across the spares slot. This creates a new space.
- Rotate your disc for this to point down (you don’t have to rotate, but my kids find it easier) and now again, pick the strand 3 to the left and fold down.. repeat. Your yarn friendship bracelet will begin to “grow” on the other side of the disc, give it a gentle tug every so often.
- I do think the video above helps for this section!
How to secure your yarn friendship bracelets

- A simple knot. My son prefers this method. I basically “unknot” the knot you made at the beginning and the knot together beginning an end securely onto the wrist. These friendship bracelets are harder to remove!
- A loop and knot. Instead of using 7 strands, you can use 3 1m strands, fold them in half, creating a loop. Add the 7th strand and knot. This loop forms part of your closing mechanism.. either later tie the ends to this (which means you can make a shorter friendship bracelet), OR add a bead/ button to the end which can be pushed through the loop.
- Use 3 longer pieces of yarn (like in N2) thread a bead or button threw them and create a loop. Add the 7th strand and again knot. Then make proceed as above. Once your friendship bracelet is finished. Make two knots next to each other – wide apart enough for the bead/ button to fit between the knots.
Finally – grab your Halloween Gift Card Printables from my Teachers pay Teacher’s shop.. print on light card stock – make a hole and thread your friendship bracelets through! Or get the kids to draw and design their own gift cards!
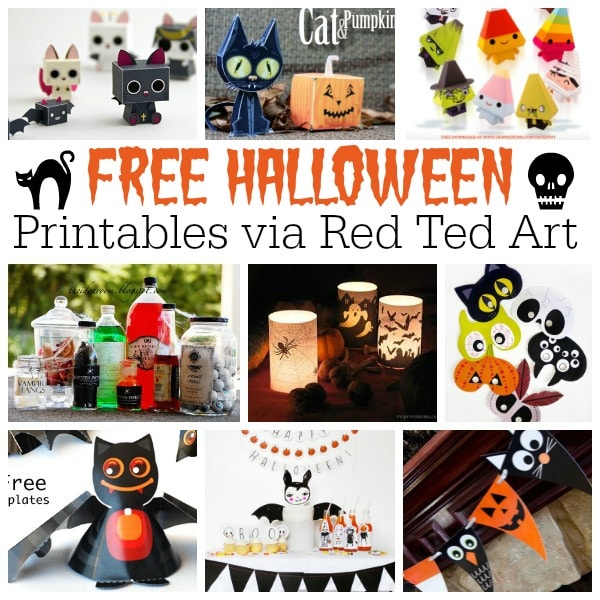
And check out our FREE Halloween Printables here: