How to make a Hedgehog Pom Pom
Well.. I do apologise in advance, you may be seeing a number of pom pom crafts coming from Red Ted Art HQ… after I bought the biggest stash of wool EVER from the craft store, the kids and I can’t get enough of creating and inventing new pom poms! How sick we were of the bright red and green wool we had (great colours, by all means, but not when ALL your finger knitting and pom pom making ends up in those colours!). Today, we made some Hedgehog Pom Poms.
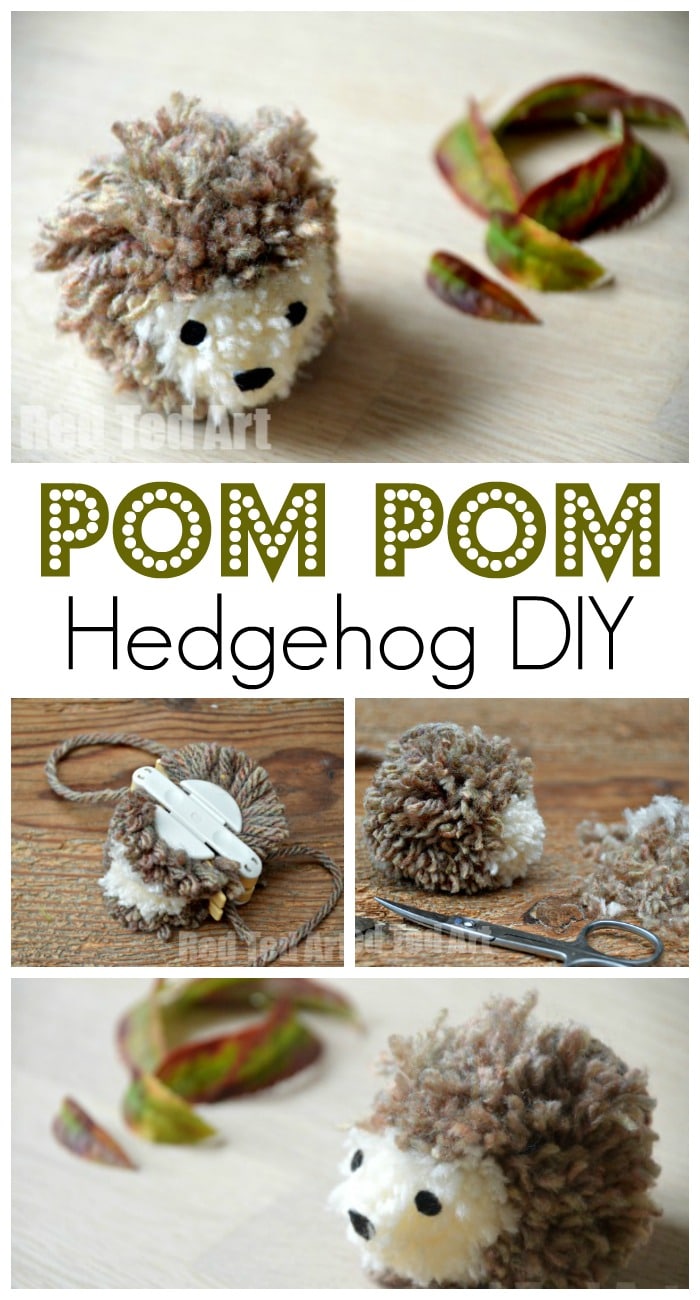
How to make a pom pom Hedgehog
It took a bit of trial and error.. our first one, ended up as a cat toy… hehehe. Also, we made our hedgehog pom poms using a pom pom maker (US/ UK (aff links)), however, you can apply the same “step by step” guide to the traditional “circular cardboard method“.
Also check out these How To Make Pom Poms – 7 different techniques – though we love using pom pom makers, you don’t in fact need any special tools to make a cute pom pom! A cardboard pom pom maker is actually enough!
The video on auto play shows you how to make your own cardboard pom pom maker!
So enough waffle.. on to our pom pom hedgehog craft!
Hedgehog Pom Poms – Materials:
- brown and cream yarn (or similar contrasting hedgehog colours – though you could always make an adorable rainbow hedgehog too)
- a little black felt and glue
- scissors
- diy pom pom maker or cardboard
You don’t need a hedgehog template to make these cuties! We tend to use acrylic yarn or natural wool yarn to make pom poms. Cotton yarn isn’t always as fluffy and is harder to knot off when making a pom pom as there is less “give” in the yarn itself.
Hedgehog Pom Pom – How To:
1) Wind half of your pom pom in brown/ color of yarn for your hedgehog’s spines. Then, do 1/6 in the cream wool (ie the hedgehog body) – I made this cream bit nice fat wad. Switch back to the spine colored yarn and wrap yarn to fill the rest.
2) Then add another layer of brown over the top of your cream wool. Again, until you have a nice fat wad.
3) Cut your pom pom and tie. If you want to keep your “tie” for hanging the hedgehog up (say from a key ring or to use it as a zipper pull), make sure you tie the not to the side of the “cream” section – so that later it points in the right direction.
4) You will get a fluffy pom pom whit a cream section. Doesn’t look very hedgehog like YET, does it?! Don’t worry.. onto the next step to creating your hedgehog pom pom.
5) Now it is time to trim. I did this bit for the kids. I trimmed the bottom quite flat, so that the hedgehog “sits” and I also made the front of the hedgehog pom pom a little “cone shaped”. I cut into both the cream wool and the brown wool to do this “roughly”. Then I trimmed a little more just from the cream section. It is a little bit of trial and error and I almost cut too much away to begin with. Also.. do not fret, if you don’t get a perfect hedgehog shape straight away. I found, once you add the eyes and nose, you suddenly get a much more hedgehog like looking pom pom…
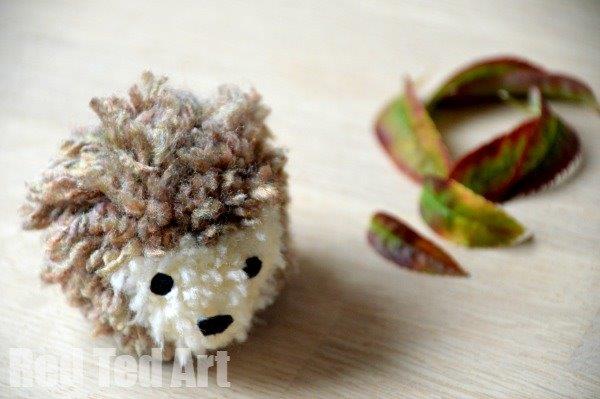
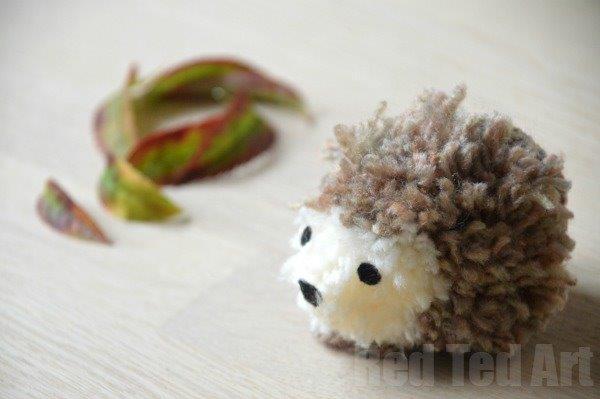
6) Cut two tiny black dots fro your felt as eyes, and a little “nose shaped” (triangle, with rounded edges) piece for the nose and glue on with good white glue or a hot glue gun.
Do any final trimming if needed and DONE! We think this little hedgehog pom pom is just soooooooooo cute! Now you need to make a bunch of hedgehog pom pom pals!
Fancy MORE Pom Pom crafts ideas? Take a peak at these:
You may also enjoy our comprehensive Autumn Crafts for Kids list here:


