How To.. make a Beautiful Kite!
So… with Weather Get Crafty “literally just around the corner” it was really time to bring you this beautiful How To Make A Kite post… it is fabulous guest post from Teri at The Journals of Giddy Giddy… and her blog makes me just that – giddy! It is BEAUTIFUL, I tell you… I could spend hours on there, absorbed in her wonderful crafts and posts. She also has her own Giddy Giddy products and designs, including the most adorable Tiger and Octopus pouchers for little girls. Please do visit Teri and be wowed and oohed and aahed… I can’t tear myself away!

And how perfect is it to make your kite and then go for a good run in the park? Fresh air and fun exercise… I found Teri via the wonderful Creative Jewish Mom’s blog. Over to Teri and her “How to Make a Beautiful Kite” post:
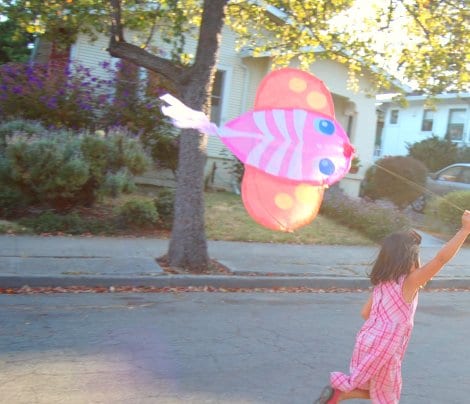
We didn’t know we could do it, until we did it! That’s right…this weekend, we designed, constructed and flew our own homemade kites.
Kids most definitely need some help and some patience. But the results are spectacular and give you a perfect reason to go outside and run like the wind. What’s a better reward than this? This project makes it on my top 3 favorite craft DIY ideas for sure!
By the way, on a difficulty scale from 1-10 it is “officially” a 7.33. (This number is comprised of 3 votes: mine (3 difficulty level) a 7 year old (9.5 difficulty level) and a 5 1/2 year old (9.5 difficulty level).
THE DIY TUTORIAL:
1. Supplies: a spool of basketweaving reed that measure 2-3.5 millimeter in diameter, large colored wax paper and/or colored tissue paper (wax paper is best as it is more durable), quilting thread or heavy duty thread, scissors, and glue stick
(Please scroll down below for suggested supply sources. )
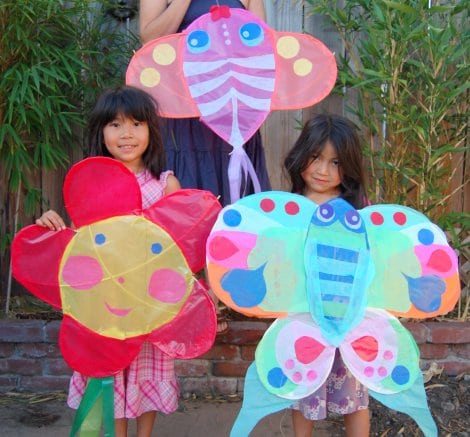
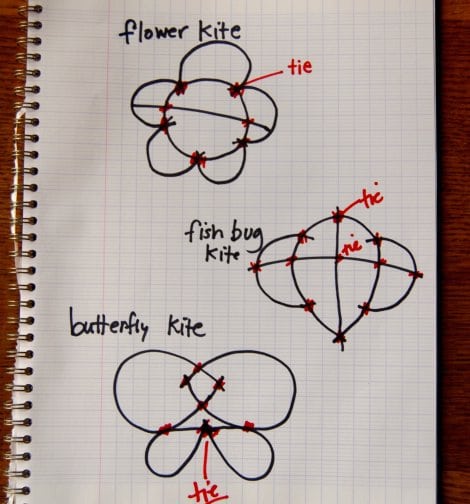
2. Now devise your plan. Just think about the overall kite construction as a series of OVALS, CIRCLES, TEAR DROPS and HALF CIRCLES. These shapes can then be assembled and then tied together. By keeping this simple guideline in mind, we were able to create a flower, a fish/bug, and a butterfly kite.
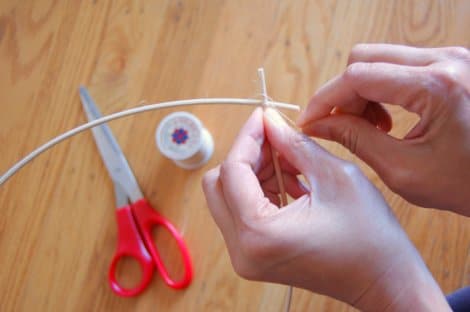
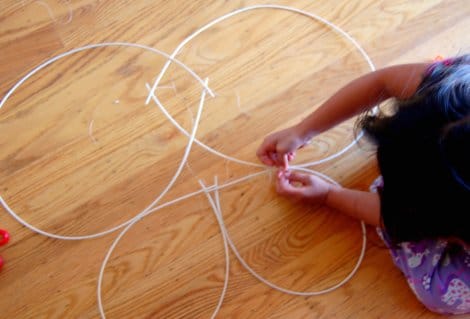
3. Take a reed, cut it to size and securely tie ends together by looping quilting thread very tightly around and over a dozen times. Tie a good end knot that cannot easily come undone.
This picture illustrates how a butterfly shaped kite is merely a series of 4 tear drop shapes tied together:
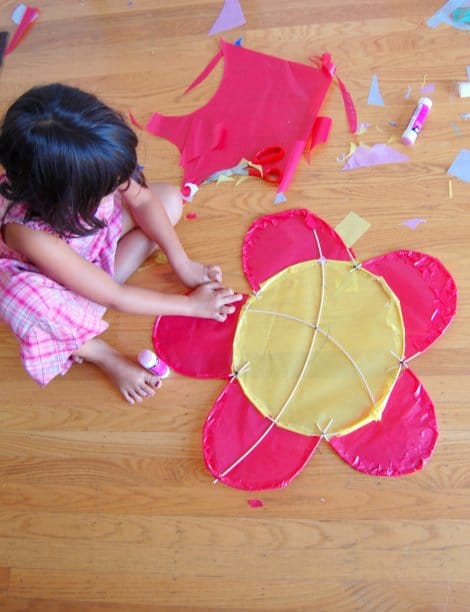
Cut wax paper/tissue paper in the same shape as the frame except that it should be 1 inch bigger all around. Cut notches about 1/2 inch apart around the circumference of the wax paper shape.
Now you can apply glue stick on the edges and then fold over so as to cover the bamboo frame.
We tied an extra reed across the entire flower shape to keep this kite frame stable and straight. This extra support might be necessary for other complex shaped kites as well.
As far as the design, layers of shapes and colors can then be glued on the base layer. Here I debated on either a fish or a bug kite and ended up with a BUG FISH.
This butterfly kite is the result of layers and layers of tissue paper and wax paper on top of each other.
Now you can attach kite string onto the decorated face of the kite. We did this by using a sewing needle and looping it through the paper and the reed, which is underneath the paper. Placement depends on the kite design itself but rule of thumb is to find 2-3 areas to string and then those strings can then be joined together at a point about 12 inches from the kite. Think “pyramid”. Then a longer kite string can then be tied to the center point. Truly, this part requires experimentation and is based on the shape of the kite itself.
If you try this project, I would love to see pictures or links of your results!
Have fun.
—————————————-
WHERE TO BUY:
lightweight reeds can be found at basketweaving.com
and colored wax kite paper can be found at: imaginechildhood.com
This was featured on:

