How to make a Scrunchie
How to make Scrunchies have LONG been on my to do list of sewing projects for kids here on Red Ted Art. I remember making LOTS of scrunchies when I was a tween/ teenager. The best bit? You can make this scrunchie without a sewing machine! It is an easy pattern. A sewing machine IS useful though as it speeds it up. But hand sewing and no sewing machine fine too! Now that my daughter is 8 and really getting into her Beginner Sewing Projects, it is time to introduce her to the homemade scrunchie!! Woohoo.

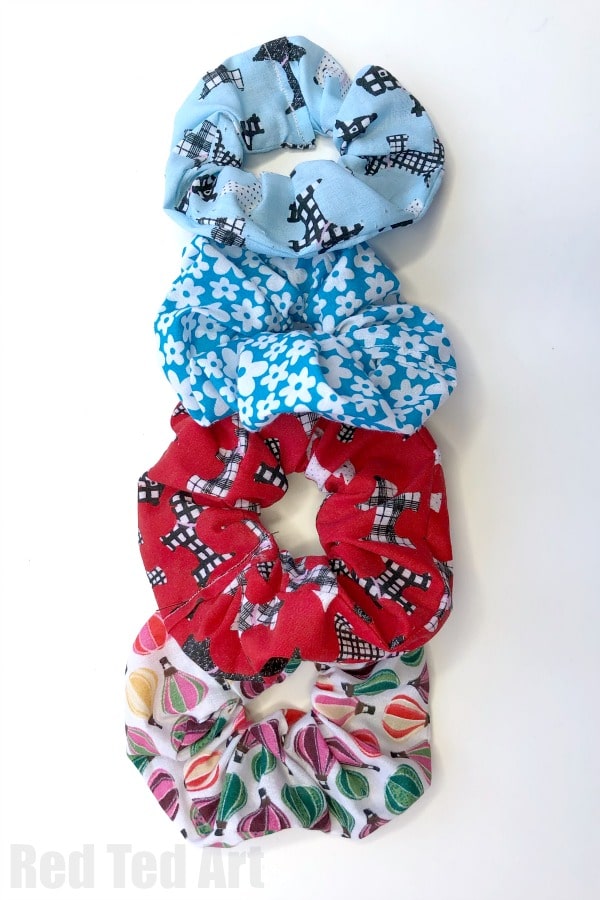
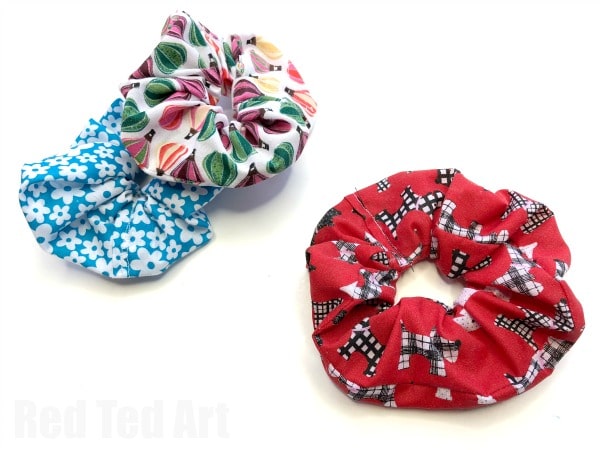
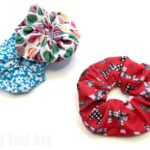
A DIY Scrunchie is really quick and easy to make and it is a fabulous way to use up odds and ends of fabric. Learn how to sew a scrunchie here today! I also think that these easy scrunchies make a fabulous little gift for a friend.
So excited. I think a DIY Scrunchie makes a great Back To School Sewing project too! If you need help with how to teach kids to sew, do check out our beginner basics!
DIY Scrunchie – Materials
Let’s get started on making your home made hair accessories!
- Fabric Scraps – anything you have, obviously velvet or silk is gorgeous but you can upcycle old shirts or cotton pyjamas too.. literally any fabric works! Though I advise against tshirt fabric, as it can be hard to work with for beginners!
- Elastic
- Safety pins for threading
- A pair of scissors
- Matching thread – though we often work with just white thread (light fabric) or black thread (darker fabric)
- Sewing materials (either for hand sewing or machine sewing) – either use a sewing machine or a needle & thread!
Fabric dimensions – we used 12cm by 45cm with an elastic around 12cm long, and really like that size – this includes a seam allowance. But making your own Scrunchies really is a question of preference. Some people like long thing ones, others like chubby ones. Or maybe you would like a combination!
Some people like to measure the elastic around their wrist – then use that measurement x 3 to determine the length of the scrunch. Remember the elastic will need extra at the ends for knottig off!
We love using old fabrics, like old men’s shirts to make these scrunchies!
You may like this post on hand sewing stitches if not using a sewing machine:

Can you use a hot glue gun to make a scrunchie?
The answer is yes and no! Ha. It really depends on the quality of your hot glue gun and how well it glues fabric! Also, I fund that glue makes for a stiff seam, so the scrunchy wouldn’t necessarily bunch up so well. Having said that, it is worth experimenting with the hot glue gun you have to hand and seeing how secure it glues and how stiff it make’s the scrunchie seams! Same applies to any fabric glue you have! In theory it should work just fine. But I prefer to sew a scrunchie!
How to Make a Scrunchie
I have once again made you a How to make a scrunchie video, but have also included step by step written instructions! The video tutorial is now located towards the end of this page! You will see that all you need to do is some straight stitching along a strip of fabric. Making this a great beginner’s project!
How to make a scrunchie – step by step instructions
As mentioned you can make a scrunchie without a sewing machine. I have given advice on the best hand stitches to use below!
A DIY Hiar Scrunchie is essentially just a fabric tube with the raw edges sewing in (to hide them) and an elastic at it’s centre! So it is a really easy project for beginners that just requires a long rectangle of fabric!
By request, I have now added Step By Step Photo instructions to this DIY Scrunchie tutorials. They are taken from the Scrunchie DIY Video, so I apologise for the lower image quality. But hopefully they will still be helpful!
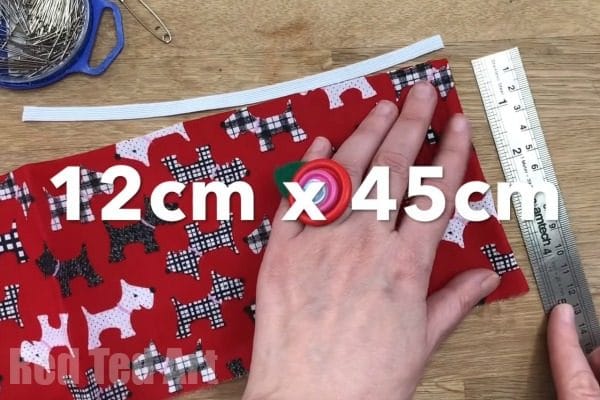
Cut a long retangle from your fabric. As mentioned above mine is 12cm x 45cm including the seam allowance. Depending on the pattern on your fabric, you may want to consider how you cute fabric (long edge or across).
Some people like to use a rotary cutter on a cutting mat for this (makes long neat cuts), but a good pair of scissros is plenty!

Measure your elastic by the size of your wrist and leave some space for a knot!
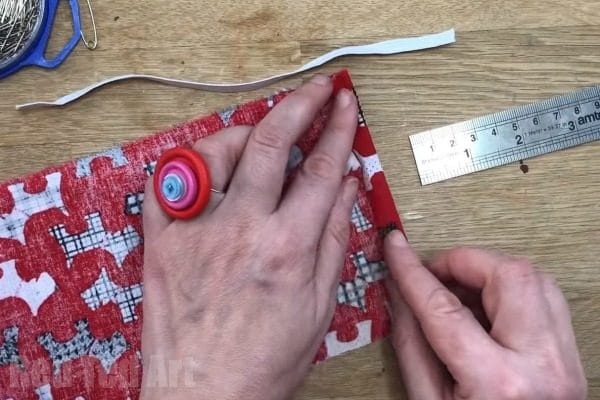
Turn over the short ends (both ends!). The first thing you will want to do is to sew down the raw edge at both ends.

Sew down – you are tidying up the ends of scrunchies for later. If you are using hand stitches for this, a running stitch should be enough. Don’t make them too long though, keep them small and as neat as you can.
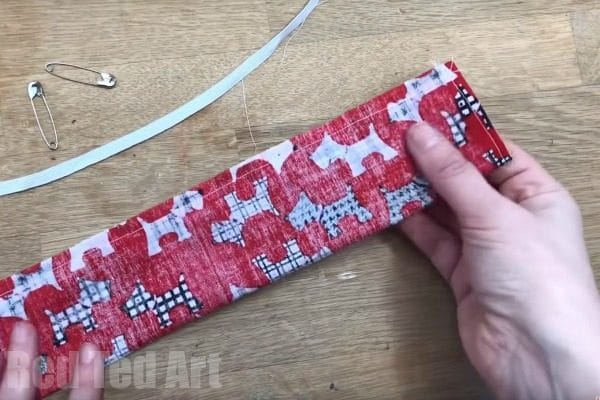
Now the raw edges at both ends are done, fold your fabric along the long edge – right side inside, wrong side out. And sew 0.5cm from the edge as your seam allowance – either by sewing machine or by using a back stitch (nice and strong) – learn how to sew a back stitch in our Basic Hand Stitches for Beginners section.

Turn your tube right side out. If you have a very thin tube, you may need a pencil to help bush the right side through.

Secure your elastice to ONE end of the long tube with a safety pin.
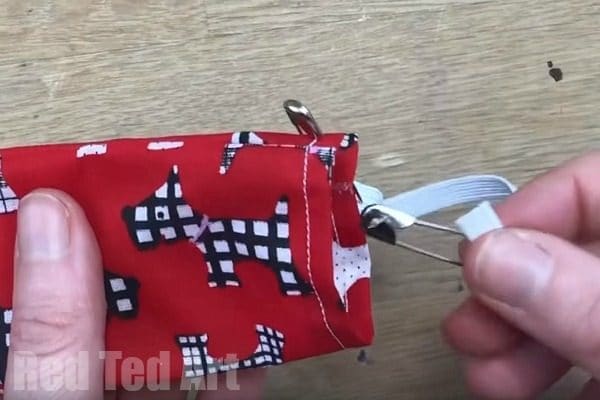
Attach the second safety pin to the other end of the elastic and use this to fid the elastic through the tube.
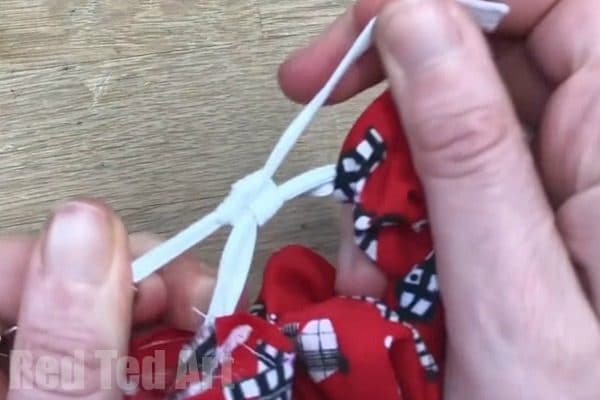
Knot the two ends of elastic together (I often at this point, accidentally release the elastic, so it pings back and I have to do it all over again.. take care!).
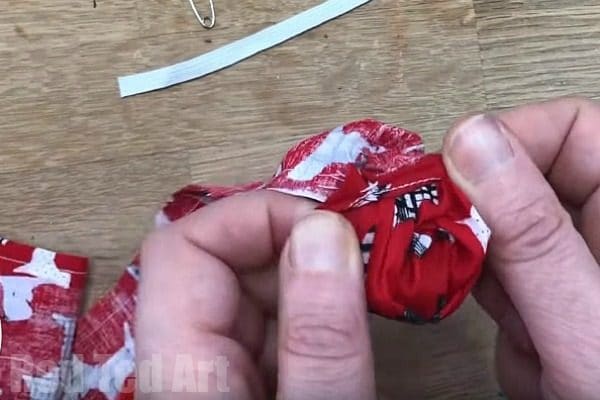
Once the elastic is secured, make sure the seam of your tube is point the same way. Sometimes the tube gets a bit twisted. Un twist it, so the seem is running all along the inside or outside.
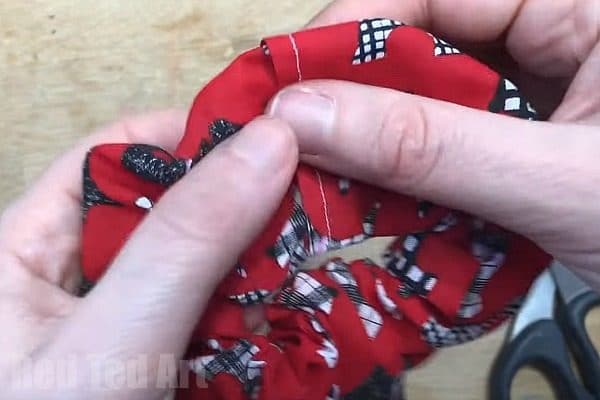
Overlap the two ends and sew shut!
Scrunchie DIY Video Tutorial
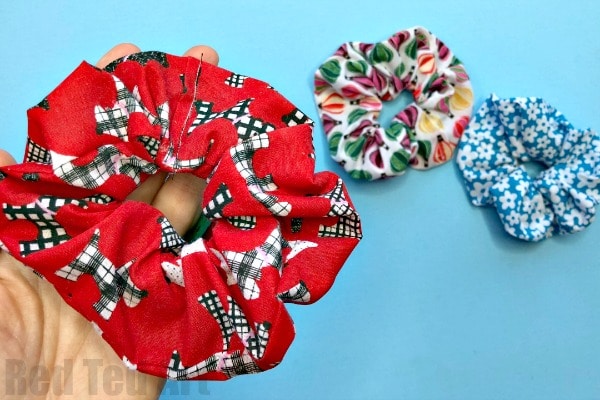
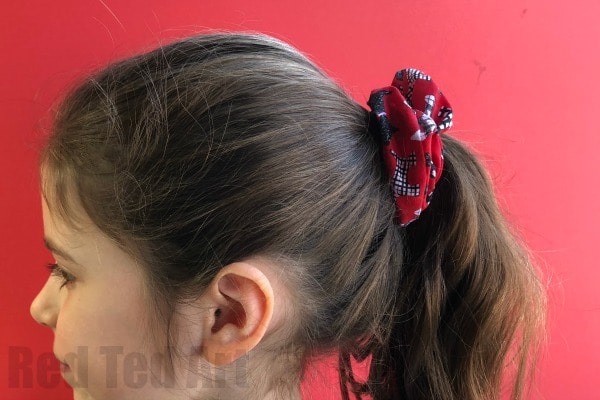
You have now made your first DIY Scrunchie!! Once you get the hang of making DIY scrunchies, you should be able to make each one in 5 – 10 minutes!
Enjoy! I hope you bae lots of fun making your own hair accessories this Back to School!
You may also enjoy our “no sew scrunchie” video tutorial:
Scrunchie DIY
Equipment
- Fabric – 12cm x 45cm
- Elastic – 12cm (or long enough to comfortably fit on wrist with enough to tie a knot)
- Sewing equipment
Instructions
- Cut your fabric 12cm x 45cm (approximate)
- Measure your elastic by the size of your wrist and leave some space for a knot
- Turn over the short ends and sew
- Fold your fabric length wise – right side inside, wrong side out. And sew 0.5cm from the edge – either by sewing machine or by using a back stitch (nice and strong)
- Turn your tube right side out
- Secure your elastice to ONE end of the long tube with a safety pin
- Attach the second safety pin to the other end of the elastic and use this to fid the elastic through the tube
- Knot the two ends of elastic together
- Overlap the two ends of the fabric and sew shut
Video

Need more great sewing projects for kids? Try these!
Need to know How To Teach Kids to Sew? Our article on beginner basics!