
How to make… a Six Pointed Snowflake
Well, how wonderful, yet another chance to bring you those, oh so simple, paper crafts. Today I will show you how to make lovely paper six pointed snowflakes. Unlike the previous crafts, this one does require cutting skills, so you will have to make these yourself or with slightly older children. Paper Snowflakes are such a pretty seasonal decor and what I love about them, is that anyone can decorate their home with these, regardless of whether they get sick and tired of all the Santa Clauses and reindeer going round (though I do love Santa Clause Crafts and reindeers!). Do have a go at today’s paper snowflake and if you fancy more Snowflake Craft Ideas, there are plenty more here on Red Ted Art for you to browse!

To me, the 6 pointed snowflake somehow always looks prettier, so it really is worth the extra couple of minutes to get your head round how to fold these. Once you have it sussed, you can snip snip snip away! Your imagination is your limit!
6 Pointed Paper Snowflakes – Materials
- white sheets of paper (the thinner, the easier to cut),
- scissors,
- possibly a pen
How to make a Snowflake – Video Instructions
Once again you have choice of either video instructions as well as step by step photos. If you want to see to cut the black and white pattern – do have a look at the video.. the step by step instructions give you some “red and white” patterns (I don’t know if am making sense.. ha!).
How to make a Paper Snowflake Step by Step instructions
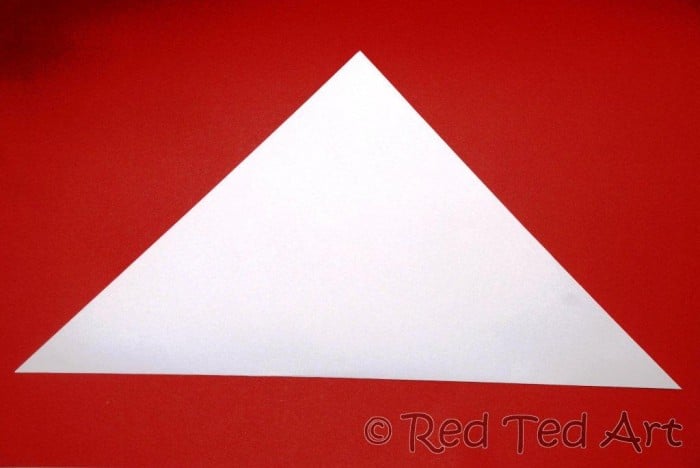
1) You need a square piece of paper. If using an A4 piece of paper. Take one corner and fold it, so that you get a diagonal crease. You should see a triangle, with a strip of paper left on the side. Trim of the strip. So you only have a triangle which, when opened, is square.
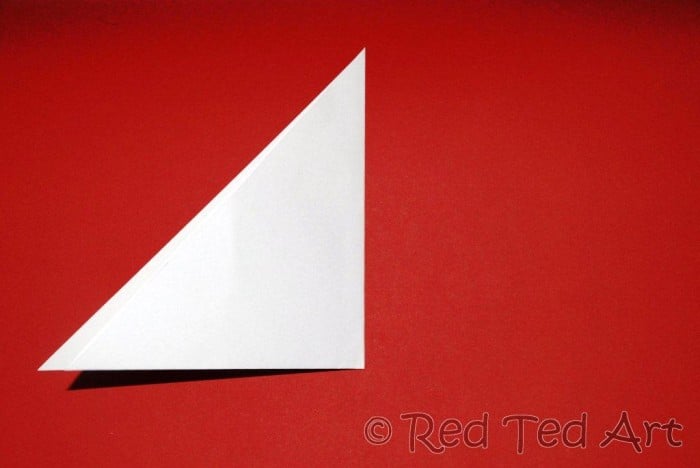
2) Take triangle and fold again, so you end up with a 2nd smaller triangle.
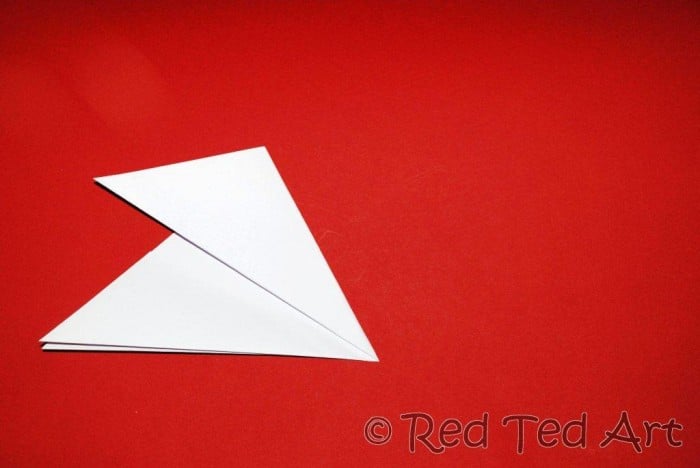
3) Imagine the top edge divides into three. If it helps, roughly mark out thirds. Fold one third in.
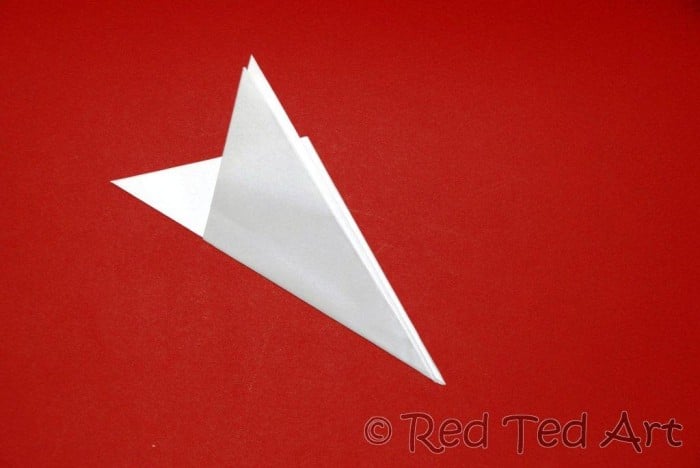
4) Fold the remaining third in. The neater (i.e. how accurate you get your thirds) you get this, the neater you final snowflake will be. If need be, redo it to adjust to perfect thirds. You want the 2nd fold to align neatly with the first one.
5) I trim the top off, as I find it distracting.

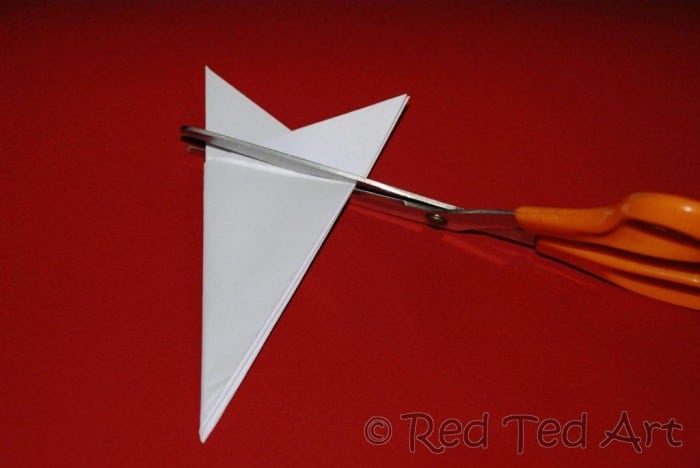
6) The edge that does not open up, forms the centre of each point. So try and imagine in your head how you would like a point to look like and cut. I sometimes draw an outline to help me along. Remember that if you want a more delicate snowflake you will have to cute out “thinner” strips. If you want the points to touch, make sure you leave a piece of paper running across the width. Snip the tip off and you get a little pretty hole in your flake.
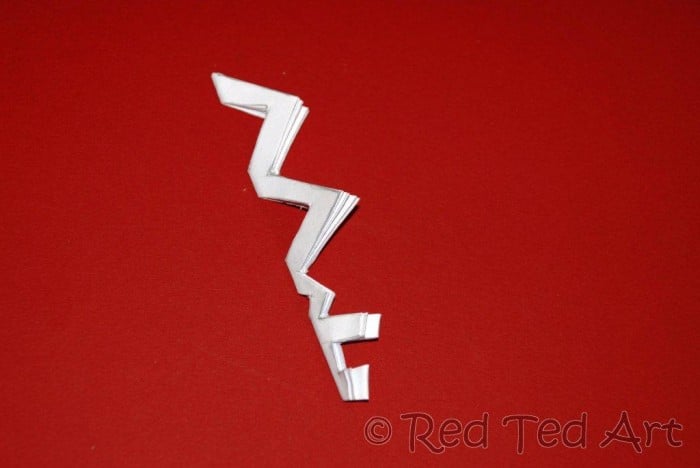
7) Open up! And enjoy!
Repeat several times until you have a feel for the paper and find patterns that you like!!!

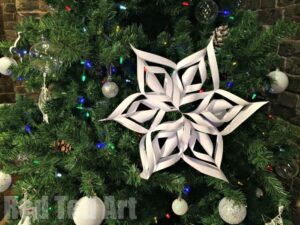
Hope you have a go at these 6 pointed Snowflakes. I think they are lovely!
You may also like this 3D Paper Snowflake – doesn’t it look amazing.. and not as tricky as it first looks:
And if you are looking for QUICK and RIDICULOUSLY easy – these in WHITE would make great Giant Snowflakes too:

More Snowflake Craft Ideas:
