
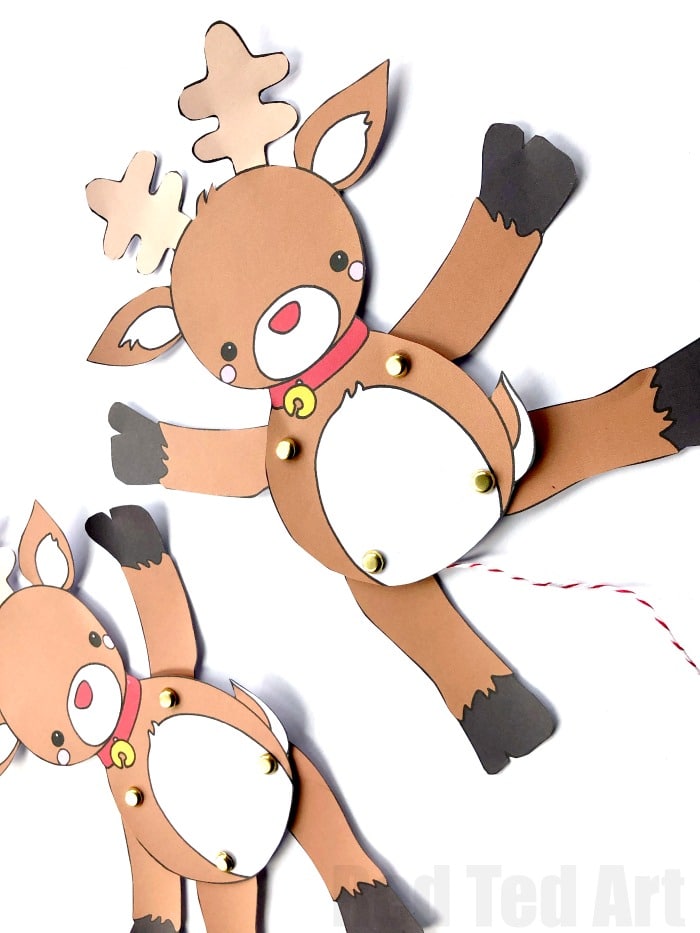
Paper Reindeer Puppet Template
Well I hope you guys are not bored of our lovely Paper Puppets yet!! I know I am not. They have been such a blast to make, especially in the run up to Halloween and now Christmas. Today it is time for some adorable Paper Reindeer Puppets to download, color and assemble!
Remember the Day of the Dead Puppets? Well, we had a competition and you guys submitted over 38 different Skeleton Puppet Designs. Each one more fabulous than the next. I added them all to one large Day of the Dead Craft collage for you browse!
Paper Reindeer Puppet – MATERIALS
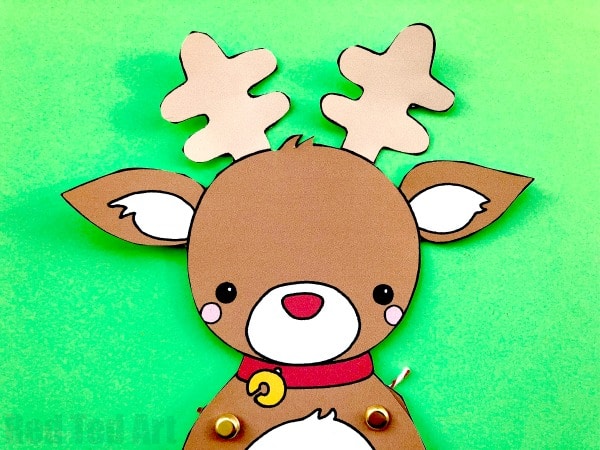
- Make sure you download your Reindeer Paper Puppet Template (we have a colour your own, a red nose reindeer and a black nose reindeer to choose from!)
- Light card stock that will fit in the printer
- Hole punch (single hole hole punches are super handy US / UK)
- Brads/ split pins (US / UK)
- Bakers Twine (oh how I LOVE bakers twine) (US/ UK)
- A large pointy needle
Affiliate links added for convenience.
You can get one of the full coloured Reindeer HERE for free. But for the complete set and a 5 page printable head to my Teacher’s Pay Teacher’s store or the Gumroad Store. You will get a printable lesson plan, an assembly worksheet AND 3 reindeers to print (the coloring page + 2 reindeers – one with a black nose and one with a red nose).


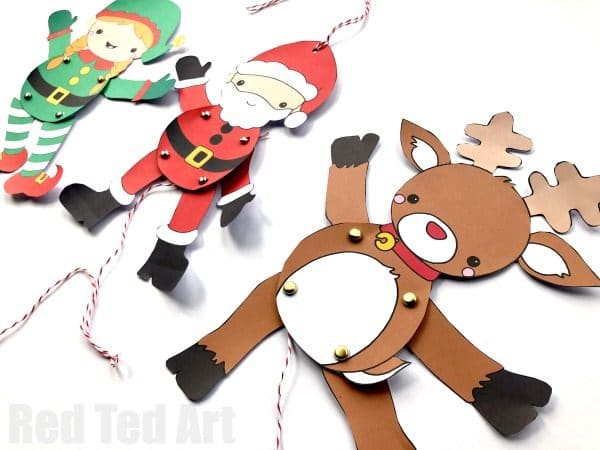
Other Christmas Paper Puppets
Remember we also have some fabulous Multicultural Santa Puppets and some adorable Diverse Elf Puppets to make this Christmas too. Or get the FULL Christmas Puppet Bundle in one place.

Reindeer Paper Puppet – How To
Yes, yes yes YES! Anothere quick and handy how to make a paper puppet video for you.. but again, I have included instructions down below, including a schematic for how to assemble the back of your Christmas Puppet – that is in fact the key bit to your craft. Get that bit wrong and your lovely little elf won’t be able to flap his arms and legs in quite the best way!
(This in indeed our ELF PUPPET video.. but the Reindeer version is coming soon! Assembly is in fact the same!)
How to make a articulate puppet – step by step instructions
—> DOWNLOAD YOUR REINDEER PUPPET <—-
- Begin by choosing either your colour your own paper puppet or ready to assemble puppet. If you are using a laminator, print on ordinary paper, if you are using just card, print directly onto the card. Be sure you use card that is suitable for your printer.
- If colouring, colour your reindeer now….
- It is now time to cut out all your rudolph puppet “bits”. Cut them as neatly as you can.
- Using your hole punch, make holes for the moving parts – 4 in the body, one each in the arms and legs.
- Thread your needle. It does help to have a large eyed, pointy needle – especially if using a laminator. If you do laminate your paper puppets you MAY need to make the holes for the bakers twine with scissors.
- Loosely connect your arms and legs with your brads / split pins.
- Now guide the thread throw the marked hole of one arm and then through the other.

- Make sure the arms are in the “down position” and that the thread runs across in a straight manner – not too tight, not too loose. Knot the other end.
- Repeat for the legs.
- Now you have one last thing to do – add a connecting piece of string between the arms and the legs – it is important that this isn’t too tight (the arms won’t move) or too loose (the legs own’t move).. again.. it needs to be “just right”…
- And your Elf Paper Puppet is FINISHED!! ENJOY!

Remember we have more Christmas Paper Puppets – Multicultural Santa Puppets and some adorable Diverse Elf Puppets to make. Get the FULL BUNDLE in one place!
We love LOTS more Christmas Printables here:
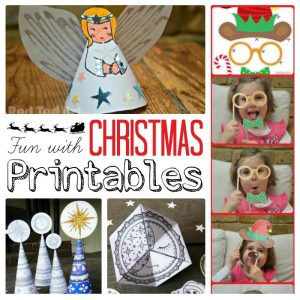
As well as a fabulous collection of Paper Christmas Crafts for kids:
