Little Felt Mermaid Pattern
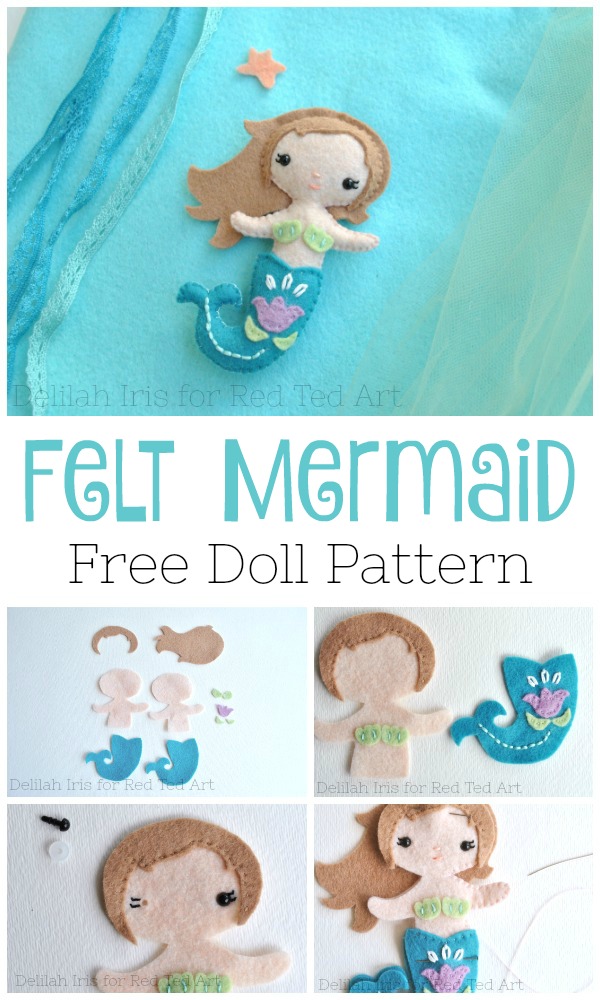
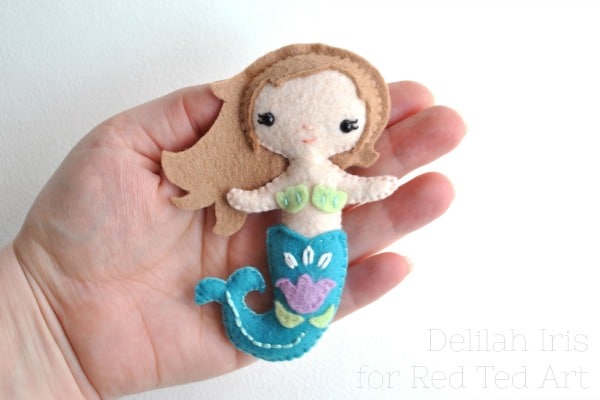
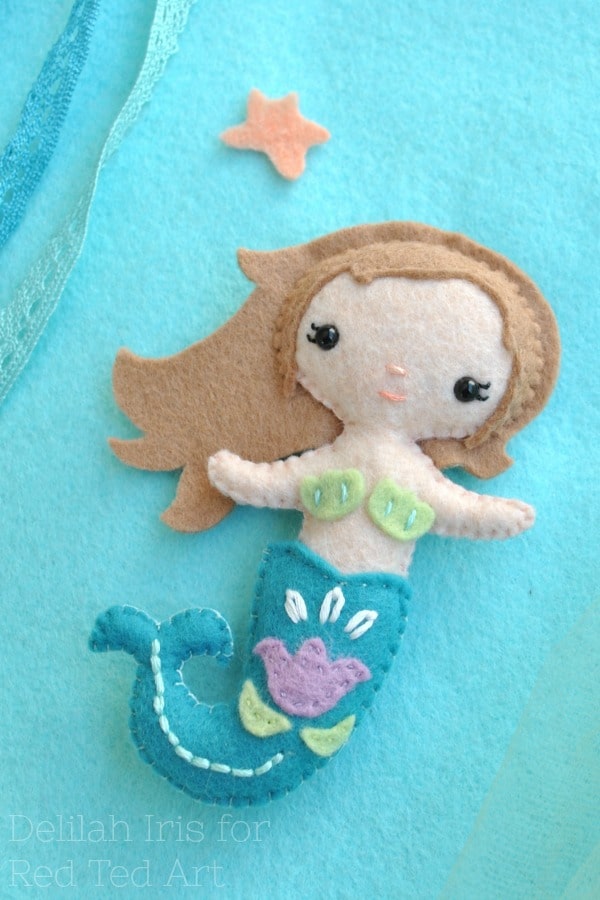
The DIY Mermaid Love continues! Today we have the lovely lovely lovely Delilah sharing an adorable Little Felt Mermaid Pattern with you today. Oh Pip Squeak is going to be ALL OVER this one. So cute! Delilah runs Delilah Iris Designs – a website with a wide range of sewing patterns and kits. I think you simply have to check out this 3d Felt Unicorn Pattern or how about this adorable Hedgehog Kit?! Today, she has designed a little Felt Mermaid Pattern especially for YOU my lovely Red Ted Art readers. How lucky are we!? Anyway.. on to Delilah!
Felt Mermaid -Recomended Tools and Suppies:
- Felt
- Printable Pattern (or click on the big red button below – enter $0 at check out)
- Needle and thread
- Embroidery thread for details
- Toy stuffing
- Small sharp scissors
Enter $0 at check out for this lovely free felt mermaid pattern!
How to make a Felt Mermaid
Felt Mermaid – Cutting of shapes
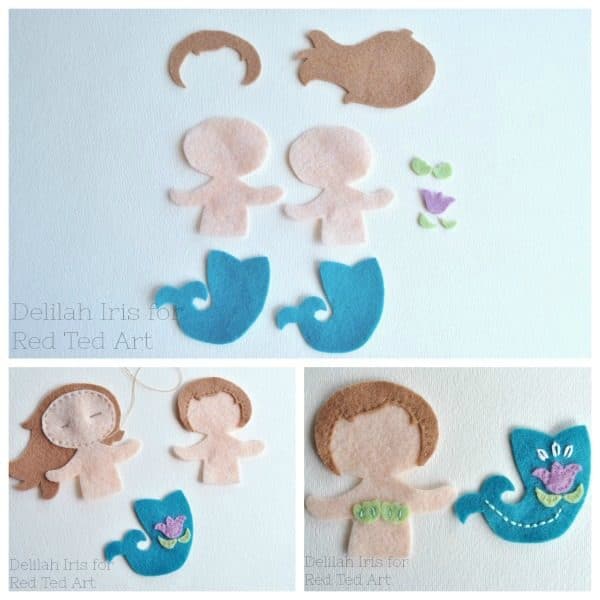
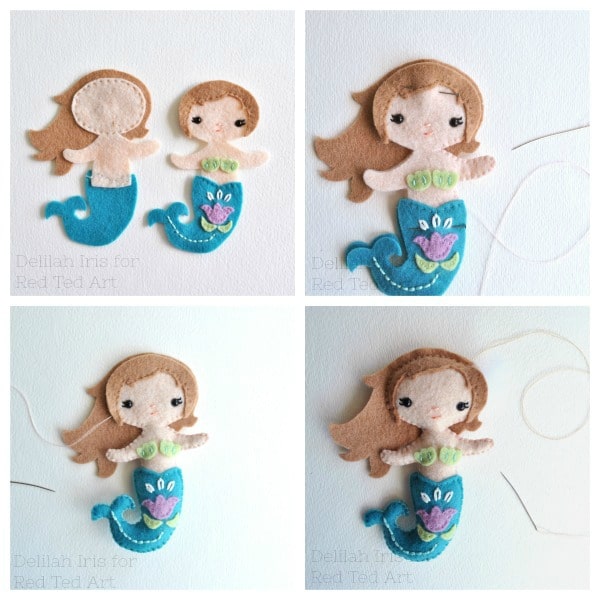
Begin by cutting all pieces from colored felt as indicated by the printable pattern.
Adding details to your Mermaid
Pin and stitch the hair pieces to the front and back sides of the body. Sew the flower details to the front of the mermaid tail.
Add some details with embroidery thread! Add 3 laisy daisy stitches just above the flower on the tail. Next add a line of backstitches down the middle of the tail beneath the flower.
Sew the seashells to the front of the body by holding them into place with a couple stitches of decorative embroidery thread on each shell.
Adding Doll Safety Eyes to your Mermaid
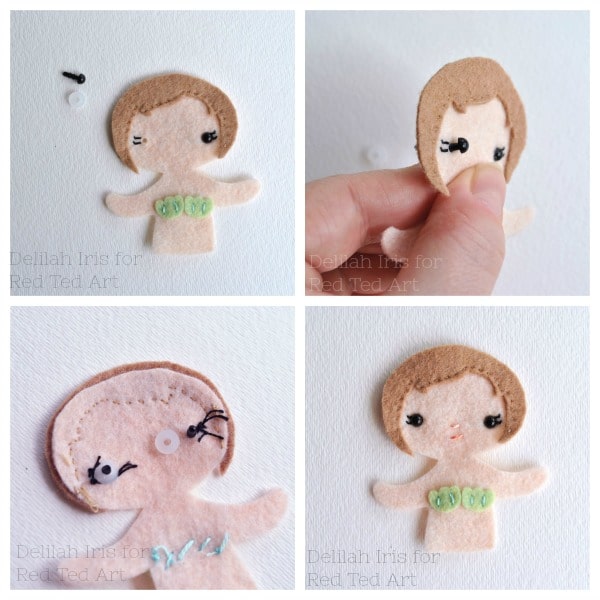
Add facial detail by either installing doll eyes or stitching them in with black embroidery thread. Add tint lashes with black thread.
To install safety doll eyes poke a small hole where the eye will sit. Insert the eye post through the hole then affix the washer over the back of the post.
Stitch in a nose and mouth with colored embroidery thread.
Sewing your mermaid’s tail and body Pieces
Pin and stitch the tail pieces to the body pieces. After sewing each together, pin both pieces together and begin stitching at the side of the face of the doll. Stitch the pieces together moving downward along the edge of the neck and past the arm. Stop when you reach the top of the mermaid tail.
Switch thread colors and begin stitching the outer edge of the mermaid’s tail. Sew along the edge all the way down the side until you reach just past the bottom of the tail.
Stop and stuff the bottom of the tail and the arm. Push small amounts of stuffing into the spaces with a toothpick. Continue sewing until you reach the top of the tail. Stuff the tail to the top.
Switch threads and continue sewing the opposite side of the body. Stop just before the neck to stuff the opposite arm and middle of the body.
Continue sewing past the neck to the top of the face. Switch thread colors to finish sewing the hair. Sew along the top of the head until there is only a small space left open. Stuff the doll full.
To finish sew the opening shut and knot your thread behind the head.
A huge thank you to Delilah for sharing this pattern with us today! Remember, do visit Delilah Iris Designs for lots mroe wonderful and cute sewing pattern designs and ideas!
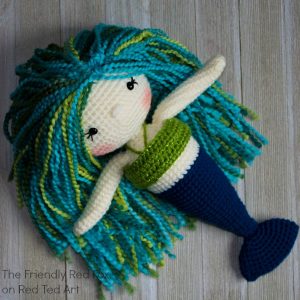
You may also love this Free Mermaid Crochet Pattern!
More wonderful Mermaid Crafts Here:

