Paper Plate Crafts – Lantern
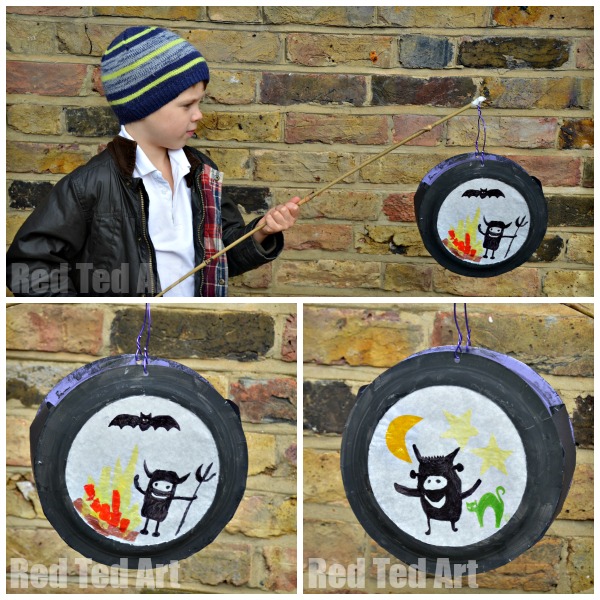
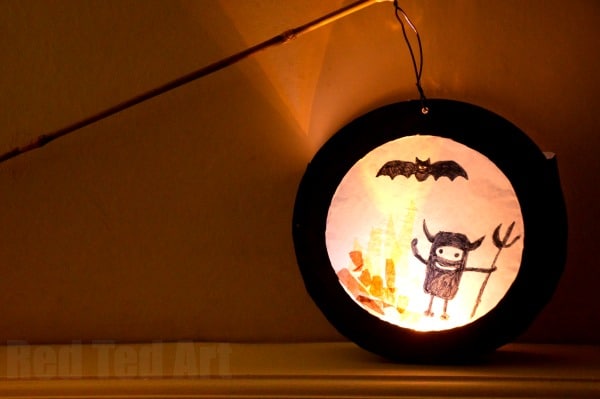
We LOVE making our own lanterns. We make them for the German “St. Martin’s Day” and the “Lanternen Laufen” you do with your homemade lanterns. But I think a DIY lantern, also works very well for either as a Halloween Paper Plate Craft (brighten up those dark roads) or if you are having a bonfire night.. alternatively, just make them and decorate the kids room. My kids hav had LOADS of pleasure from their Paper Plate Lanterns and they look forward to make some each year….

Paper Plate Crafts – Lanterns – You will need:
- 2 paper plates
- Some white baking paper or tracing paper or if you a very careful, two sheets of tissue paper – the kind things cat wrapped in in the shops
- Tissue paper in different colours, depending on your design – if you don’t have any, why not use some felt tip pens?
- Card (you can use a cereal box)
- Glue & tape
- A little wire or string for hanging
- A stick (we used a bamboo stick from the garden)
- Electric tealights
- Paint (optional)
How to Make Your Paper Plate Lantern:
- Paint your plates black – this is optional, we did a white one too and it looked just as nice!
- Cut out the centre of your paper plates. You can either print out some characters that you like or draw your own.
- Use the paper plate (with the hole) to trace two circle on your baking paper – this like a “canvas” , you now know where to put your picture.

Now you are ready to decorate your lantern. Tearing strips of yellow and red tissue paper makes GREAT flames – if you fancy a bonfire motif. If you are crafting for Halloween, you may want to cut out some bats or black cats. Really, the design is up to you.
Repeat for the second paper plate.
Carefully cut out your baking paper – but leave a RIM so you can glue it against your paper plate. Glue it to your plates and let dry.
Once dry, cut two strips of cardboard and stick them together to make one long piece – approximatel 55cm long and 11-12cm wide (but it does depend on how big your paper plate is!). Use this to connect your two paper plates. First you will need to cut lots of little flaps for sticking. This is great cutting practice. If you get tired get mum or dad to help out.
Carefully stick to the side of your paper plate. This is FIDDLY! But you can help hold it in place with some tape, whilst it dries. Then repeat for the other side and let dry.
Once dry, punch two holes at the top of the plate (you may wish to reinforce the plate with some tape). Thread in your wire or string and hang from your stick. If you latern slides around, tape the wire to your stick.
Add your electric tea lights and ENJOY your Paper Plate Lantern!
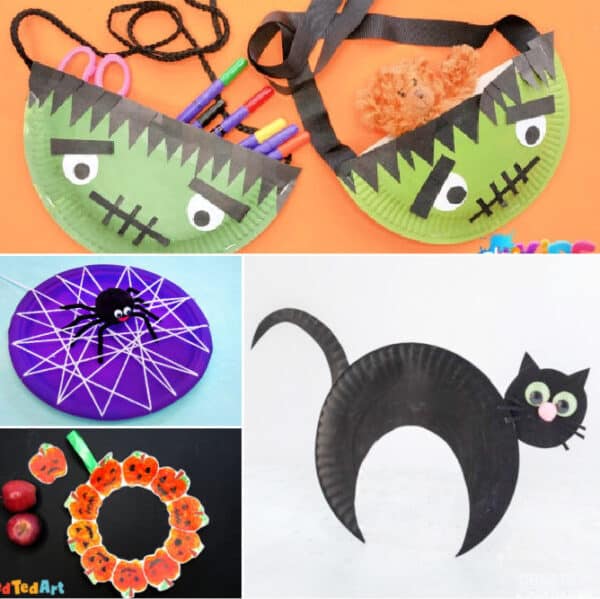
Hope you enjoyed this easy Paper Plate Lantern for Halloween.. we have more Paper Plate Crafts for Halloween here:


