Paper Plate Star Twirler
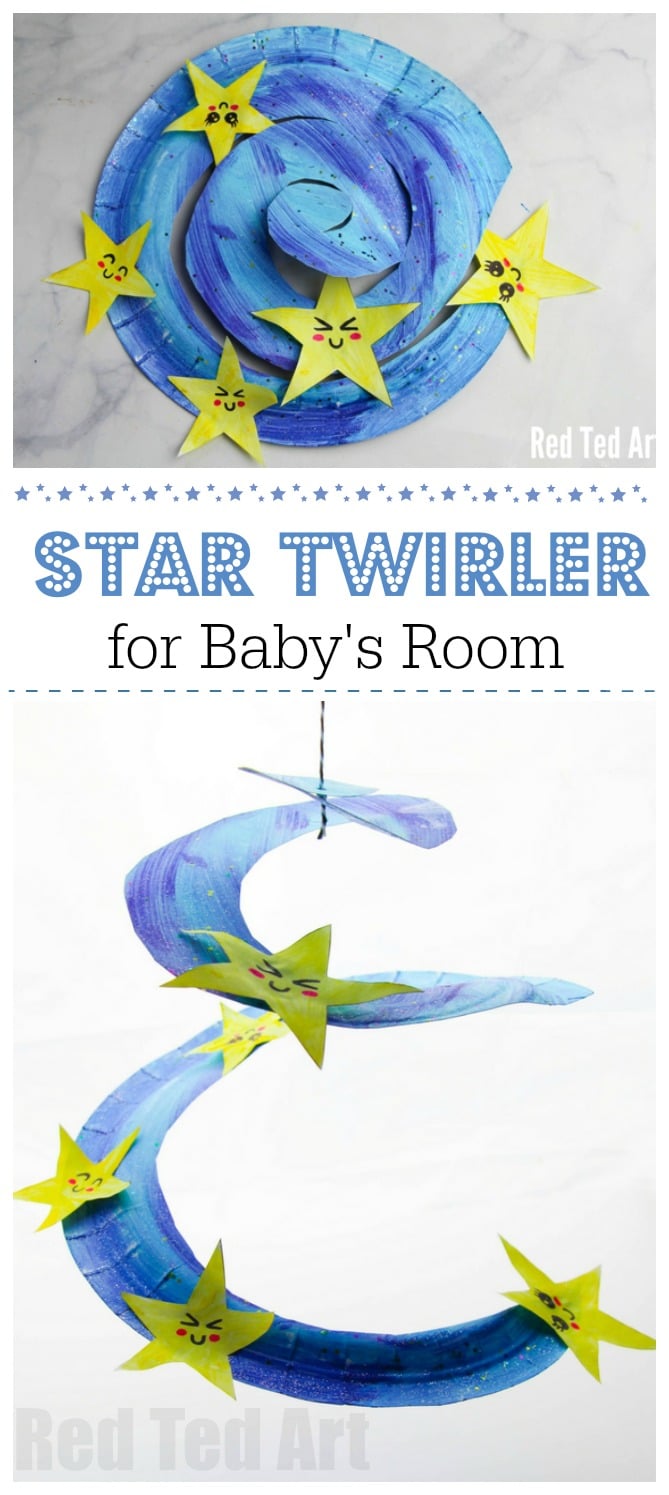
Our love for Paper Plate Twirlers and Paper Plate Whirligigs continue.. you may have seen our Christmas Tree Twirler earlier this year.. and now we have a gorgeous Paper Plate Star Twirler (complete with super cute Kawaii Star faces!!). Our contributer Jennier, shares how to make it! Oh how we adore all Paper Plate Crafts!! Especially this one as a gorgeous New Year’s Eve decoration for preschoolers.. or get your preschooler to make this for baby’s room!
Over to Jennifer!
Do you call these Star Twirlers or Star Whirligigs? Personally, I think Paper Plate Star Whirligigs is a bit more fun – but either way, I call them magical! There is something so captivating about watching these twirly-whirly spirals twist in the wind. They look so pretty but they couldn’t be simpler to make!
Earlier this year, we made a Rainbow Whirligig which is still going strong, twirling and breathing life into the room every time a gasp of wind hits it. I thought it would be fun to add a contrasting whirligig, one with darker colors and a bit more mystery to balance out. We decided to make a Star Whirligig because it’s pretty timeless (so you don’t need to take it down after a holiday is over). You could also call it a Galaxy Whirligig or a Shooting Star Whirligig. This is a great craft for a space-themed room and you could even add a few planets along the design if you’d like.
There is quite a bit of drying time in this activity, but it doesn’t take long. It’s a great craft to keep coming back and spending a few minutes on – it would be perfect for giving a few minutes break in between homework sessions or chores to have a bit of creative fun.
Materials to Make a Star Whirligig
- Star Printables
- Paper Plate (1 per whirligig)
- Baking twine or string
- Scissors
- Blue, purple and black paint
- Glitter or white paint for the star specks
- Paintbrushes
- Glue
- Markers (black and pink)
- Yellow paint or yellow paper
How to Make a Star Whirligig
Print off the star printables – if you print on yellow faces you can just move onto the next step. If you print on white you will need to paint or color the stars yellow or gold and let dry before the next step.
Add Kawaii faces or cute embellishments and cut out. Set aside.
Paint the top and bottom of the paper plate to look like a galaxy, swirling together the blue, purple and black paint.
I used glitter paint to give a “star effect” but you could also fleck on some white paint.
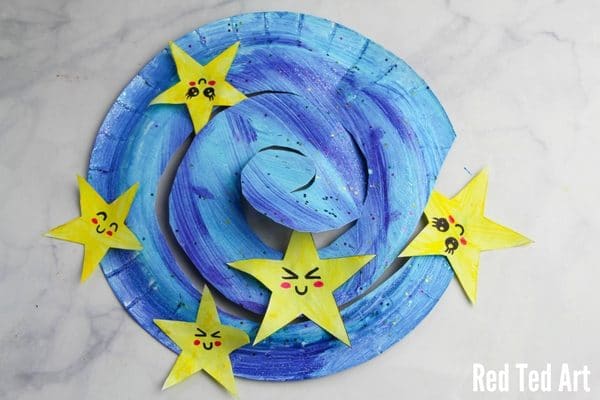
Let dry completely then cut the paper plate in a large spiral (as shown)
Glue the cute stars along the Whirligig. Let dry.
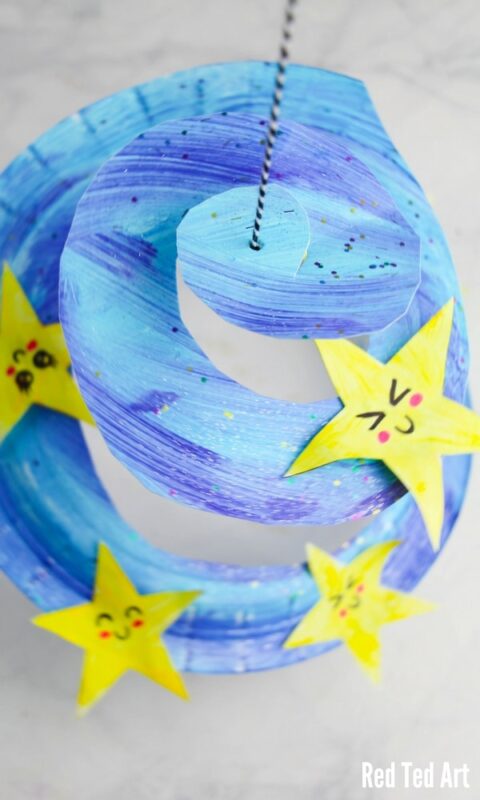
Poke a hole in the top of the spiral and thread the twine or string through and tie a knot.
Attach Star Whirligig wherever you like and enjoy it dancing in the wind.
Aren’t they the cutest? A big thank you to Jennifer for this lovely Guest Post!
If you like more Paper Plate Crafts, do check out our set here:
We also have a lovely set of “Ocean Inspired Paper Plate Crafts” here
More Paper Plate Whriligigs from Red Ted Art
- Christmas Tree Twirler
- Autumn Tree Twirler
- Dragon Whirligig for Chinese New year
- and now of course the cute Paper Plat Star Whirligig


