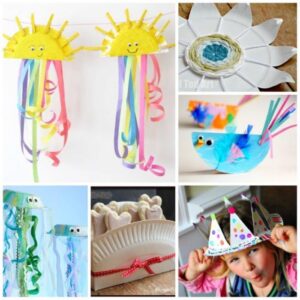
Paper Plate Weaving How To
Paper Plate Crafts are super easy and fun for kids. They are a great starting point for many easy kids projects – due to their symmetry and sturdiness.
Today, we share this gorgeous Paper Plate Weaving craft. Weaving is something we have wanted to do for a while and combining it with a paper plate is just perfect.
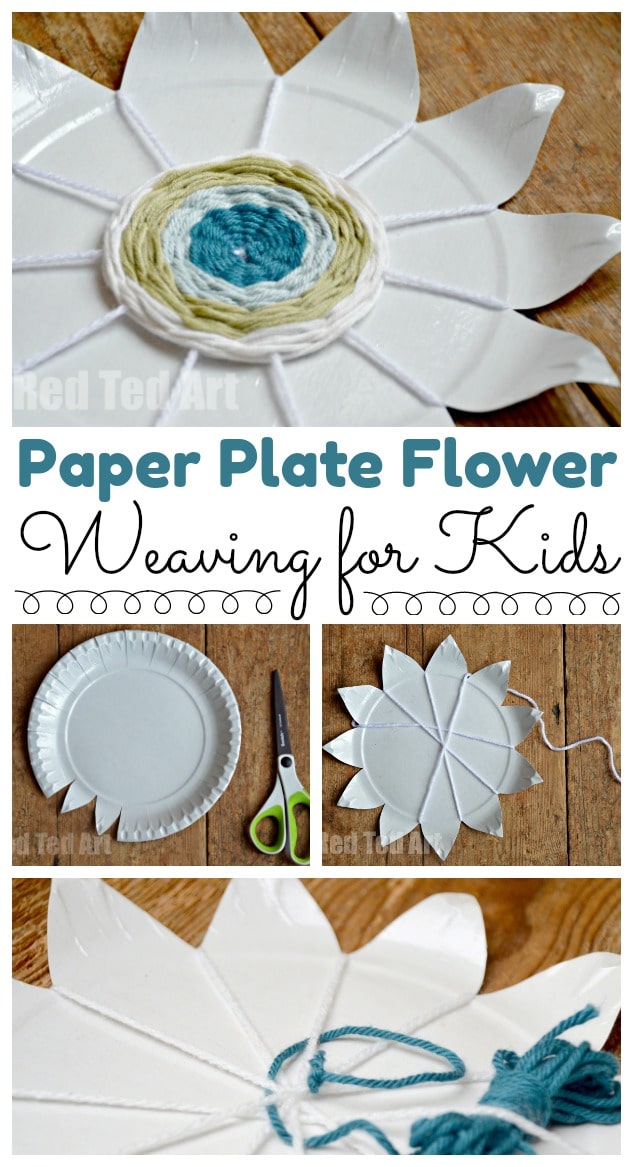
Paper plate weaving flowers are a great fine motor skill activity for kids. It is also a wonderful way to use up odds and ends of wool and yarn! Don’t make unnecessary purchases but use this as an opportunity to work through your wool stash! This makes a great classroom activity and a wonderful way to decorate the walls of classrooms!
These paper plate flowers can be made all year round, but I think they make a great fun summer crafting activity.
If you are working with toddlers, preschoolers or kindergartners, you may want to start off with our paper plate heart weaving and paper plate bird weaving projects. This is more suitable to the smaller hands.
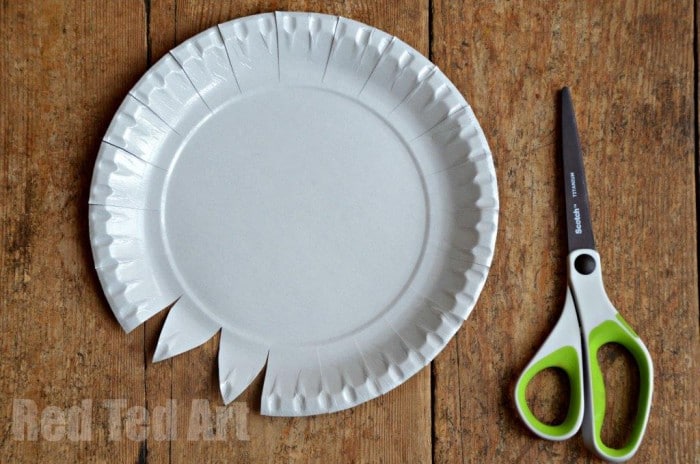
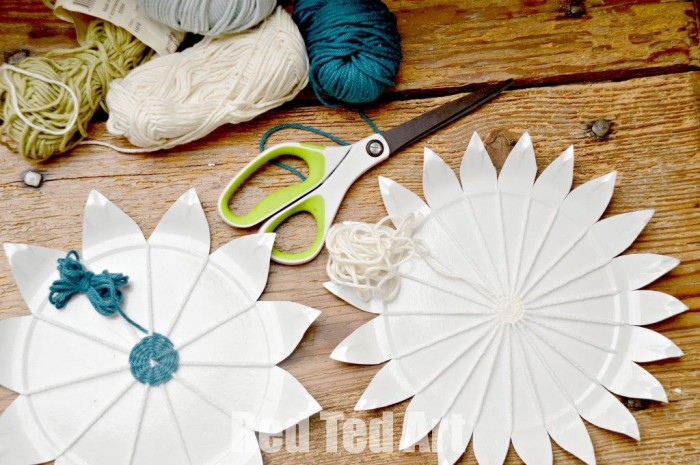
Paper Plate Weaving Materials:
- A paper plate in any color – we went with plain white, but a brightly colors would be lovely too
- Wool of different colours
- Scissors
- Optional – plastic needle for guiding
Paper Plate Weaving How To:
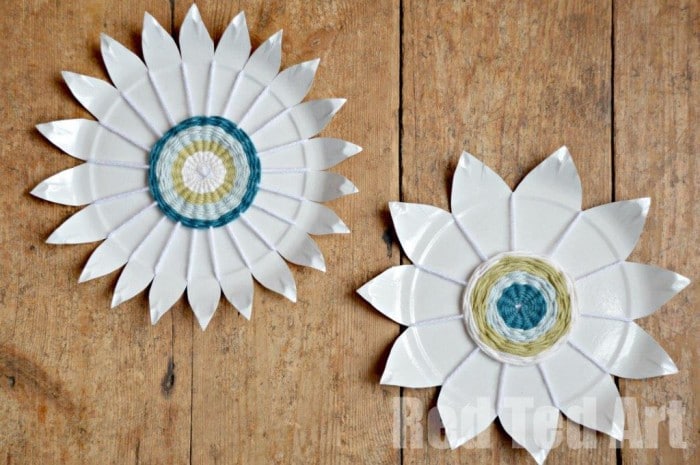
I did all the paper plate weaving PREPPING for the children. If you are doing this with older kids, they should manage this themselves. I made one with LOTS of petals and one with 11.. I think the 11 is better for younger kids to manage.
Time needed: 35 minutes
This project can take anything between 35min to an hour, depending on dexterity of the child and how much weaving you would like to add.
- Cut the Paper Plate Petals in UNEVEN numbers
Begin by marking out an UNEVEN set of “petals”. It has to be uneven in order for the weaving pattern to work and keep going round in a nice neat loop. I confess, this was the most “stressful part for me” – argh, how to get the uneven number of petals in? I turned my paper plate round and marked it with dots of where to cut. Then counted them, shuffled them up a little and tried again. But to be honest, it isn’t rocket science, if you end up with a fatter or thinner petal so be it. I does not have to be 100% accurate. I then cut into the side of the plate. Once I cut all round, I shaped the petals.

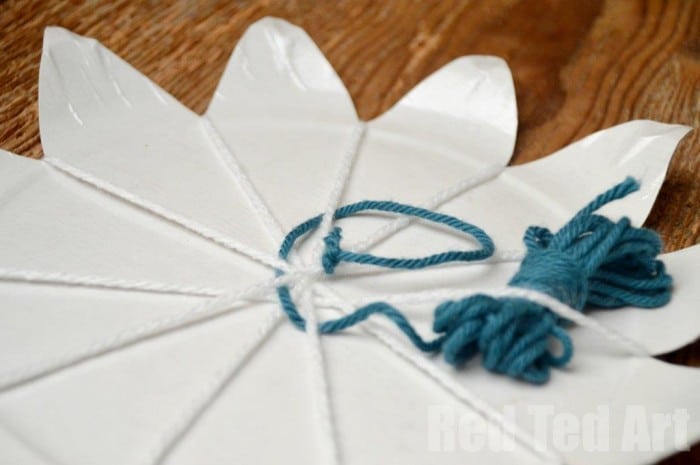
- Start threading your yarn
Take your wool and place it between your first two petals. String it across to the more or less opposite corresponding slot.
- Keep wrapping the yarn around your petals
Move it behind that petal and forward again and find the next corresponding slot. Again, it isn’t exact science, but try a couple and see which looks neatest.
- Secure the weaving yarn through the centre of the paper plate
Note: some peoplemake a hole in the centre, and thread all the wool through in “pairs”. Which is fine, but does give you a “messy” back.
For the final piece, I made a small hole at the centre, pushed the wool through and the tied it to beginning end.
- Flip the Paper Plate over
- Start the paper plate weaving
Now you are ready to weave. The beginning of a weave is always hardest, as you find your way around the pattern. Again, for younger kids , you may well want to start them off on this. Once it looks easy to do, they can carry on.
-
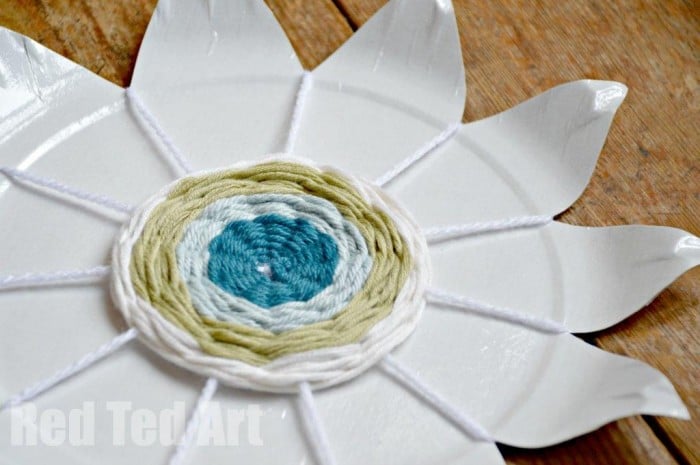
- Keep Weaving
The rest is “easy”… weave in an out and change colours by tying pieces of wool together until you have woven as much as you like! The kids did their in spurts. Their concentration didn’t last do do a whole plate in one go. But this is a new activity for them and they are still learning. I think an 11 petal plate is definitely best.


Once you have pastered paper plate weaving, you can experiment – maybe add colour to your plate itself? Or incorporate your plates in bigger pieces of art…
More great Weaving Projects & Techniques here:

After more Paper Plate Crafts? Check out – this is an extensive list of fun paper plate activities for kids of all ages, including a paper plate rainbow craft, paper plate fish craft, cute dinosaurs and a cheeky sloth or two. Lots of easy peasy ideas to check out.