
Plastic Plate Snow Globe Craft for Kids
Oh yes, the winter season is coming our way and I can’t wait! There are so many lovely crafts you can make for both Christmas and the New Year and today, we have one of these lovely crafts for you: The Plastic Plate Snow Globe craft for kids! This is a guest post by the lovely Two Bear’s Farm!
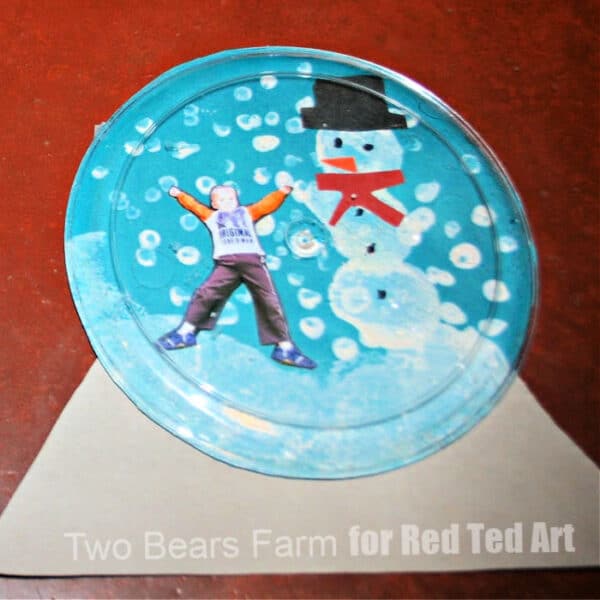
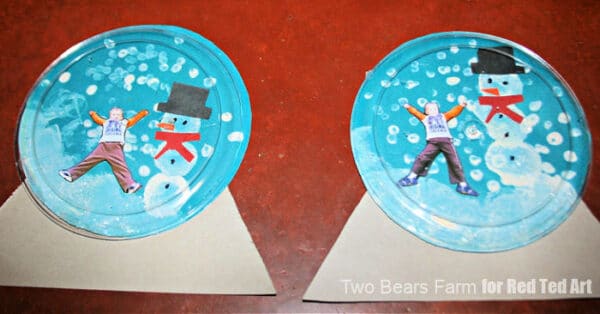
I love these paper plate snowglobes, because they are super duper simple to make… AND you can personalise them with children’s photographs. Also, the technique is so simple, that the decorating possibilities are endless. You can for example:
- Paint you snow globe picture (as done here)
- Add personalised photos to your snow globe (as done here)
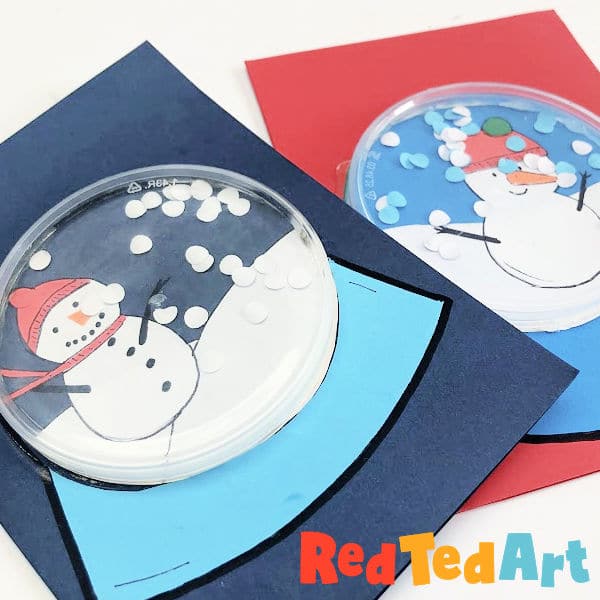
- Recycle old holiday cards and create snow globe collages
- Add finger print details (kids love this) for the snow
- Add hole punch confetti as snow (thanks to the plastic plate cover)
- Add snow flake confetti
Also.. you can vary these size of this adorable snow globe craft – ie:
- LARGE: make this snow globe collage using the plastic plates (as done here) OR
- SMALL: make the same craft, but recycle yoghurt pot lids or pringle lids to make your snowglobe – as we have done for these super duper cute recycled lid snow globe cards here.
To make these paper plate snow globes you will need:
- clear plastic dessert plates for the globe part,
- stock paper to the back.
- paint
- child’s photo*
- eco friendly glitter
- glue
- scissors
*it is best to cut out all the children’s photo ahead of the art class. Younger kids will not have the fine motor skills to do this themselves.
How to make paper plate snow globes
This is a super fun craft for little ones, as it also explores SHAPES! All you need are two shapes:
- Circle
- Triangle
Take your blue construction paper and trace the see through plasic plate onto it.
Let the kids go crazy decorating – of course snowmen and finger print snowflakes are always a winner!
Once the artwork is done, let it dry and cut out the circles.
Next you will need a triangle in your snow globe base colour – here we have them in grey.. but they can be any colour you want.
Add some glitter or confetti on top of the picture. Then glue the plastic plate onto the snow globe picture.
Glue the triangle to the back of your picture with the bottom sticking out.
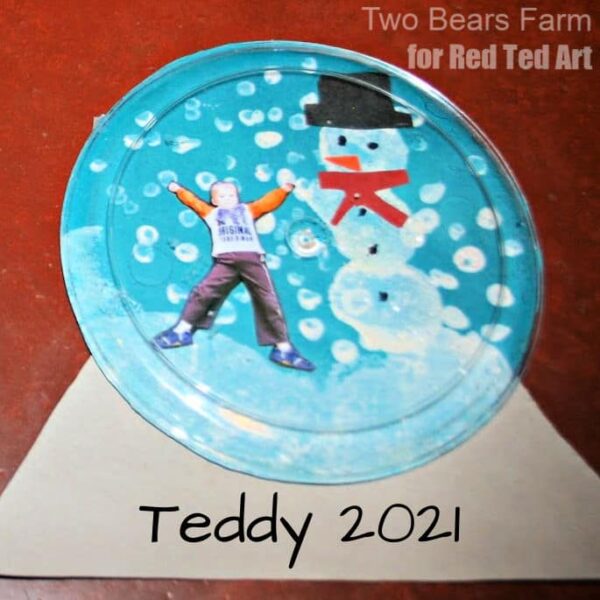
It would be a lovely addition add the calendar year and child’s name to the snow globes base!
Aren’t these simply the cutest? Hope you give these a go!
You can see Two Bears Farm’s original post here!
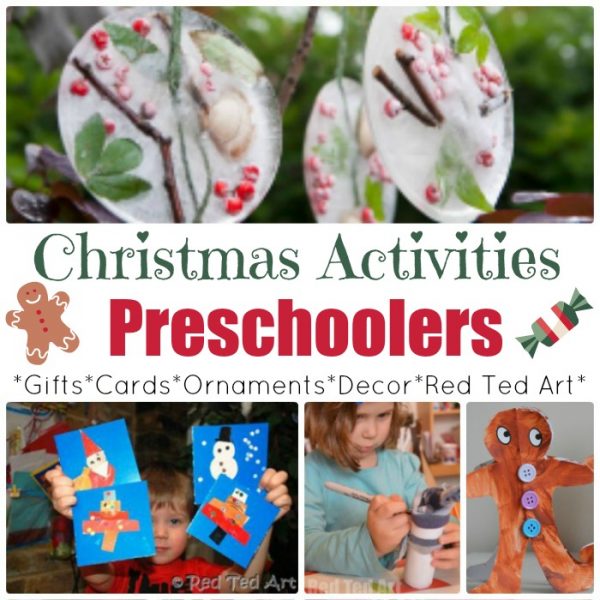
More wonderful Christmas Crafts for Preschool:
Or check out these Winter Crafts for Kids:
