
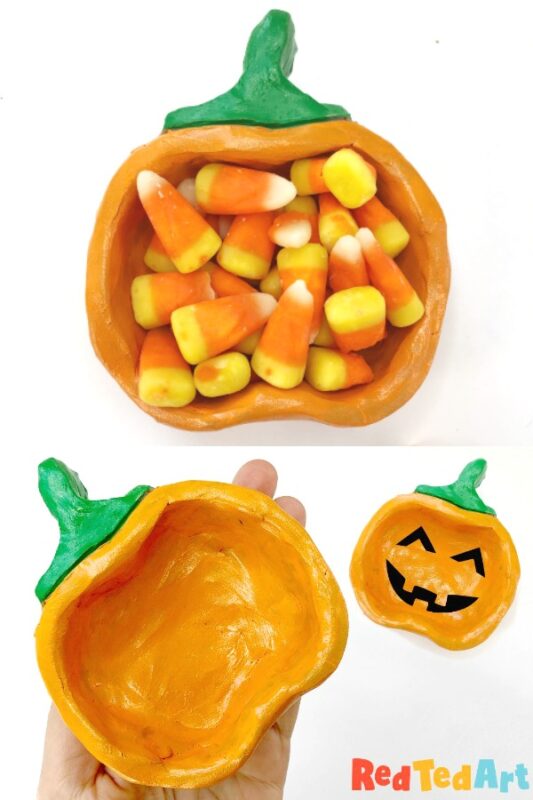
Pumpkin Pinch Pot for the Holidays
We adore making Pinch Pots any time of year. Pinch Pots are great for having a go at Air Drying Clay, be it at home, at school or in a craft club.
We particularly like making Holiday Pinch Pots. Like these adorable Pumpkin Pinch Pots today. These cute pumpkins are SO easy to make and would make the perfect table decoration for both Thanksgiving or Halloween. Gorgeous Thanksgiving Pinch Pots for kids to make! Would the go perfectly with these leaf pinch pots?
Watch out for more Pinch Pots, coming your way!! Including a brand new Christmas Pinch Pot design.. and do take a peak at these GRORGEOUS Snowman Pinch Pots too!
Holiday Pumpkin Pinch Pot – Materials:
Affiliate links have been added for your convenience. Should you choose to purchase through these, I will earn a small comission that goes towards the upkeep of this site!
- air drying clay (in desired colours) – we have some of this US/ UK
- Paints – acrylics or gloss enamels work well – we have this orange US/UK
- Posca pen for black details (optional)
How to make a Pumpkin Pinch Pot
We love show casing our craft how tos in quick video tutorials. Here is our latest Pumpkin Pinch Pot video. Or folow the written step by step instructions below!
How to make a pinch pot pumpkin

There is no “exact science” to how much clay to use. We like to use a lump of clay that fits nicely into the palm of your hand. Then add a little o the side to make the Pumpkin top later.
Take you clay and roll it into a bowl. Try and squish out any creases. If your clay is a bit hard, he is how to soften air drying clay (do this ahead of time).

Using your thumb and fore finger, start squashing into the ball to form the walls of the clay bowl. Don’t worry too much about cracked sides, you can smoothen those down later.

Keep going until you have a bowl size that you like. We keep lifting our pinch pot off the surface, to avoid it sticking. We have had “many a bottom” ripped out accidentally when forgetting to do this.
Once you are happy with the basic pinch pot bowl shape, squeeze the top and botom in, to make it slightly more overall or even apple shaped (every much like our Apple Pinch Pots here).

Now make a stem from the remaining clay.
Attach the stem to the bowl securely: cross hatch the back of the stem and the side of the bowl, add some water and bring together, then smooth down the edges.
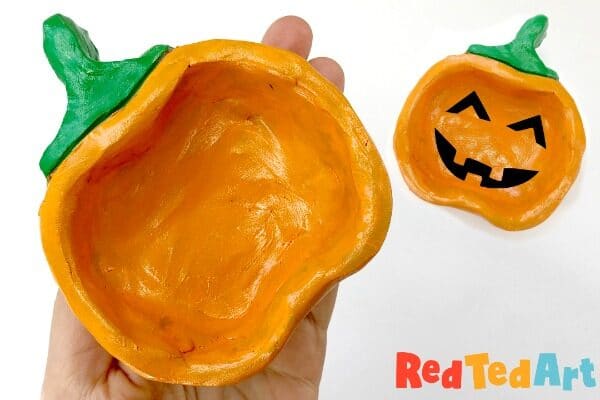
Finally, with some watery fingers, run over the whole bowl and smooth down any cracks. Let dry!
Once dry, paint as you wish!
More wonderful Thanksgiving Ideas here:

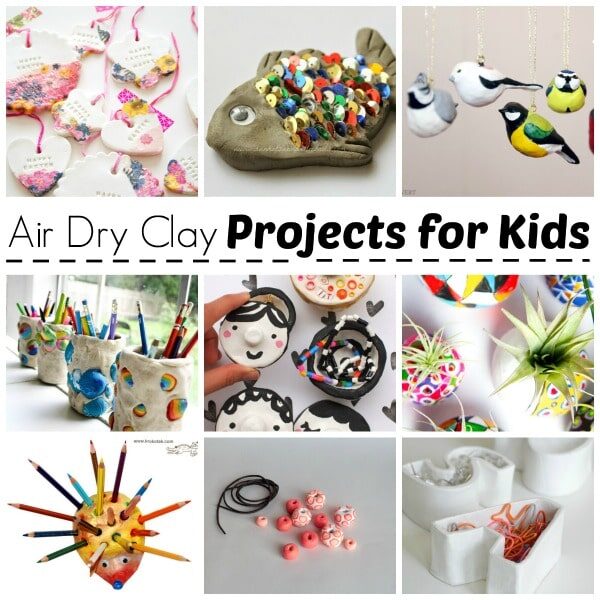
See all our Air Drying Clay Project Ideas here:
Or check out our complete Pinch Pot Collection:
See our complete list of Creative Pinch Pot Ideas for Kids! Which would you make first?
