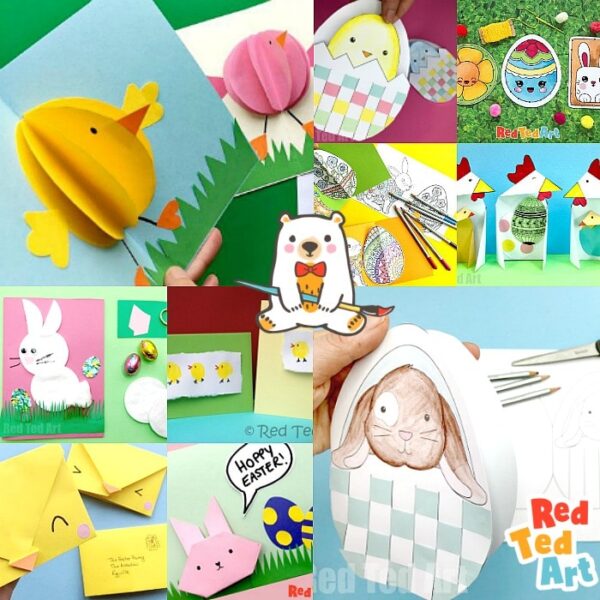
Simple Pop-up Cards for Easter for Kids of all ages
We love making Handmade Easter Cards. Time for a simple Pop-Up Easter Card. This is a super simple pop-up mechanism and you can combine any Easter drawing or Easter design “pop” with this DIY. We decided to make our Origami Bunny Pop-Up.. but anything goes! A super easy Easter craft that the kids will love.

The best thing? No template need to make this cute card and you can go crazy with the details – e.g. draw or cut out Easter Eggs. Write some speech bubbles and puns. And add personalised messages!
As mentioned, we used our simple origami bunny face for this pop up Easter card, but you could also grab a hole of our iconic peeps bunnies printables and use those?! Either, way I hope you enjoy this easy craft today!
Supplies needed for a simple pop-up card:
- Construction paper/ paper in the desired colors (for origami 6 x 6 inches) or light card for own drawings
- Card Stock or collage paper (6 x 9 inch cards folded in half) if making cards
- Paper scraps for decorating the final card
- Pens/ markers/ crayons etc
- Scissors
- Glue stick
If you are working in a classroom, Sunday school or library, you mind find out our worksheet printables on Teacher’s Pay Teacher’s useful! It includes a lesson plan, the pop-up mechanism worksheet and the origami bunny tutorial.


How to make an Easter Bunny Pop-Up Card – Step by Step instructions
Begin by taking your measurements! You need to know the width of your card, so you now how big to make your “pop up mechanism” and/ or pop up design (in our case the origami bunny). As you will need to make sure that that your pop up is contained with in the card.

You will need a piece of card folded in half – here we used a 6inch x 9inch card.
Cut a strip of card (or 2 pieces of paper stuck together) – approximately 1inch x 4 inch.
Fold the strip into four equal sections by folding it in half and fold it again.
The key: The with of the pop up (in this case 1inch) + the height of your design, must be the same or smaller than the width of your card. To avoid anything “peeping out”. You can adjust either the 1inch pop up or the origami/ drawing to make sure it all fits! Or use a bigger piece of card

Refold it, so make a little “cube” like in the image.
Add glue to the two ends of the strip of paper.

Then position them into the fold of the card as shown in the photo. Make sure the paper pop up mechanism is secure and folds/ moves well as you open and shut the card.

Add a little glue to the back of your pop-up design – you can use anything – some origami you have made or a drawing or a photo.
The key: As mentioned, but I will say it again… The with of the pop up (in this case 1inch) + the height of your design, must be the same or smaller than the width of your card. To avoid anything “peeping out”.
Stick it to the front of the pop-up mechanism. Add any other details to the rest of the card, such as speech bubblers, personalised messages or drawings to compliment your pop-up design!

Now time to have fun with your decorations and puns. I made an Origami Bunny (the origami bunny video tutorial is also showing on “auto play” or on hop on over here, for the step by step photo instructions!

And explore what the best positioning of your extra decorations and speech bubbles is! You can add it to the bottom of the card or…
… the top of your card. Lots of opportunities to add lots more details as decorations your cards and add a personalized message too! Remember to write your Happy Easter greetings inside the card too! Now all you need to do is pop it in an envelope and give it to a special someone at Easter!
Feeling inspired by this pop up Easter card? We have a fantastic set of Handmade Easter Cards you can check out if you would like to make more!